DIY bullfinch on the Christmas tree
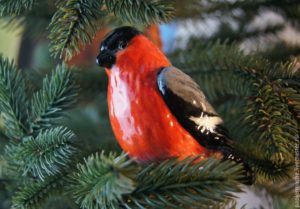 Very soon the New Year will come, a holiday of magic and the fulfillment of cherished desires. Everyone is looking forward to this holiday and believes that next year will be better than the previous one. What is a winter holiday without decorations, gifts and New Year's mood? There is a great way to decorate your Christmas tree by making Christmas toys for it yourself in the form of winter bullfinches.
The content of the article
How to make a bullfinch for the Christmas tree yourself
Making such a craft is as easy as shelling pears, without much expense or special skills, and the process itself can give you a fabulous, winter mood. In addition, if you really want, in a kindergarten or school, with students and pupils, you can make a whole flock of these beautiful birds. This will not only help entertain children, but also develop their fine motor skills, intelligence and imagination.
Required materials and tools
For this craft you will need the following materials and equipment:
- Cotton wool in the form of lumps.
- Any scrap paper for papier-mâché (it's best to use old newspaper).
- Paper napkins or thin fabric for the frame (you can use any of your choice).
- Colored cardboard for making the tail and wings (the wings should be longer than the tail).
- White PVA glue (purchased in specialized construction stores in a bucket).
- Brushes for spreading glue.
- Brushes for painting the workpiece.
- Red and white paint (gouache is best, but watercolors will also work).
- Bath for mixing liquids.
- Black buttons or beads for making eyes.
- Knitting needles for stringing pieces on them while painting.
Reference! Depending on the decor, other tools may be required.

Do-it-yourself bullfinch for the Christmas tree: step-by-step instructions
In order for the craft to turn out round and voluminous, you need to first fluff up the previously prepared cotton wool. The frame can be made in several ways. The first is to roll the cotton balls into a tight ball. The second is to crumple paper or fabric napkins into a ball. If fabric is preferred, then to maintain the shape you need to rewind the workpiece with threads. And if it is decided to make a blank from paper, it needs to be divided into many parts and assembled into a lump; this is called the papier-mâché technique.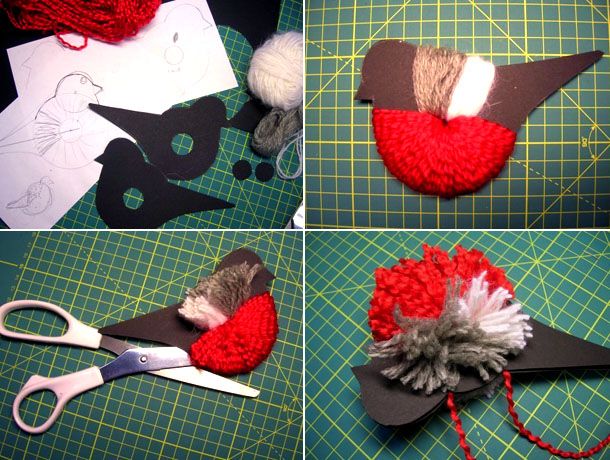
Next, you need to mix the paint with glue and carefully apply the liquid over the entire area of the body, saturating it well (it is recommended to place a soft lump on a knitting needle). Next, the beak is made. To do this, you need to roll a small piece of cotton wool into a ball, moisten it with glue and form a cone.
Attention! When the glue dries, the beak needs to be painted with white paint and attached to the base.
After painting, you need to leave the workpiece to dry. To speed up the drying process, it is recommended to use a long thread by which the workpiece is suspended. If the craft is left to dry on a flat surface, there is a chance that it will be uneven. When the bird dries, all imperfections in the form of dents will be visible, which can be easily corrected with an adhesive solution by applying pieces of cotton wool or paper.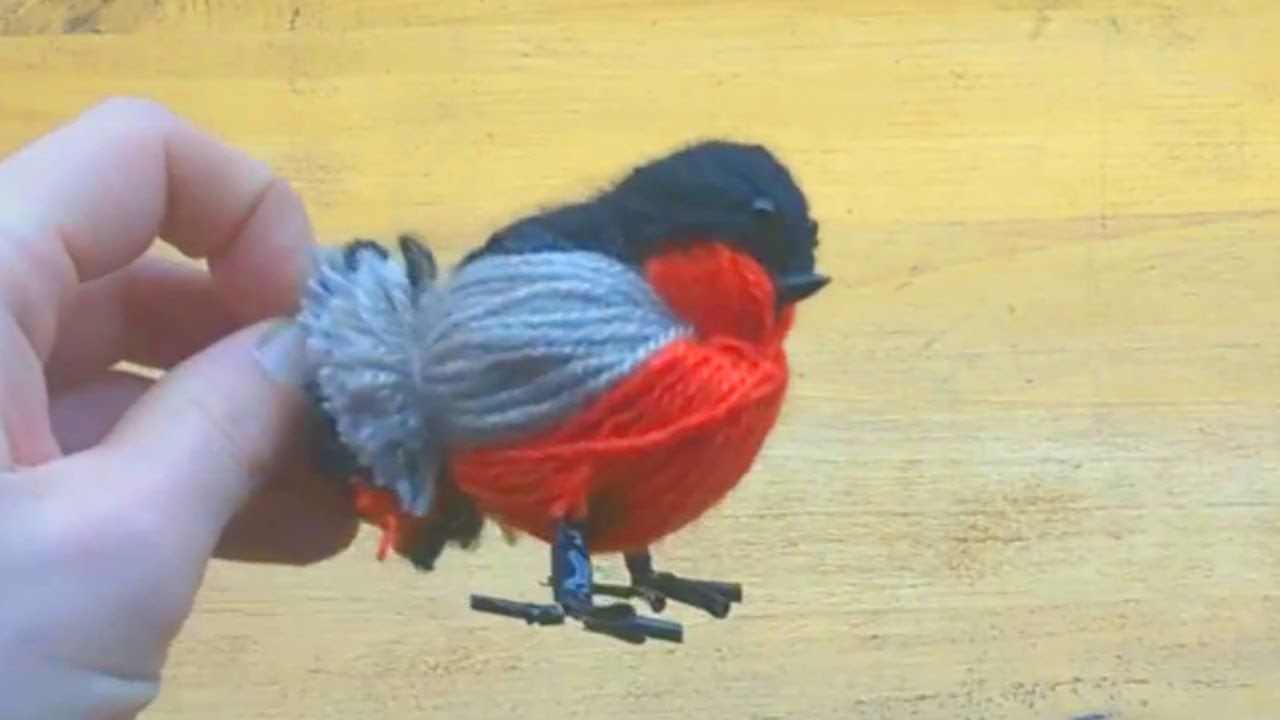
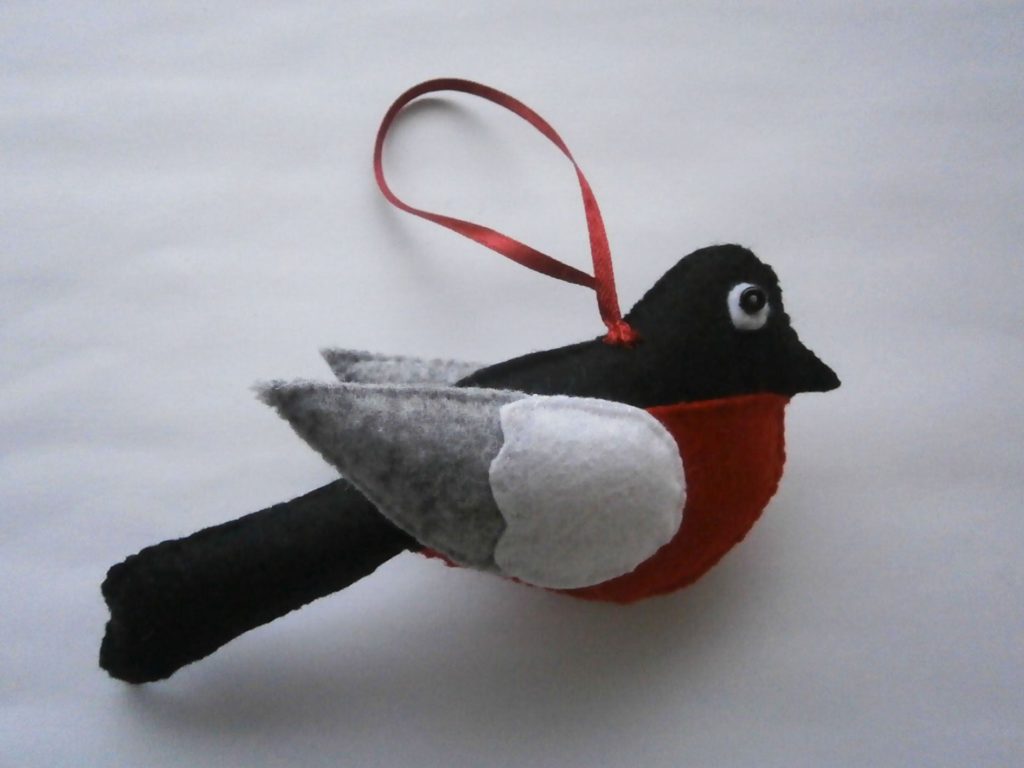
After the craft has hardened, you need to start making the tail and wings. The wings are made as follows: you need to cut out a figure in the form of an arc from black cardboard to make two wings and a back (the wings are located on the sides of the back). The next step is to take a small rectangle cut out of cardboard and fold it in half, cut off the corner on the fold, and unfold it. The result should be a piece similar to a dovetail or a flag. The wings need to be glued on top of the body, and the tail behind. In parallel with this, on the sides, just above the beak, you need to attach the eyes with glue and attach buttons (for the eyes you can use any available material - beads, beads or pieces of foam).
After this, the bullfinch is ready to sit on a spruce branch. The craft can be either planted on a Christmas tree or hung by a string. This colorful bullfinch can be used as a decorative decoration or you can find a place for it in a child’s room. Making winter crafts will help you spend quality time with your child. In addition, a handmade craft will be an excellent gift for family and friends who so appreciate our care and attention.