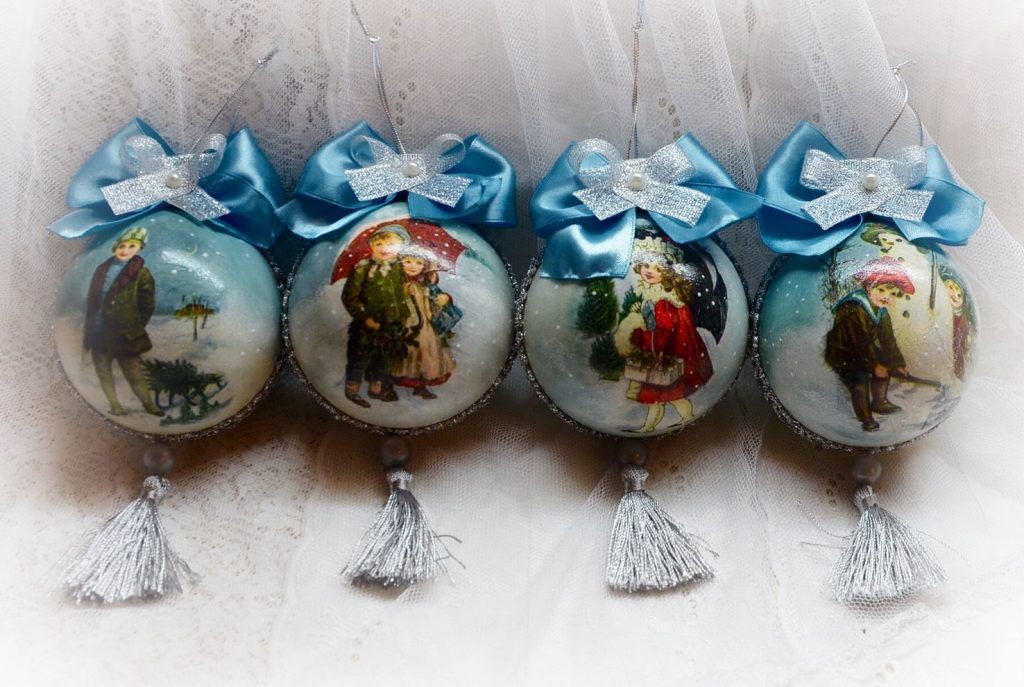
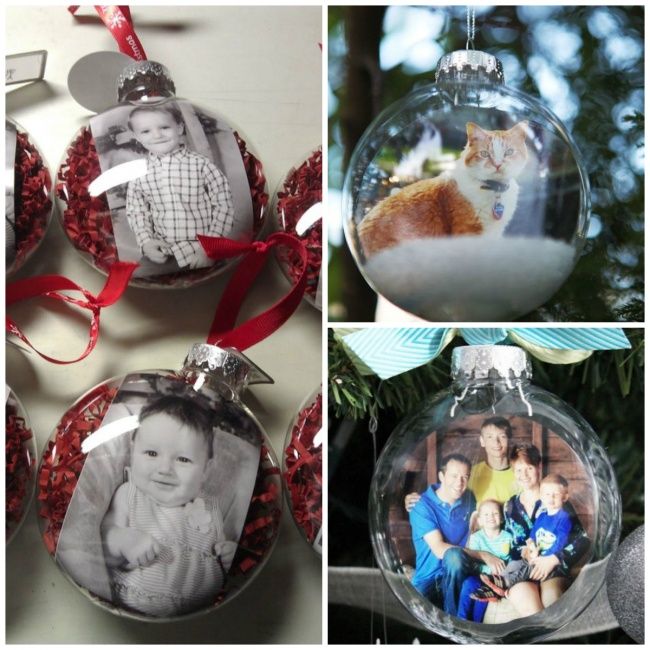
DIY balls with photos for the Christmas tree
There are many different New Year decorations that you can make with your own hands. What if you want to go further and do something unusual? Let's look at how to make balloons with photographs for the Christmas tree with your own hands; it will be an unusual and unique decoration.
The content of the article
Method No. 1
In this version, we will consider making a Christmas tree toy from a transparent blank.
What you will need
To work you need to prepare the following materials:
- Preparation of a plastic ball. A base size of 10 cm is suitable.
- The photo you want to use to decorate the balloons.
- Glue, it is advisable to choose a transparent crystal so that it is not visible on the base after it dries.
- Ribbon for decoration.
- The ribbon on which you will eventually hang the toy.
- Nail polish.
Step-by-step algorithm
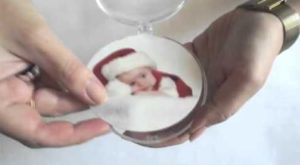 First, the part of the ball that will be behind the photo needs to be painted. To do this, pour a little nail polish into it and turn it so that it spreads evenly. Leave to dry.
- Cut out the photo along the contour of the ball, make it a couple of millimeters larger, so that later it will be convenient to glue it.
- On the transparent half of the ball, carefully apply a thin layer of glue on the edge.
- After applying the glue, carefully attach the cut out photo. Leave to dry.
- If the photo blank looks beyond the edges of the ball, carefully trim the excess with scissors.
- Now that everything is ready, connect the two parts of the ball.
In general, your ball is already ready, but all that remains is to decorate it a little. Measure a small piece of ribbon and make a bow out of it, thread the ribbon through the hole in the ball.
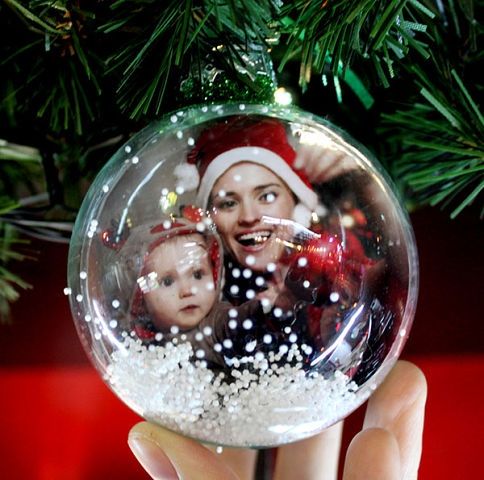
REFERENCE. You can not paint one half of the ball, leave both transparent. Glue two different or identical photographs, at your discretion, and you will get a ball with photos inserted on both sides.
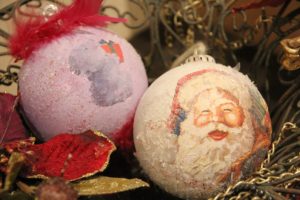
Method number 2
To decorate using this method, we will work using the decoupage technique.
What you will need
To work you will need to prepare the following materials:
- Making a foam ball.
- Acrylic lacquer.
- 3 photos suitable for the size of the workpiece.
- Acrylic paints.
- Glue and brush.
- Acrylic lacquer.
When you have prepared the necessary materials, you can proceed to making a ball with a photo.
Step-by-step algorithm
 It is necessary to prime the workpiece. To do this, use white paint. Leave to dry.
- Prepare your photos and cut them to the required size.
- Wet your fingers with water and carefully roll up the white paper on the back of the photo. Work carefully to avoid making holes in the image. You should get an image printed on a thin film.
- Make small cuts along the edges of the photo, literally a couple of millimeters. This is necessary so that when the image is applied to the rounded surface of the ball, the photo takes its shape.
- Dilute the glue with water in a ratio of 1 to 1. Spread this mixture on the back side of the photo. Leave for a couple of minutes.
- Glue the photo onto the blank. Use gentle finger movements to straighten the photo.
REFERENCE. Pictures can be taken not from one side of the ball, but from several.
The rope for attaching the ball to the Christmas tree can be attached with a regular hairpin. It is necessary to make an outline, thereby you can decorate your work a little.
Using acrylic paints or an outline, draw snowflake curls or some other image on the ball. When the contour dries well, the final stage remains. Cover your product with acrylic varnish and leave to dry.
REFERENCE. Balloons with a photo are a great gift.