DIY pig Christmas tree toy
 A gift made with your own hands is always pleasant both to give and to receive. Since the coming 2019 is the Year of the Pig, in this article we will tell you how to make a New Year’s symbol yourself from scrap material.
The content of the article
DIY thread pig for a Christmas tree
A pig made from threads will look great as a Christmas tree decoration; it can also be placed under the tree. For manufacturing, you need to prepare the following materials:
- Five balloons (1 round and 4 long).
- PVA glue.
- Scissors.
- Threads.
- Black felt-tip pen.
- Colored paper.
- Cream.
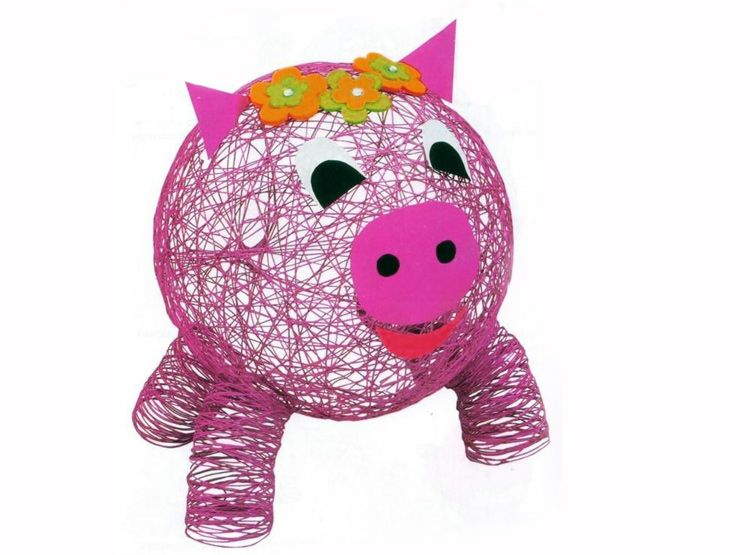
To get started, let’s first inflate balls of the same size as the toy itself and lubricate them with cream. Next, we begin to make the body of the toy. Taking the thread, soak it in glue and wind it around the ball in a chaotic manner. When the ball is completely wrapped, it will need to be left to dry for 24 hours, in a suspended state.
Let's start making pig legs. We wrap threads soaked in glue around each elongated ball. And just like in the previous case, we leave our parts until completely dry.
When everything is dry, we pierce the balloons and carefully remove them from the middle of the product. We glue the legs to the body.From colored paper we cut out eyes, ears, a snout, a mouth and glue them to the body. Using a black felt-tip pen, draw the pupils and nostrils.
ATTENTION! If you wish, you can make not just one pig, but several, for example, a family of pigs.
Toy pig from children's tights with photo
The symbol of the coming year will be a yellow earthen pig, so this is a great reason to make one yourself. For work we will need:
- children's knitted tights (yellow or pink);
- threads to match the color of the tights;
- needle, scissors;
- 2 small buttons;
- 2 black beads;
- filler for our toy (cotton wool, holofiber, etc.);
- pen;
- cardboard, size 10 cm x 10 cm;
- bobby pins with balls at the ends;
- a thin ribbon and a piece of tulle.
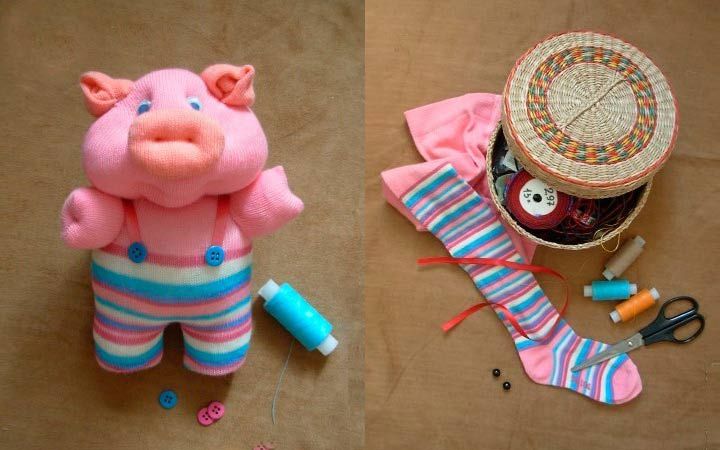
We cut a piece from the tights, approximately 15 cm x 15 cm. We make a cut at the bottom, for the legs and on the wrong side we sew both parts of the part. We get the body and legs of the pig. Cut out two small circles from cardboard, approximately 2–3 cm in diameter. We turn this product right side out, insert cardboard circles into the pants and fill the middle with filler.
Next, let's start making the muzzle. We cut out a rectangle from the tights and make a seam on the wrong side, leaving a small hole for stuffing. We turn the workpiece right side out, fill it with filler and sew up the hole.
Using bobby pins, we mark four points, and using a needle and thread we form the face of the toy: insert a needle and thread into the point marked with bobby pins, then pierce it nearby and tighten the resulting small stitch. To fix it, we make a knot on the side where the needle comes out.
The mouth can be made using thread. We sew the piglet according to the principle of the muzzle, and we make the nostrils using the tightening method.To make the ears, cut out two semicircles from the tights and sew them at both ends, then sew the ears to the muzzle.
We sew the front legs and sew them to the body. Sew on the head and eyes.
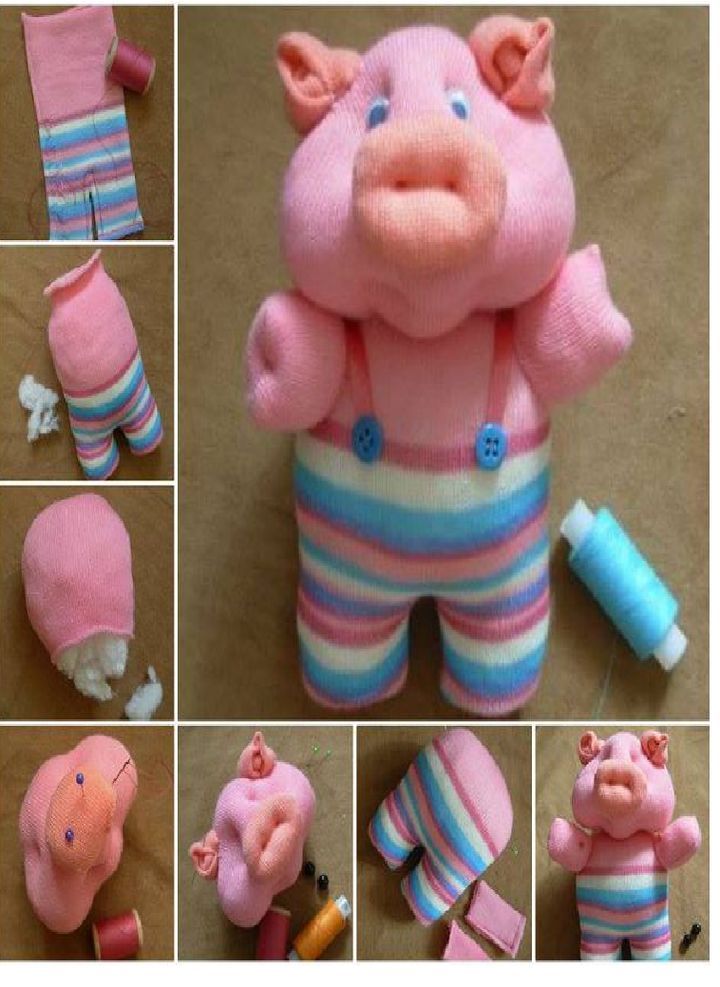
ATTENTION! If you plan to make the pig a girl, you can add a ribbon to the toy’s ear and make a skirt out of tulle.
New Year's pig made from salt dough step by step
New Year's pig made from salt dough can be an excellent gift for the New Year:
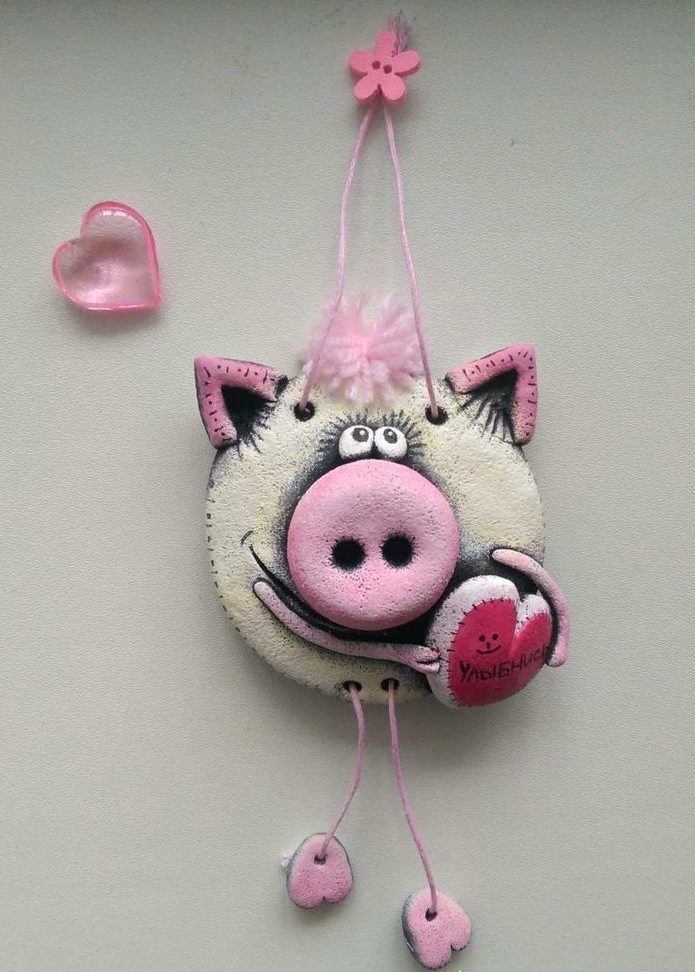
- To prepare the dough we will need: 100 g of water, 100 g of flour and 100 g of salt. After kneading the dough, put it in the refrigerator for a while.
- Use the dough to form a pig's face and a snout. Glue the piglet onto the muzzle and use toothpicks to make nostrils.
- Roll two small balls from the dough and glue them in place of the eye. Form ears and attach to the muzzle.
- Make a heart and attach it to the bottom of the product. You should also use a toothpick to make 4 holes, 2 on the bottom and 2 on top for the threads.
- Make arms and legs with hooves from the dough.
- Place the resulting toy parts in a warm place so that the dough dries thoroughly.
- Then cover the surface of the products with black paint and allow to dry completely. Then, using a sponge, wash the paint from the convex parts of the pig under running water and let it dry.
- Cover the product with a white primer and paint it in the color you like.
- Use a black gel pen to draw small details.
- You can also make a piglet’s bangs from woolen threads. And finally, pull the pendant through the holes.
Coffee stuffed pig
Such a pig will be the best Christmas tree decoration in the Year of the Pig. To make it you need to prepare:
- calico;
- threads;
- filler;
- vanilla;
- cocoa powder;
- coffee granules;
- cinnamon;
- scissors;
- PVA glue;
- igloo;
- an old toothbrush;
- gel pen;
- acrylic paints.
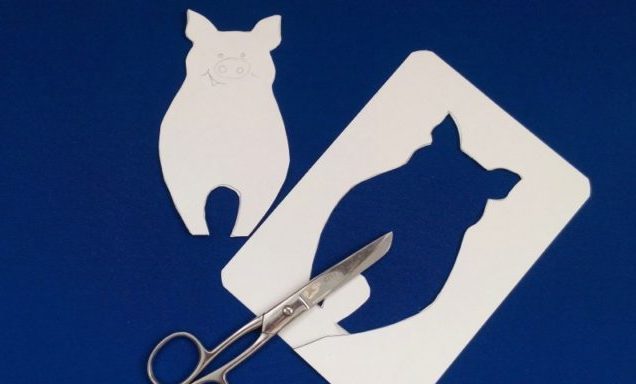
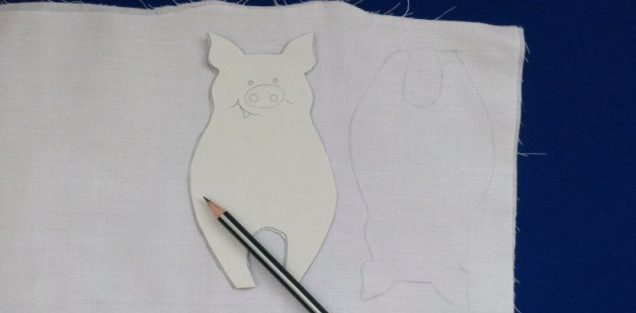
First you should prepare and cut out a template, which is easy to find on the Internet. Then you should make a pattern on calico using a template and a gel pen, and cut it out.
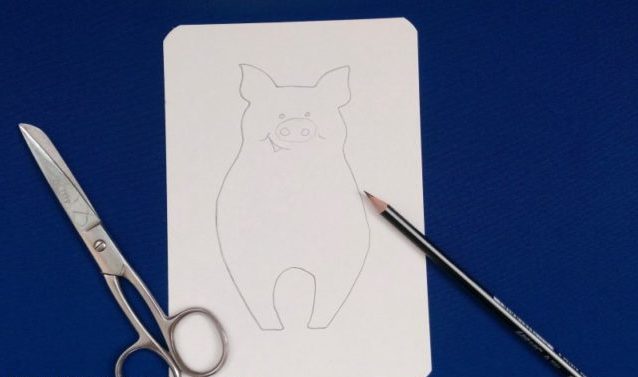
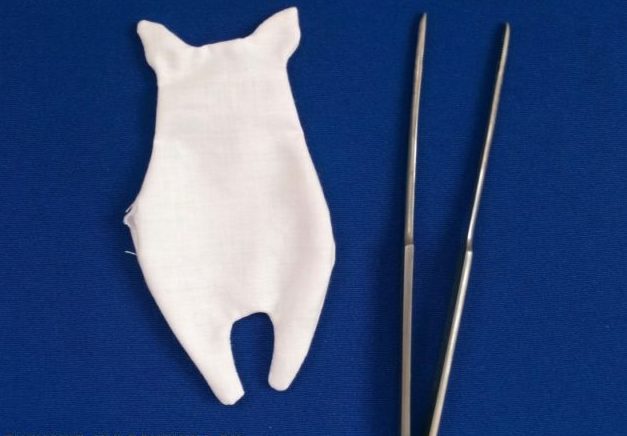
Sew two pattern pieces together on the wrong side, leaving a small hole at the bottom for stuffing.
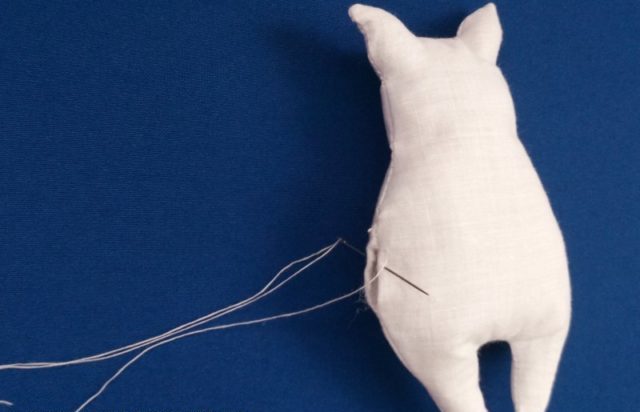
Then turn the product right side out and fill it with filling, then sew up the hole.
Now let's start preparing the aromatic substance. Pour 40 ml of boiling water into a plate and add 3 g of coffee, ¼ tsp. vanilla, ¼ tsp. cinnamon, ¼ tsp. cocoa. Mix everything thoroughly and let this mixture cool. Then add ½ tsp. glue and use a toothbrush to lubricate the surface of our New Year's toy. Within a quarter of an hour, our pig should dry out in the hot air.
After complete drying, we use acrylic paints to decorate the symbol of the next year, as our imagination dictates.
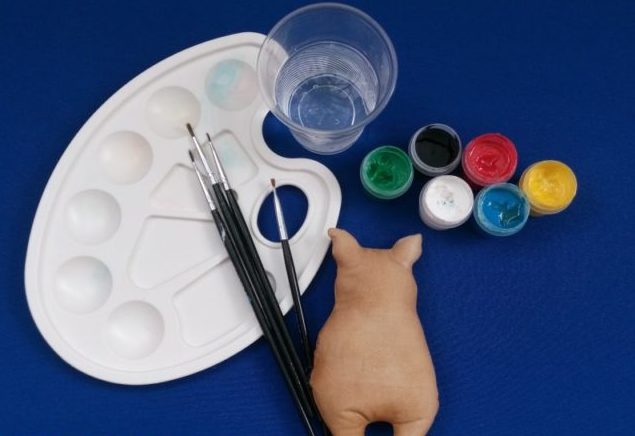
REFERENCE! You can attach a magnet or ribbon to the coffee pig to hang it in a visible place.
Crafts pig made from wool
To make a wool craft with your own hands, you need to prepare:
- wool yarn;
- chenille wire about 20 cm long;
- pink felt, size 10 cm x 10 cm;
- glue;
- black beads for eyes;
- a small button;
- thin ribbon;
- sheet of cardboard.
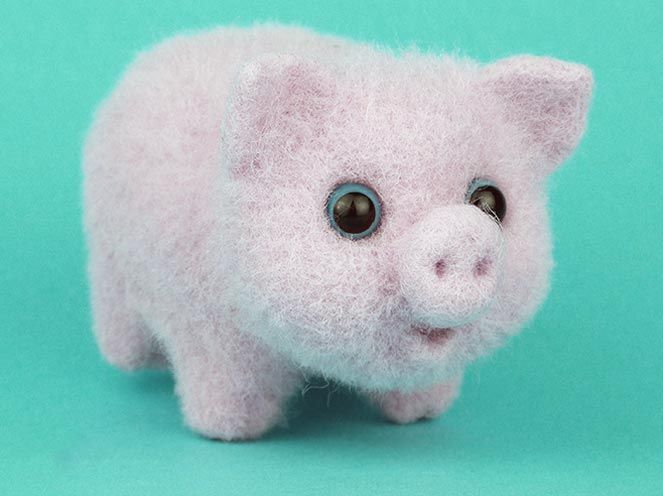
To begin with, we cut out 2 rings from cardboard, with an outer diameter of 7 cm and an inner diameter of 5 cm. We cut the yarn into meter lengths and begin to wind it onto rings connected to each other. The last layers of yarn will be difficult to push through, so you can use a knitting needle to help you.
When everything is ready, carefully cut the threads around the perimeter with scissors. Pass a thread between the rings and tie a pompom, remove the rings. The body and head of the pig are ready.
Now we make the legs and tail from chenille wire, gluing them to the body with hot glue. We cut out ears from felt, make a bow from ribbon and repaint the button pink. Now, using hot glue, attach the prepared parts to the pompom. The wool pig is ready.
Sew a tilde pig
In order to sew a tilde, you will need a template that will help in production. An excellent choice for fabric would be cotton or calico.
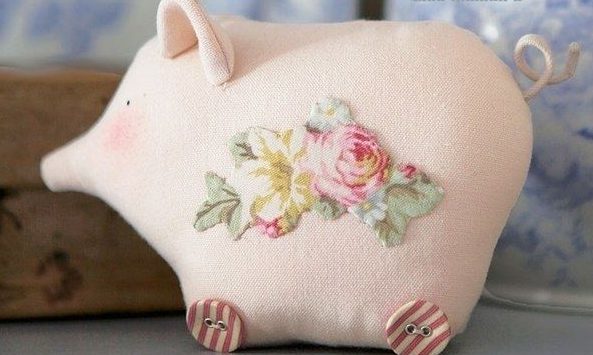
This craft consists of a body, legs and ears. Having cut out all the parts from the fabric, we begin to sew them from the wrong side, leaving holes for the filler. Next, having filled the inside of the pig with filler, we sew up the remaining holes. We sew the ears and legs to the body with a hidden seam, attach the beads in place of the eyes and paint the nostrils and blush with paints.
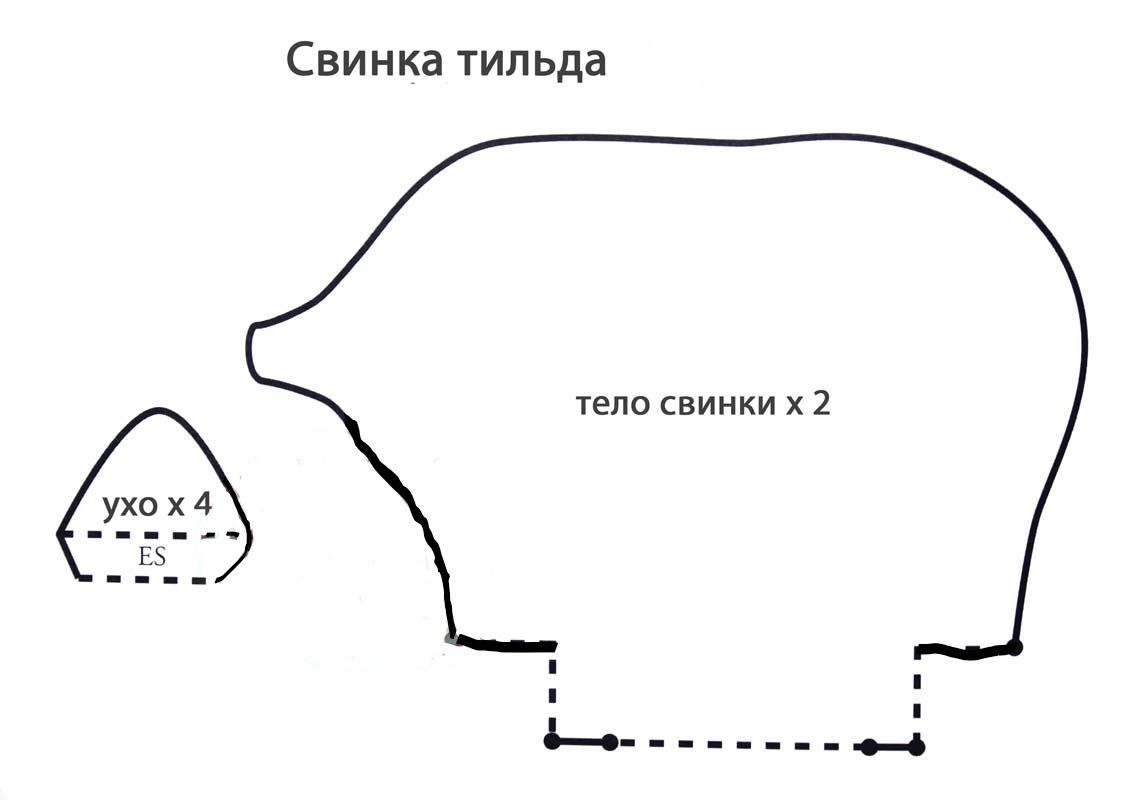
To make a ponytail you will need wire and a piece of fabric. A wire should be inserted into the fabric, the tip of which should be secured with glue, and a tail should be sewn. We give the resulting tail the shape of a spiral.
Felt pig
A felt pig is easy to make, but in order to get started you need to prepare:
- Template made of thick paper.
- Felt, needle.
- Threads.
- Thick paper.
- Black buttons and beads.
- Pencil, chalk - for marking.
- Glue.
- Scissors.
- Filler.
- Ribbon, braid.
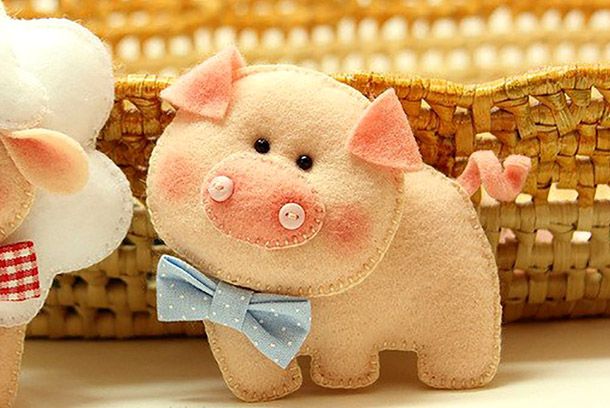
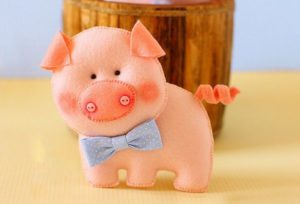
To begin, cut out a blank from paper and secure the template to felt. Make a pattern on felt and cut it out. Sew paired parts, leaving holes for the filler. Turn each piece right side out and stuff tightly with filling. Sew the parts together. Cut out the tail and sew to the body.
To decorate a funny pig, you can use a ribbon, and sew braid as a pendant.

