Installing a screen under the bath
Today we will talk about one of the “components” of a modern bathroom. You've probably all seen an object like a curtain covering the front of a bathtub. This design is called a screen. How to install such a screen yourself?
The content of the article
Why do you need a screen under the bathtub?
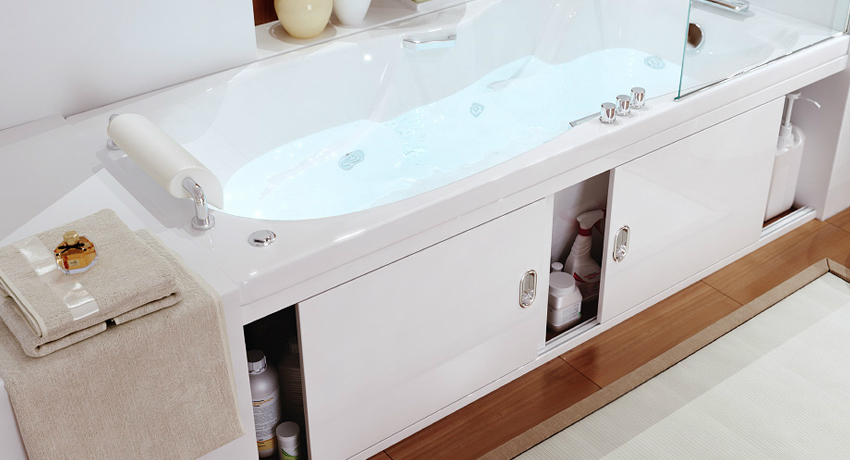
First of all, it is necessary to improve the aesthetic appearance of the room. With its help you can hide the gaps between the bowl and the floor. In addition, the formed niche with doors can serve as a small storage room. You can store household goods and cosmetics in it. The screen also protects the pipes from moisture.
Interesting! Before modern products came onto the market, gaps under the bathtub were often filled with brick lined with ceramic tiles.
A standard plastic screen consists of a frame and “fillers” (doors). In general, the design is lightweight and easy to install.
Screens offered on the market
There are many ready-made factory screens. They vary not only in size and color, but also in design features. Products are differentiated by material made of metal, MDF, plexiglass and PVC.
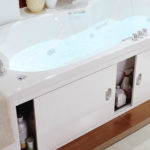
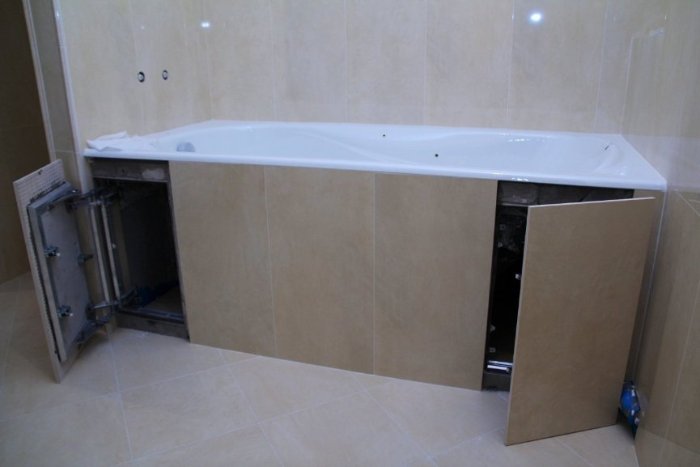
They also come sliding and stationary. It is preferable to choose sliding devices: they facilitate access to the niche under the bathtub if necessary, for example, to adjust the legs or replace drain fittings. Stationary panels tightly cover the “basement” area. At the same time, they can be equipped with a so-called viewing window.
The choice of product must be approached with special care. His the color should be harmoniously combined with the shades of the bathtub itself and the wall cladding.
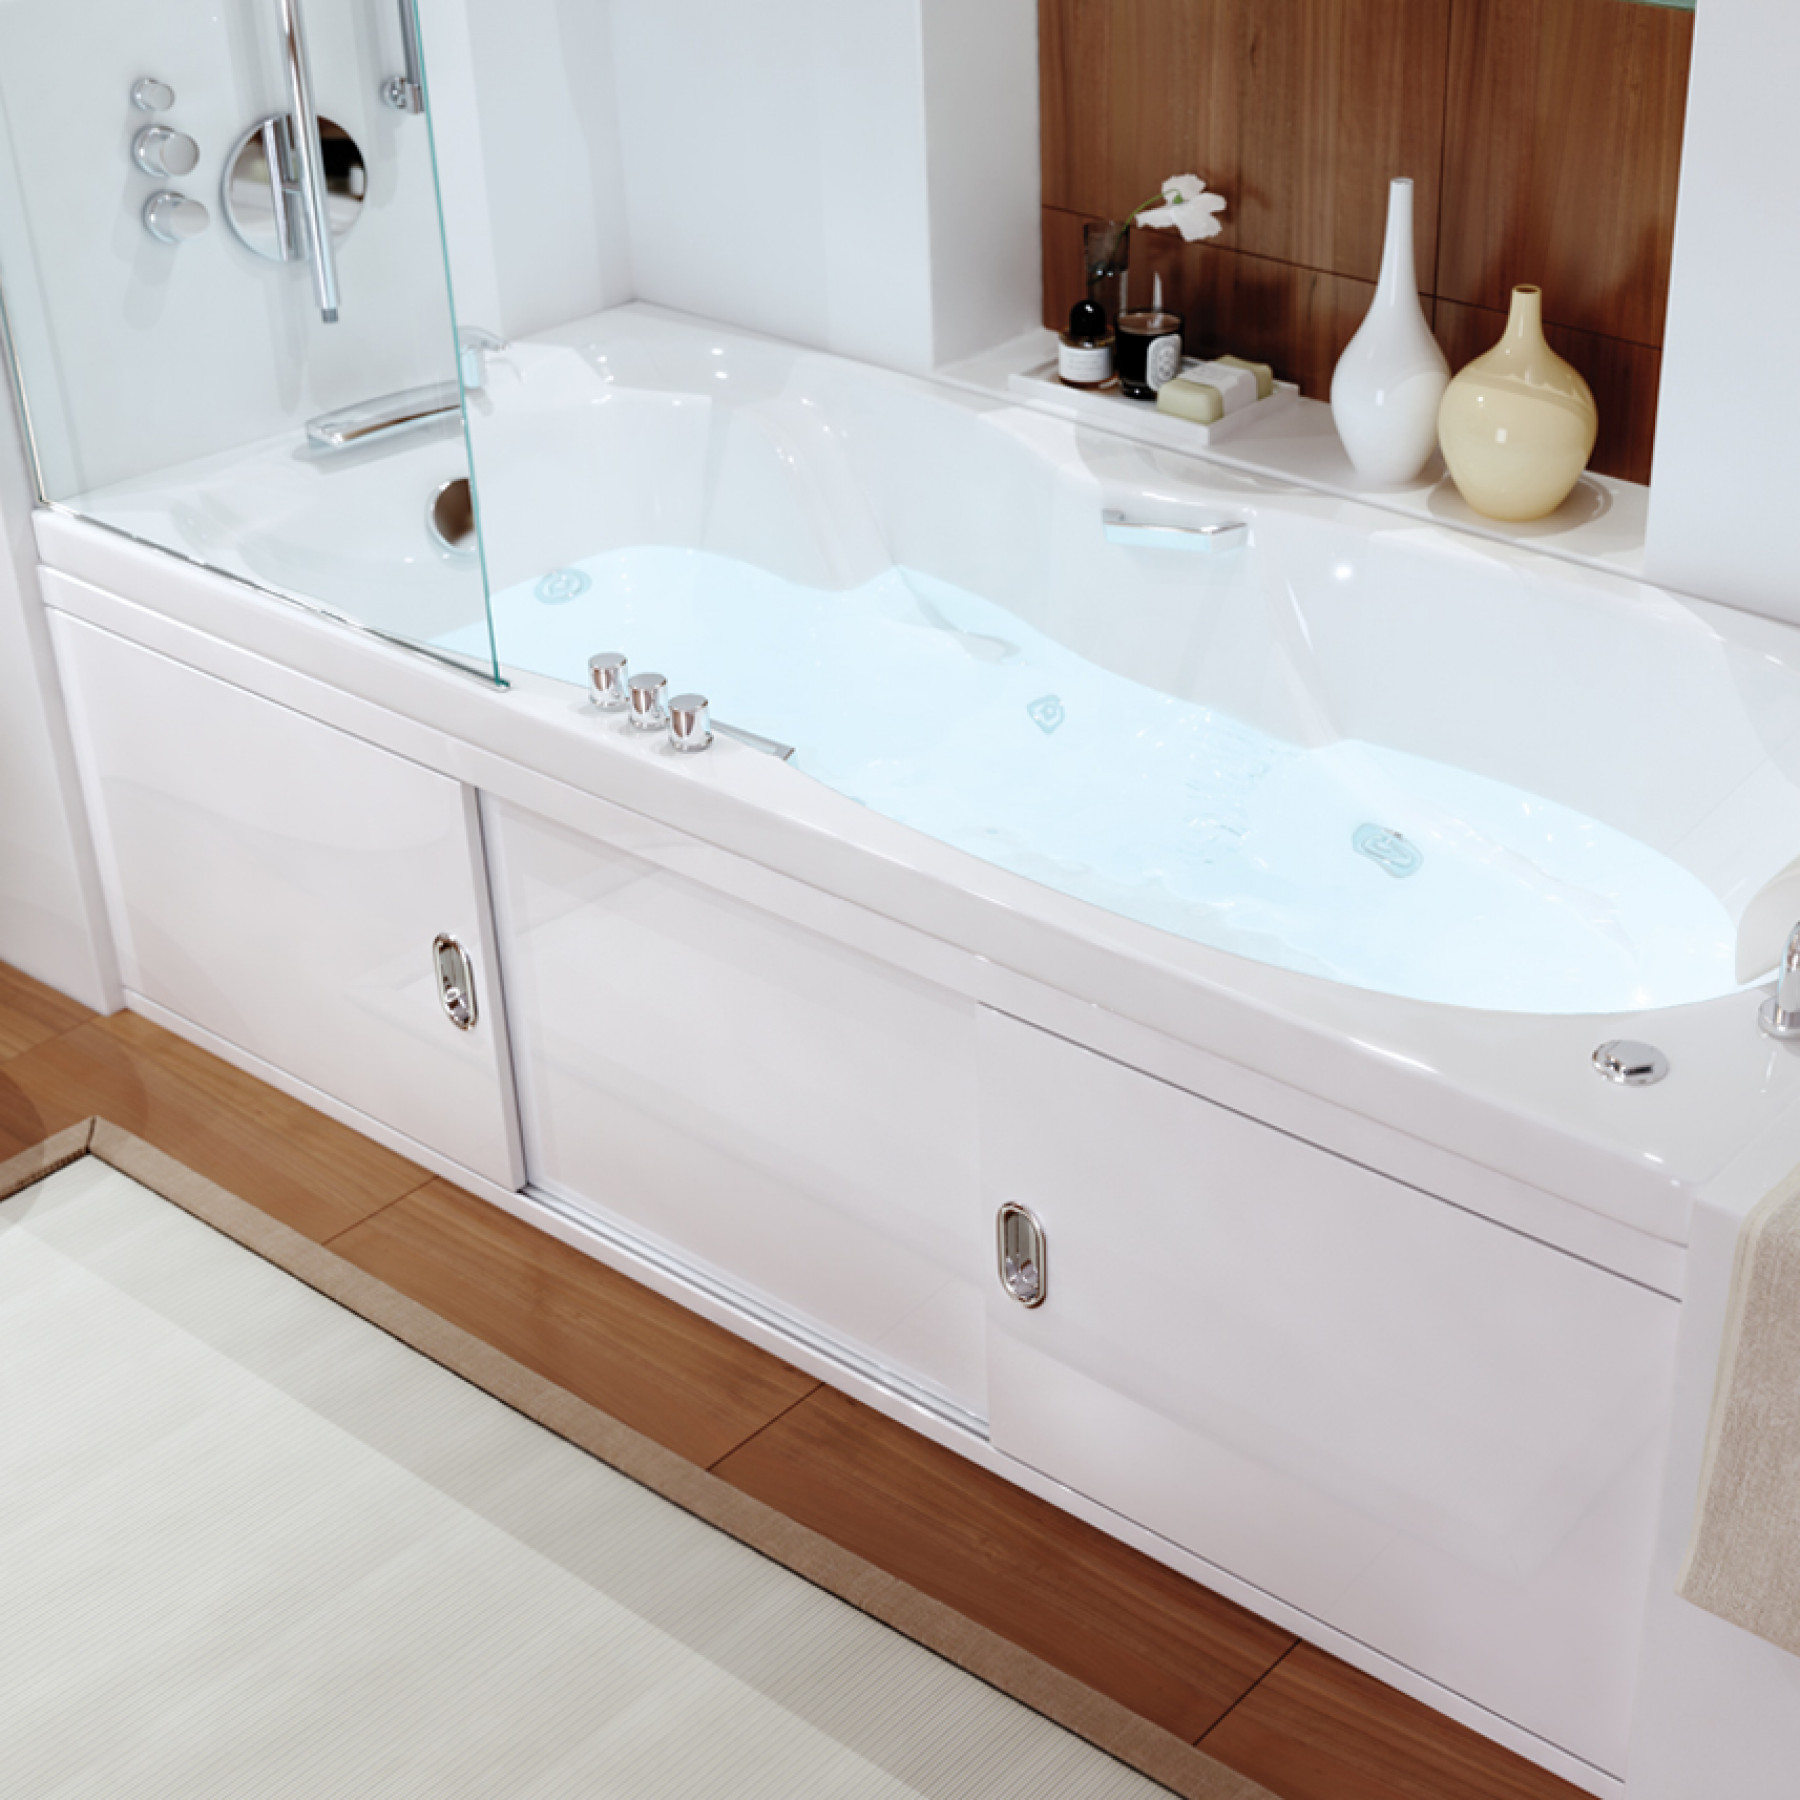
In terms of price and ease of use, they are best suited for cast iron and steel bathtubs. PVC screens. Acrylic is an inherently fragile material to handle, so bathtubs made of this material are supplied complete with ready-made screens. If installed separately, the process may damage the entire structure.
Of course, it is best to choose the screen exactly according to the size of the bath. However, this is not always possible. In this case, you should choose a larger product: the excess can be trimmed using a grinder or a hacksaw.
Installation of a purchased sliding screen under a bathtub
You can install the factory sliding screen yourself. It does not take a lot of time. Let's look at the stages of its installation in more detail.
Selecting materials and tools
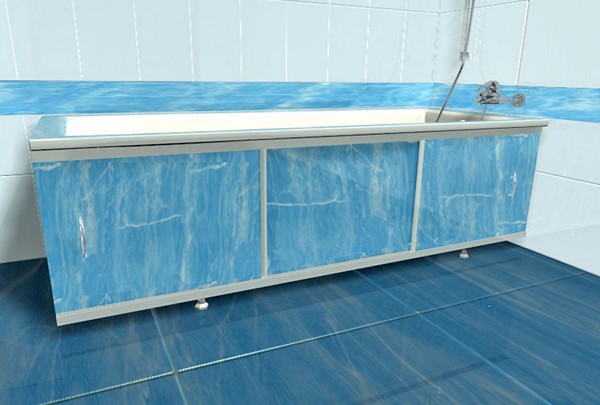
Each model, depending on the material, has its own characteristics and disadvantages. For example, PVC products are easy to assemble, however they can quickly deform due to their fragility. However, over time, the panels may move poorly in the grooves. In addition to these disadvantages, there are also advantages: resistance to moisture and resistance to corrosion. Another advantage is the wide choice of colors.
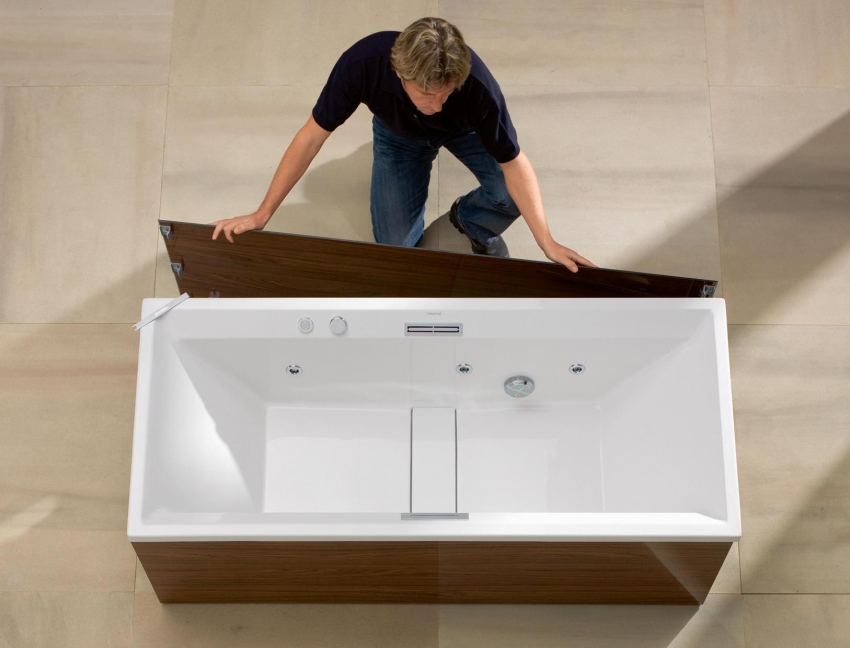
Acrylic panels are intended exclusively for bathtubs made of the same material.As we wrote above, it is very difficult to choose a suitable product for existing plumbing fixtures. That's why acrylic bathtubs are best purchased together with “original” screens.
Screens made from MDF panels look beautiful and rich. However, due to the nature of production, they are unstable to moisture, since MDF is compressed sawdust.
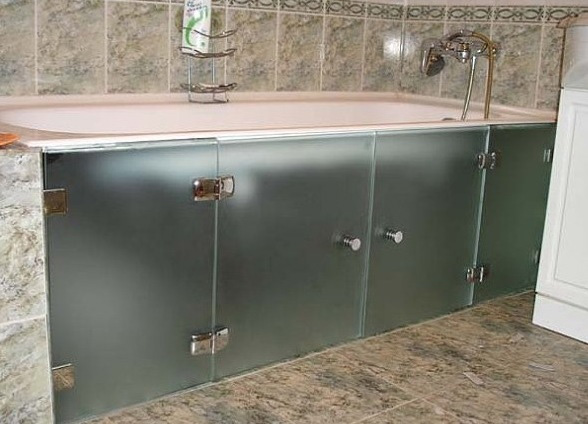
Plexiglas devices are chosen to visually enlarge the room. They look very impressive. Among the disadvantages can be noted fragility and the need to frequently wipe the surface: Glass tends to show marks more than other surfaces.
Now let's move on to the list of tools. Of these we definitely need or may need:
- measuring instruments (tape tape and building level for marking);
- cutting tools (grinder or hacksaw to remove excess parts of the screen);
- drill (for drilling holes);
- tools for tightening parts (screwdriver and wrench).
We prepare and process the place
It is better to install the screen after renovating the room. Before fixing it, you need to tidy up the space under the bathroom: clear the surface of debris and, if necessary, replace the drainage system. It is also recommended to grout the seams between the tiles. In order for the bathtub to take its working position, it is recommended to fill it with water before starting work.
Marking
We mark the mounting locations for the screen frame using a building level and a tape measure. Markings are made at several points. This is done in order to ensure maximum reliability of the structure and avoid distortion.
Installing the frame
The standard sliding screen comes with the following configuration:
- frame made of guides and racks;
- fillers in the form of panels;
- regulators in the form of legs;
- screws for fastening;
- additional parts (plugs, panel handles).
To assemble the product, you can follow manufacturer's instructions. The installation process proceeds in the following sequence:
- In a lying position, we place the guides parallel to each other. Their grooves should face inward. They are runners along which the panels slide.
- We insert the posts vertically across them so that the mounting holes are aligned.
- We connect the parts together using self-tapping screws. They do not need to be tightened all the way: it is only important to ensure minimal fastening.
- We attach panels to the runners. Afterwards we adjust the height of the solid structure. Next, twist the screws all the way and cover the sides of the guides with plugs.
For your information! There are product models supplied with an end part. They are used when there is a significant gap between your small bathroom and the wall. The main stages of assembling this model are no different from the previous version. The only difference is that the corner profile connects the front and end guides. This is achieved using simple self-tapping screws.
Unlike plumbing fixtures made from other materials, an acrylic bathtub can independently serve as a base for attaching a screen. When installing such a bathtub, you need to be careful with adjusting the legs.: due to the relatively light weight, the product can rise significantly relative to the floor, which will lead to deformation of the product over time.
Final works
After assembling the frame, we begin installing handles to the panels and legs to the racks.Finally, our design is ready. Now we pass its top under the side of the bathtub and align it along a vertical line. For reliable fixation, twist the legs until they stop.
Important! To prevent moisture from entering, we fill the gaps with special sealants.
How to avoid mistakes when working?
So, assembling the screen under the bathtub is quite easy. Its assembly and installation will not require any extra effort or special knowledge from you. However, this matter also has its own nuances. When choosing a device, I advise you to pay attention to the following recommendations:
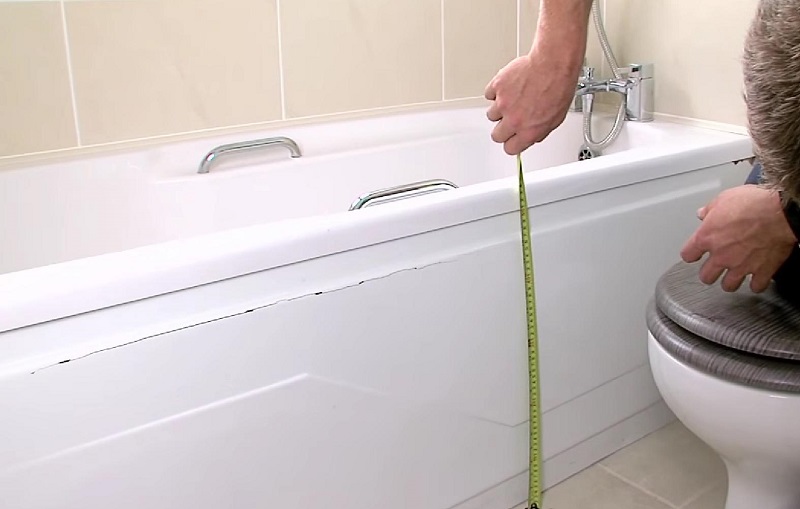
- Before purchasing, you must first measure the room and the bath itself.
- Pay attention to the screen material. It must be moisture resistant and not subject to corrosion.
- The design should be adjustable without visible effort. Therefore, carefully check the condition of the legs.
- The purchased model, first of all, must be suitable for the conditions of a particular room.
What to look for when choosing a screen?
Much depends on the purpose of installing the screen. If you just want to hide the unsightly appearance of pipes from prying eyes, stop at simple and affordable PVC products. If you have done a major renovation, bought a new bathtub and want to give it a more sophisticated look, you can install a screen made of MDF or plexiglass. If you choose a model made from MDF, you need to ensure good ventilation of the room to prevent damage to the material from moisture.
The screens in question are equipped with sliding or hinged doors. The former are suitable for standard-sized rooms, and the latter for spacious bathrooms.
When purchasing a screen, you should first of all be guided by your financial capabilities and the size of your bathroom.. The modern market produces a lot of similar products, you will certainly find a suitable option for yourself.
In addition to factory ones, there are also homemade designs. They are mostly done made of waterproof plasterboard fixed to an aluminum profile. The plasterboard sheets themselves are lined with ceramic tiles. This stationary screen is equipped with a door through which you gain access to the space under the bathtub. The design is durable, but requires significant financial and time costs. Therefore, if you do not have special skills and have a limited budget, opt for factory screens. They are easy to use and great for DIY.