The process of replacing a cartridge in a shower faucet
The way our world works is that nothing is eternal. It happens that various devices fail. Plumbing gurus say that in shower stalls, the “weak link” of the system is the cartridge. This element breaks more often than others, and sometimes it is impossible to replace it, since there is nothing suitable for sale.
The content of the article
How to determine that the cartridge in the mixer needs to be replaced
Understanding that the reason the shower stall is not working is related to the cartridge comes after analyzing the operation of the mixer.
No matter how much you turn the faucet valve, no water comes out, drops are visible on the faucet connections, you can’t control the on/off switch—it’s definitely time for the hot or cold feed cartridge to go to the trash.
It may well be that the cartridge was initially defective or its service life has expired. The entire faucet may need to be replaced.
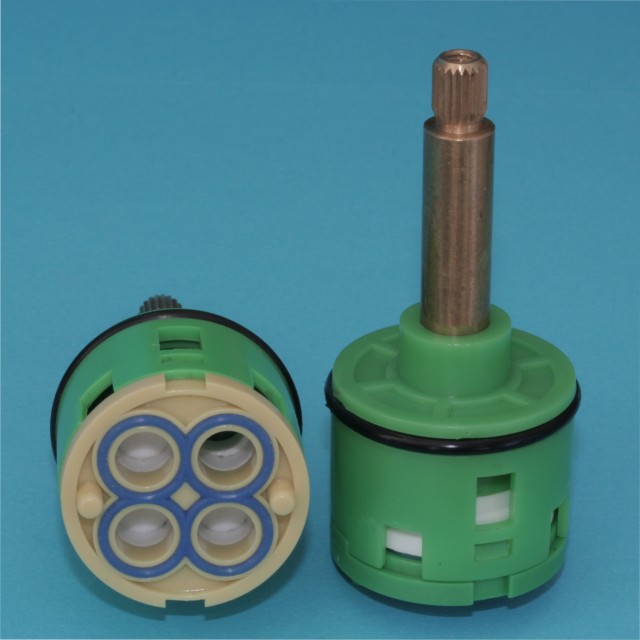
A wide variety of factors can affect correct functioning. There are several signs that the failure is exclusively related to the cartridge. There are only three of them:
- The operating order has been disrupted - in other words, water does not flow or hot water may flow instead of cold.
- Traces of leaks are visible on the mixer. Water leaks at the joints - this can lead to damage to the outer shell of the faucet.
- Water does not flow, no matter what position the lever is in, and the lever itself does not hold and dangles.
Here they are - signs of the need for an operation to replace the cartridge in the mixer. Breakage can be caused by strong mineralization of water, the presence of plaque, errors during installation or use.
How to choose a cartridge
Of course, the best option for buying a new cartridge is an analogue of the one that was originally installed. But the trouble is that you often won’t find exactly what you need on the shelves. If you encounter exactly this problem, choose a new cartridge based on the following criteria:
- Material. Ceramic or plastic cartridges are considered the highest quality. They are wear resistant. A good option made from a stainless alloy, the polymer cartridge performs worst of all. Polymers are not very reliable and quickly fail.
- Price and company. Budget options save the family budget well, however, within a year they will need to be changed.
- Flywheel travel. If the flywheel jams or jams, it means there is a defect in the element. Such a part will quickly lose its tightness, and as a result it will leak.
- Inlet fittings. If the structure is cast and there is a thick partition in the cage, it means the element is of high quality. The surface of the fittings must be smooth and even.
Reference! Don't forget to study the information on the packaging. The text must contain information about the manufacturer and his contacts. High-quality products in the expensive segment have a guarantee.
When purchasing a cartridge, make sure it matches the type of faucet where it will be installed. For single-lever faucets, ball, hydroceramic or ceramic models are suitable.A faucet box made of bronze or ceramic is placed on a mixer with two valves. Seals are made of rubber or paronite. It is important to consider the following:
- number of holes;
- rod diameter;
- rod length.
By design, cartridges can be solid, or they can be disassembled. Solid ones are more reliable to use, but they cannot be repaired. Plumbing professionals advise buying ceramic models with metal rods and levers. They have the optimal combination of price and quality. The highest quality products are considered to be models from Blanco, Grohe and Kaiser.
If the water in your tap is of poor quality, then the cartridge itself must be of high quality. Budget products will last their warranty period only if there is good tap water. Since most of the water supply networks in our country were laid during the Soviet Union, you don’t have to think about quality - just go and buy an expensive model.
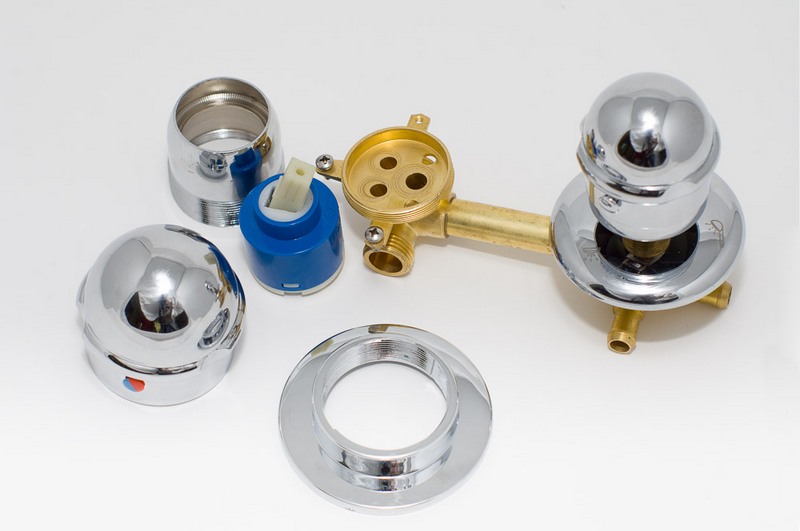
Stages of changing the shower faucet cartridge
To change the cartridge, you need to follow a certain sequence. Work can only begin when you are sure that the water supply is shut off. All cartridges have their own nuances, but the sequence of actions does not change.
First stage
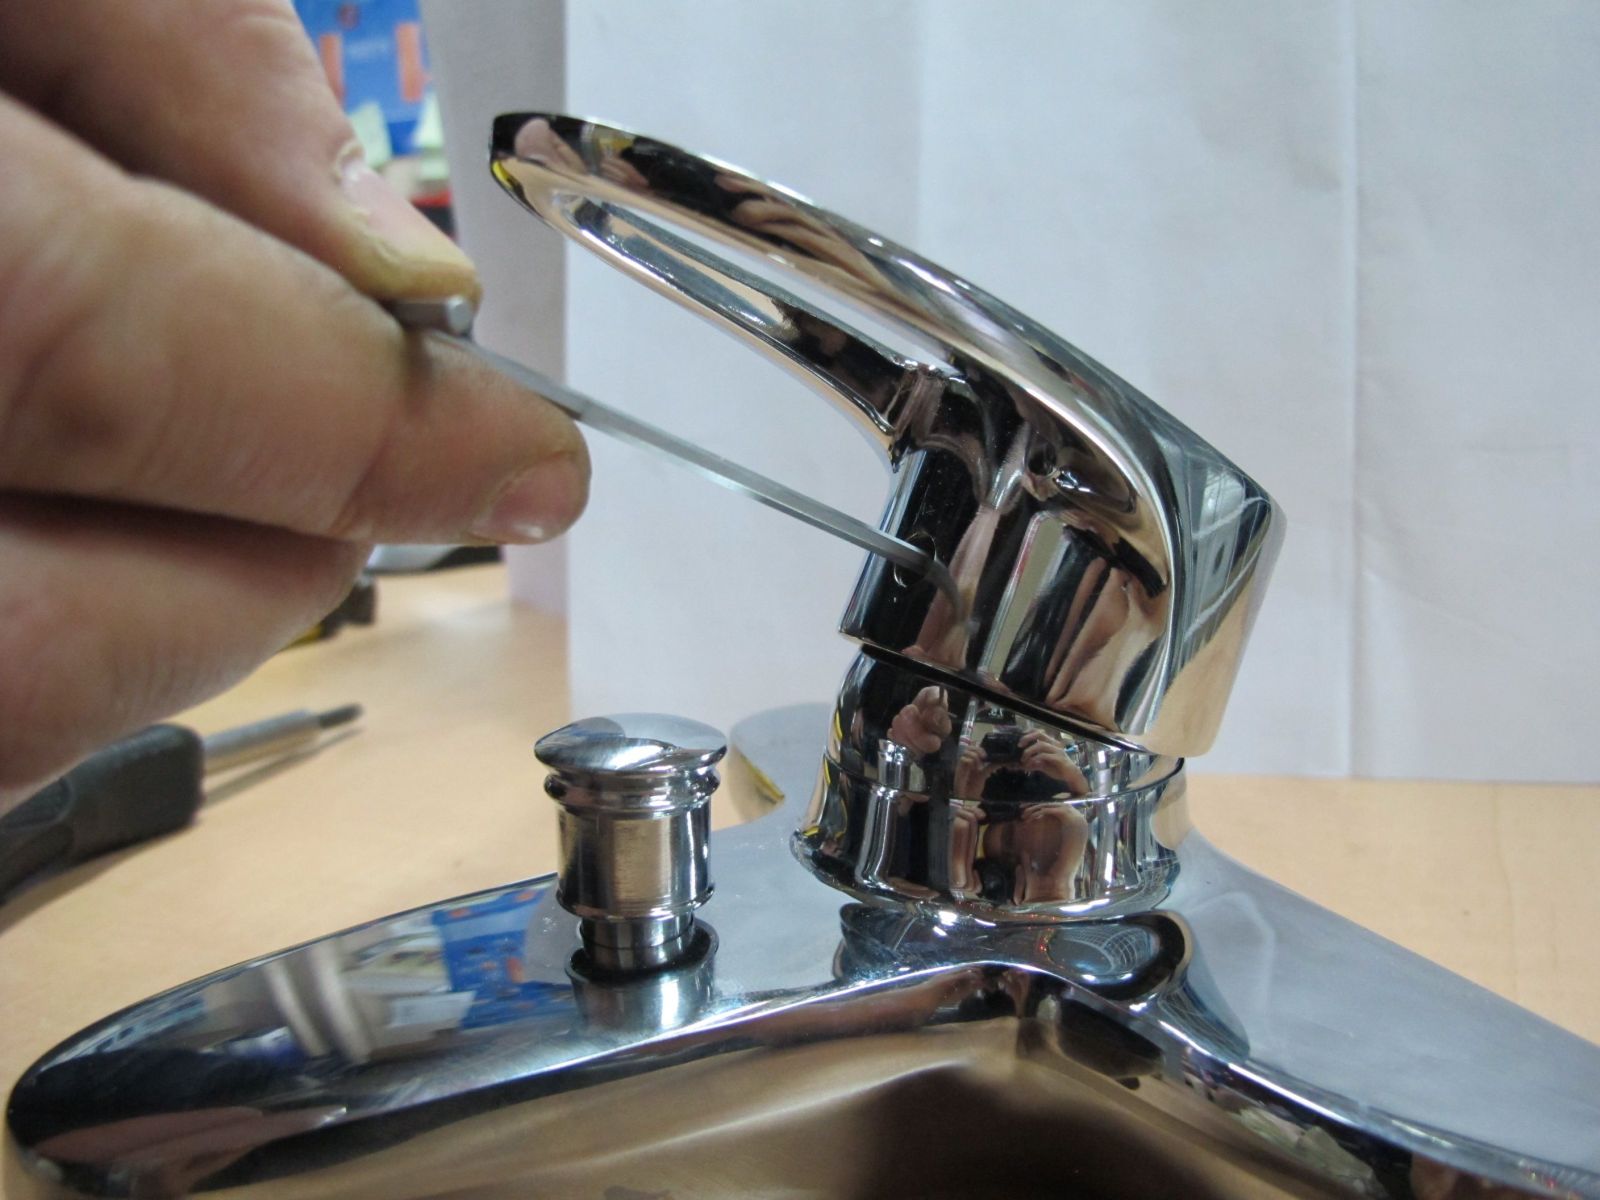
First you need to remove the plug that is on the handle of the cartridge. It covers the fixing bolt. You can unscrew the fastener with a screwdriver or hexagon. We unscrew the screw that is inside the hole and remove the handle.
Second phase
To gain access to the cassette, you need to unscrew the decorative nut. To do this, remove the metal safety casing and remove the cartridge. Sometimes this can be much easier said than done.Difficulties arise from the fact that there may be a coating of rust on the casing, which prevents free unscrewing. You will have to use a gas wrench, but first you need to throw a clean and, most importantly, soft cloth over the product.
When unscrewing you need to be extremely careful. Excessive pressure can harm the body. The thickness of the case is small and it itself is fragile. If you overdo it, you can deform the surface. The nut holds the decorative trim. Disassembly may take a lot of time. To speed up the procedure, you can use WD-40. This remedy is popular with most specialists. You can find it in every auto store, and the price is not off the charts.
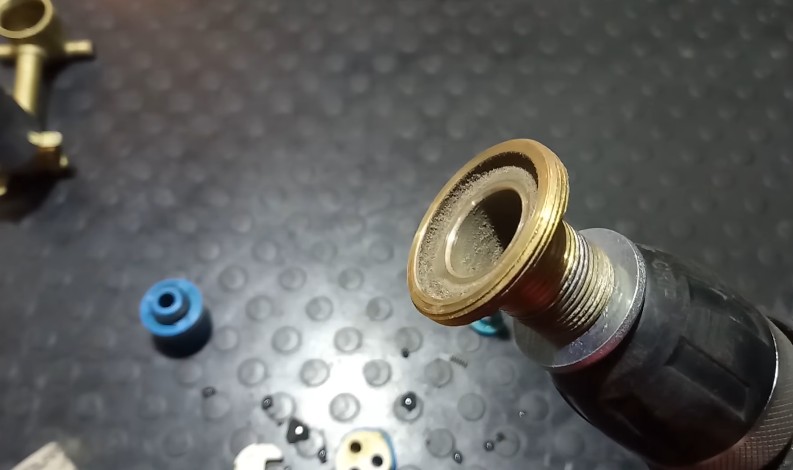
Third stage
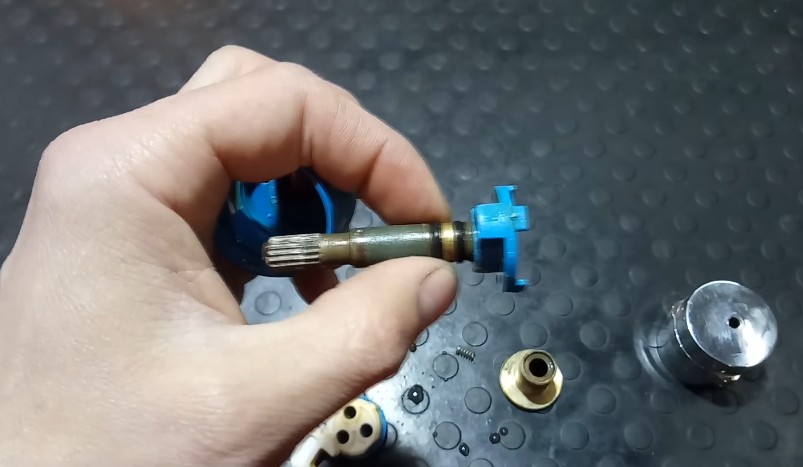
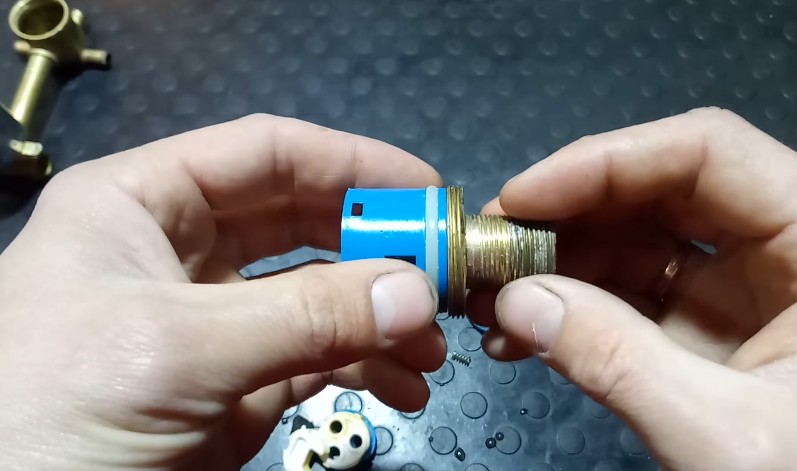
The inside is usually covered with dirt and various deposits. All insides should be thoroughly cleaned. Detergents will help with this. You can use dishwashing detergent. The point is that you should not only wash everything, but also wash off all remnants of cleaning products.
Fourth stage
We replace the old element with a new one. It is important to put everything right. The grooves on the walls and two protrusions at the outlet help you navigate during installation. No matter how hard you try, you won’t be able to place it on the wrong side.
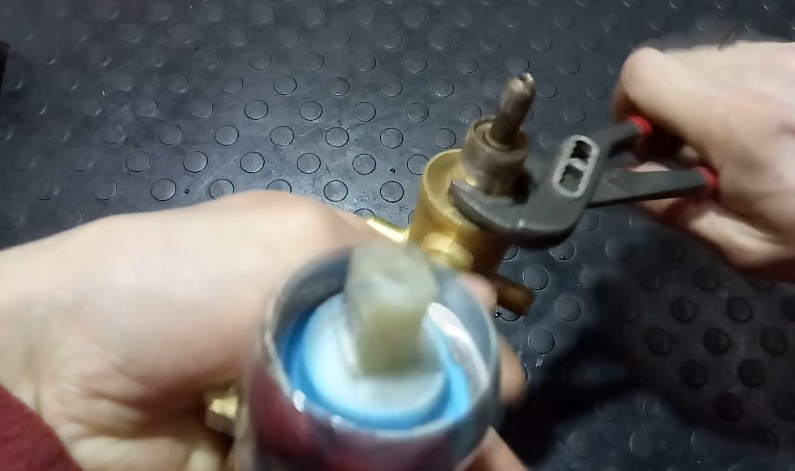
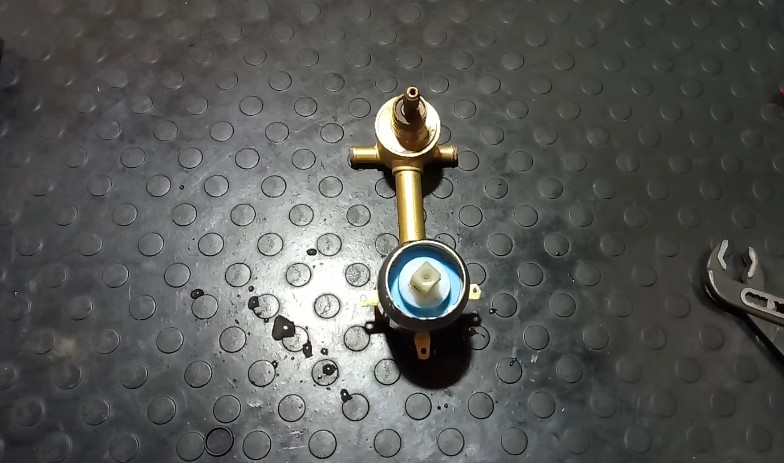
Hold the cartridge in the desired position and secure it with the nut. After installation, supply water and check operation. If no water leaks are visible and everything works as intended, close it with a nut and replace the handle.

