How to disassemble a mixer with different types of devices
More often than not, few things fail in the bathroom than the faucet. First of all, the problems are related to the locking elements - especially if the water in the tap is not of high quality. All kinds of impurities, salts, etc. do not make the “life” of this device easier. Sooner or later, the moment will come when it will need to be dismantled. Take it apart to tidy it up or make sure it’s time to buy a new one.
The content of the article
Types of mixers and their design
Of the entire range of commercially available mixers, the following main types stand out:
- with two levers;
- with one lever;
- mixers with thermostat;
- touch-controlled faucets - this category also includes smart faucets that are controlled using a display.
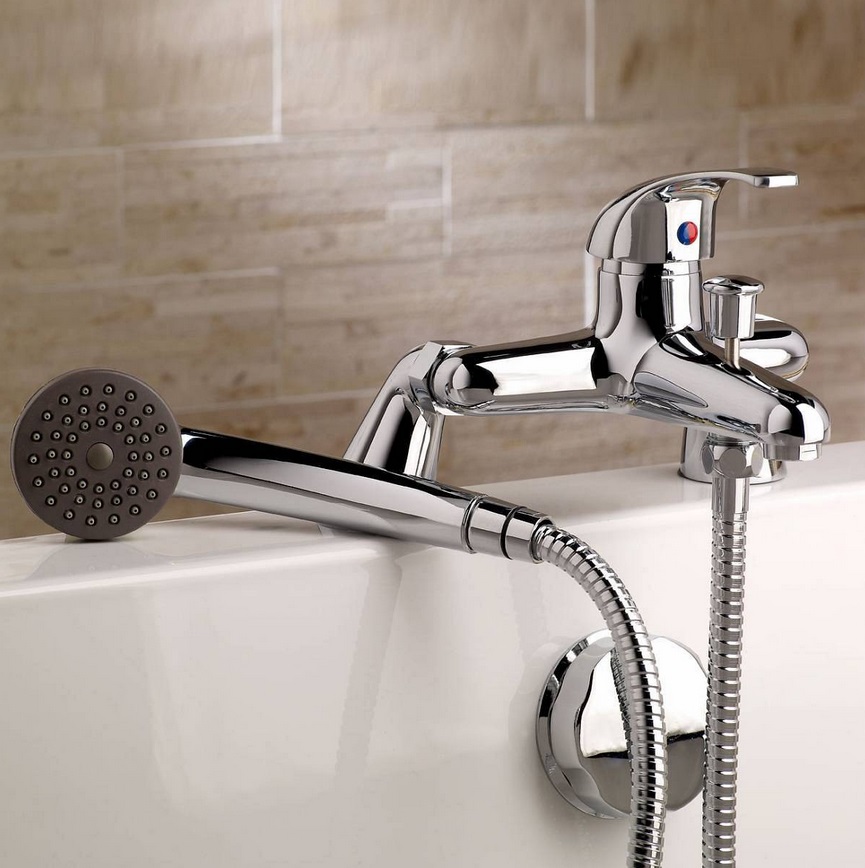
Many bathrooms and kitchens still retain the “classics” of the domestic “faucet industry” - two-valve faucets. Indeed, for a long period people simply had no other options. Such devices simply separated the flow of cold and hot water.
Somewhat later, another know-how was invented, or, to be more precise, a mixer with one lever. By moving the mixer lever up or down, you could control the pressure of the water flow, and by turning it left or right, you could switch to cold or hot water. The type of mixer, familiar from Soviet times, is gradually fading into oblivion.
Designers are trying to come up with something new, striving for a more modern appearance of plumbing fixtures. From a practical point of view, this approach has only brought benefits. Now you can adjust the device much faster, and it’s easier to control.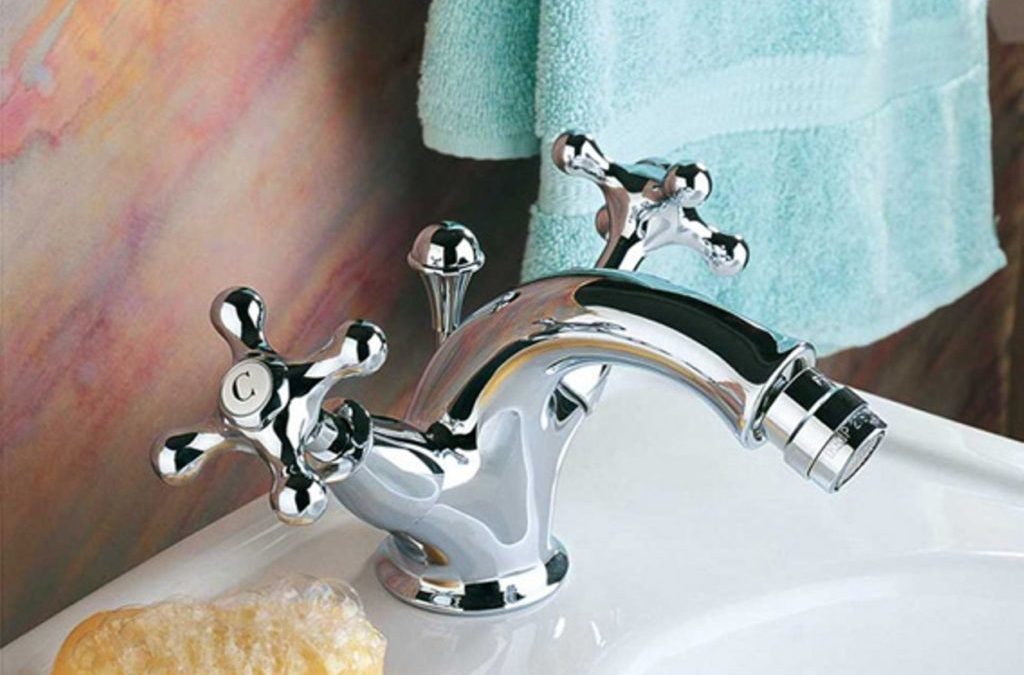
Devices with two valves are divided into two subtypes. The first includes an option in which the locking role is played by a gasket made of elastic material. The reciprocating type cartridge can open and close the passage of water. It is silicone gaskets that extend the life of such a device. The second subtype of mixers includes those in which a pair of ceramic plates serve as a locking element. The plate mounted on top can rotate, while the bottom one is fixed. This type of mixer is much more expensive than the first one.
Single lever mixer
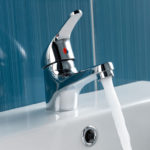
There are a lot of different holes on the body of a device with one lever; they are needed for tubes and mounting elements. The spout of such a mixer can be either movable or made as a single unit with the body. Monolithic with a body is most often found in mixers in which the handle is installed in the upper part. If the lever is mounted at the bottom, then the spout is usually very long and high. Modern single-lever taps are equipped with aerators, which not only fill the water flow with oxygen, but also significantly reduce water consumption.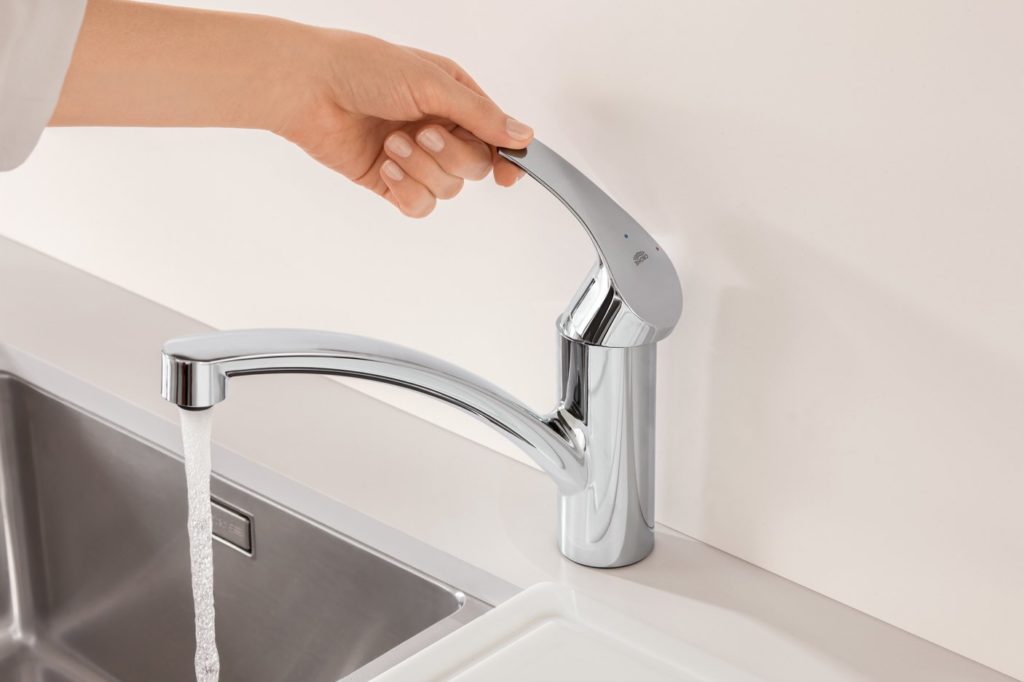
In faucets with one ball-type lever, a rounded part is located in the central part. There is a cavity inside, as well as three holes. Smooth operation and durability are ensured by a rubber seat. This element is secured with retaining rings. The mixer lever, when returned to its original position, comes into contact with the stem. When you turn the lever, the flows of cold and hot water are combined into one. If the lever is lowered, the water is shut off.
Mixer with thermostat
One of the modern models. Thanks to the built-in thermostat, the water coming from the tap always has the same temperature. The thermostat itself is hidden inside the faucet box. There are two handles to control the water flow. One of them regulates the water pressure, and the second regulates its temperature. This design of the device allows you to satisfy the needs of a larger number of users.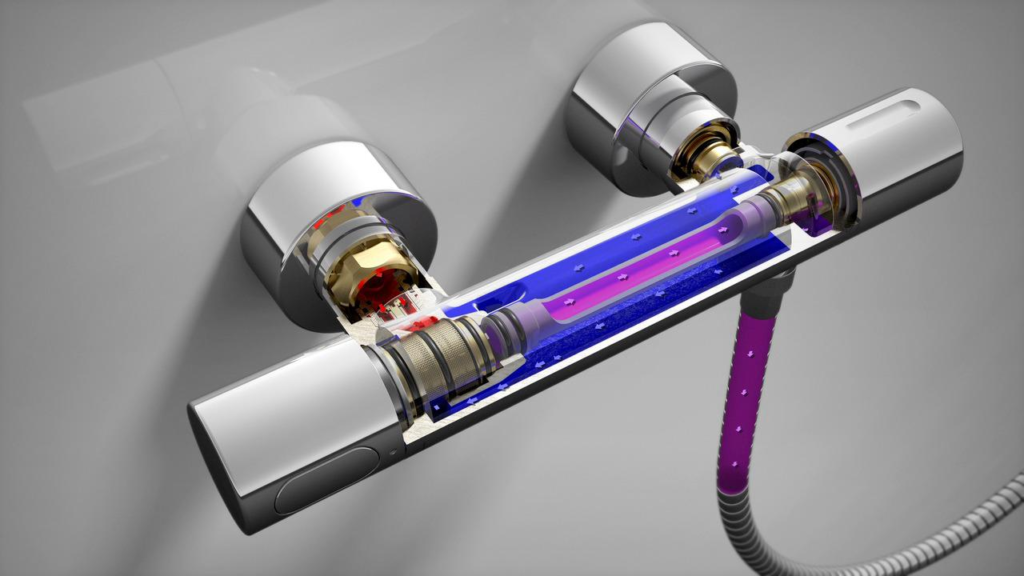
Faucets of this type are mounted either on walls or on washbasins. As a rule, the kit includes elements that limit the maximum water temperature. If something small breaks in such a device, then you can correct the situation on your own. Leave larger troubles to the specialists.
Reference. If you want to purchase a similar model, then choose it from the electronic type options, equipped with batteries and a large number of functions.
Touchless faucets
All devices where water is supplied automatically are called non-contact or, in other words, touch devices. By placing your hand near the sensor, you can activate the water supply. Thanks to this device, the time and effort required to perform simple actions is reduced.
In addition to the usual ones with sensors, there are also smart faucets. In terms of various built-in functions, they are clearly in the lead.The basic delivery of touch models consists of a one-piece body with a spout, a battery, and an electronic control unit.
Similar names:
- The mixer is automatic.
- Infrared mixer.
The sensors themselves, which are installed on such mixers, can be not only of the infrared type. Touch-controlled devices use water wisely. Perhaps some people will not like this - those who prefer to turn on the water pressure more strongly. But the fact that they have increased hygiene is definitely liked by all users. They very rarely fail and almost never get dirty. And it will certainly be difficult to create a lake in the bathroom with such faucets.
How to disassemble a single-lever mixer
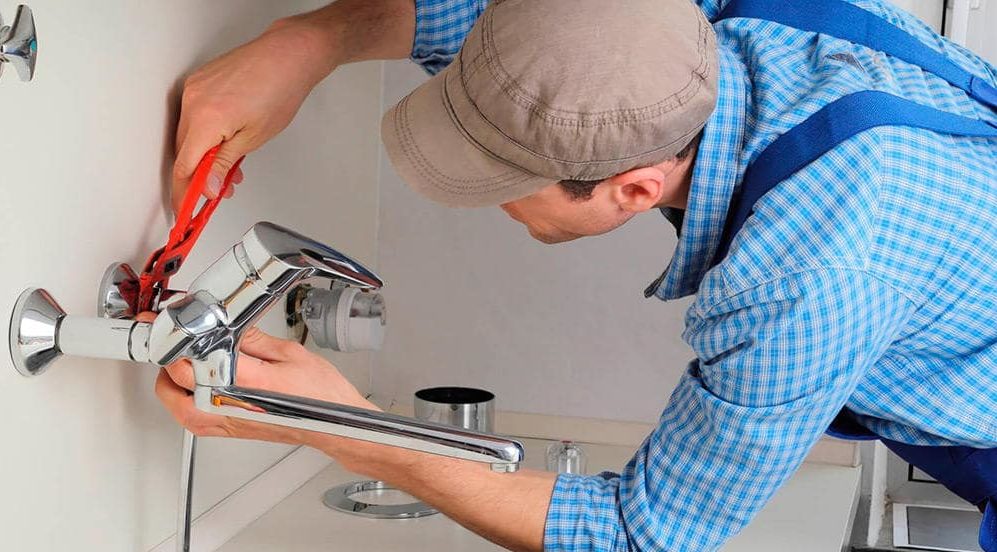
The need to disassemble a rotary mixer may arise for various reasons. In any case, you first need to prepare the necessary tools. The following may be useful at work:
- pliers;
- sharp knife;
- set of wrenches;
- adjustable wrench;
- Screwdriver Set.
The steps that will have to be taken to disassemble the device will differ slightly depending on the cartridge model. And it can be made of ceramic or spherical.
First you need to remove the plug, which is marked with red and blue circles. This can be done with a screwdriver, or you can pry it off with a knife. Next, unscrew the screw holding the lever. After this, you can remove the handle from the body and then we will get to the upper half of the cartridge, which has a clamping nut and a rod. The clamp, which has edges, can be removed with a wrench, and in order to unscrew the round nut, you will need a screwdriver. Next, remove the cartridge.We remove the body from the base and all the elements that are still present.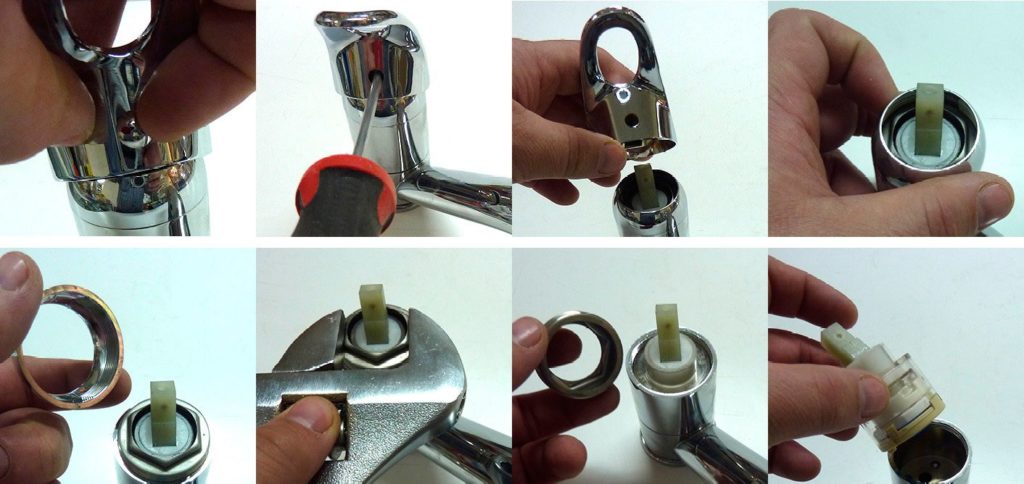
If the mixer is equipped with a ball valve, then it will have to be disassembled a little differently. First of all, you will need to loosen the fixing screw and remove the handle. Using a screwdriver, you need to press on the ring and turn it slightly against the clock. We use pliers to separate the dome, the main thing is to do it slowly and carefully, otherwise you can damage the ring underneath it. Now you can unscrew the ring and remove the shield-shaped element. Now all that remains is to remove the ball and remove the body.
Disassembly procedure for a two-valve mixer
Usually, the need to completely disassemble this faucet arises if a defect is visible, water is continuously dripping or leaking somewhere. If all of the above is clearly not your case and outwardly everything seems to be normal, but... it’s working “somehow wrong,” this indicates the need to buy a new device. First you need to take the old one apart and look. If there are minor problems with the valve or with both at once, then it is quite enough to unscrew them and inspect them for damage and return them to their place.
First of all, you need to get rid of the plugs that are installed on the valves. Next, we arm ourselves with a Phillips screwdriver and unscrew the screws that are found under the plugs. We take out the valve and unscrew its inner part. Let's see what condition the sealing elements and the thread itself are in. It is likely that they could be displaced or deformed.
Often, in order to return a kitchen faucet to “functional”, it is enough to carry out cosmetic sanding and cleaning. To disconnect the spout, you only need to unscrew the nut. If a problem can occur with the spout, it is usually closer to the body; maybe there is something wrong with the aerator.To disassemble everything completely, you will have to disconnect the mixer from the wall and remove the cartridges.
Is it possible to disassemble a mixer with a thermostat yourself?
Very often, owners of such devices ask the question: “Is it possible to disassemble such a mixer yourself?” Of course, anything can be taken apart. The whole question is different: will it be possible to assemble it, and even make it work?
In any case, the first step is to remove the cover and remove the screw. Next, remove the handle, as well as the locking ring. To find the screw, just look at the bottom of the thermostat block.
Attention! This screw is very small - it fits easily in the palm of your hand. He also tends to get lost. It's quick and complete, so be careful with it.
You don’t have to worry about how to unscrew the screw, since the package includes a special key for this task. After unscrewing the screw, remove the block. Actually, that's all. What they could, they took apart.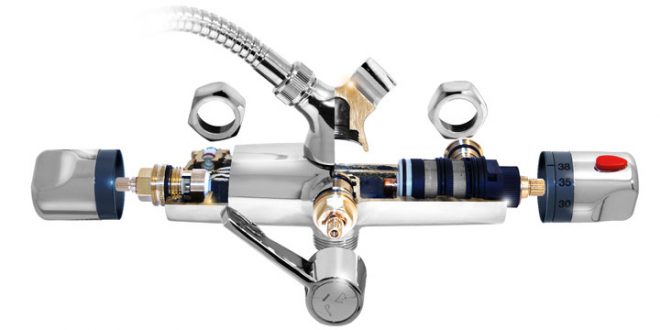
And now we need to try to put everything back together as it was and manage to make it work. A certain algorithm is needed here. We place the block in the body, while trying to fit the hole onto the recess of the thread. We tighten the screw into this recess.
It would be a good idea to lubricate the sealing elements with Vaseline. Preferably not the one you use yourself, but a plumbing one. Now set the temperature so that the knob indicator matches the set temperature. We turn the rod until its mark coincides with the mark on the body. We put back the retaining ring.


