How to fix a bathroom faucet if it's leaking
A leaking faucet in the kitchen or bathroom is a phenomenon that virtually everyone has encountered at least once. Not a single plumber recommends leaving a leak unattended for a long time: not only can a constant “drip” leave a mark on the particularly sensitive coatings of sinks and bathtubs, but also monthly water costs will increase significantly, and this will already affect utility bills. In this article we will tell you how to fix a leaking faucet yourself.
The content of the article
Possible causes of leakage
Plumbing experts identify only four main reasons for leaks in household faucets:
- development of service life of seals and gaskets of the device;
- natural wear and tear of the locking element (faucet axle box or cartridge);
- incorrect assembly and installation;
- manufacturing defects.
There are two most common types of faucets installed in modern apartments and residential buildings: double-valve and single-lever, and the latter, in turn, are of the cartridge or ball type. Next, we will look at the nuances of repairing each of these types in more detail.
How to fix a two-valve faucet if it is leaking
The first thing you need to determine when repairing a two-valve model is the type of valve axlebox.They can be half-turn (leaks appear due to wear or damage to the ceramic locking plates) and valve-type (leaks appear due to wear of the rod seal).
Reference. Valve mechanisms of crane axleboxes are also called “wing” mechanisms.
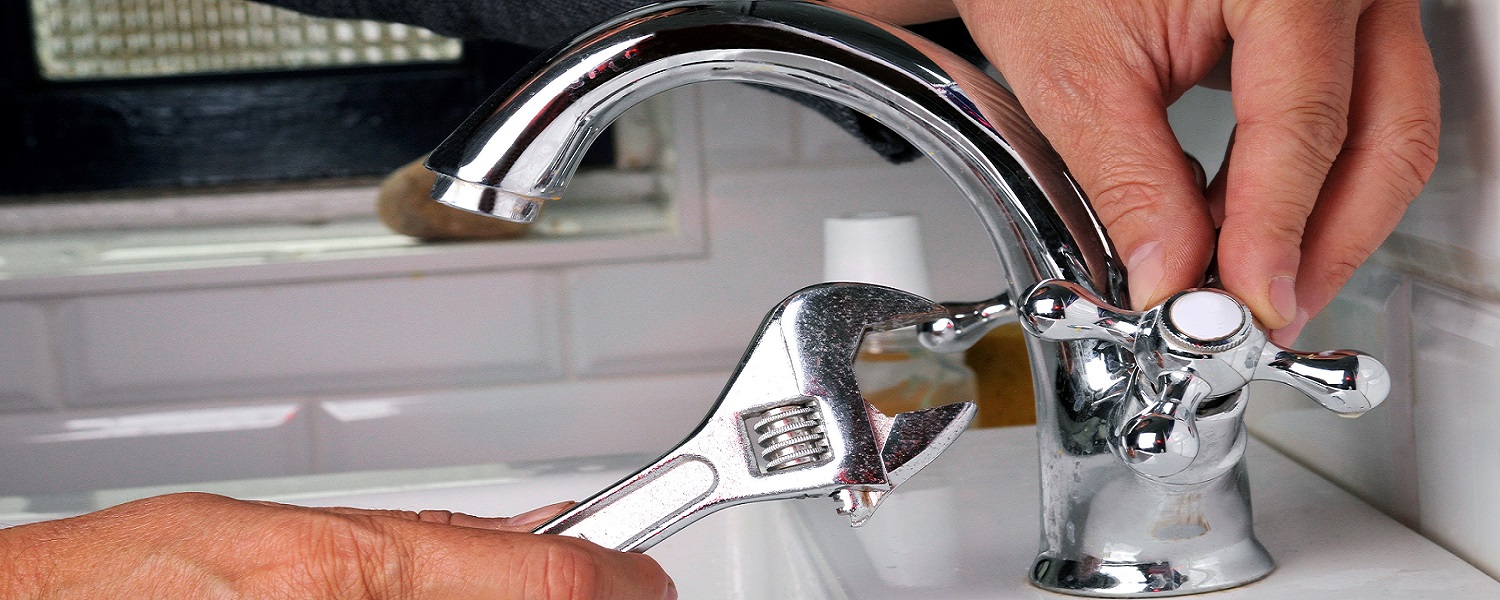
To fix a leaking valve box, simply replace the rubber sealing element at the tip of its stem. For this you will need:
- Remove the valve handle.
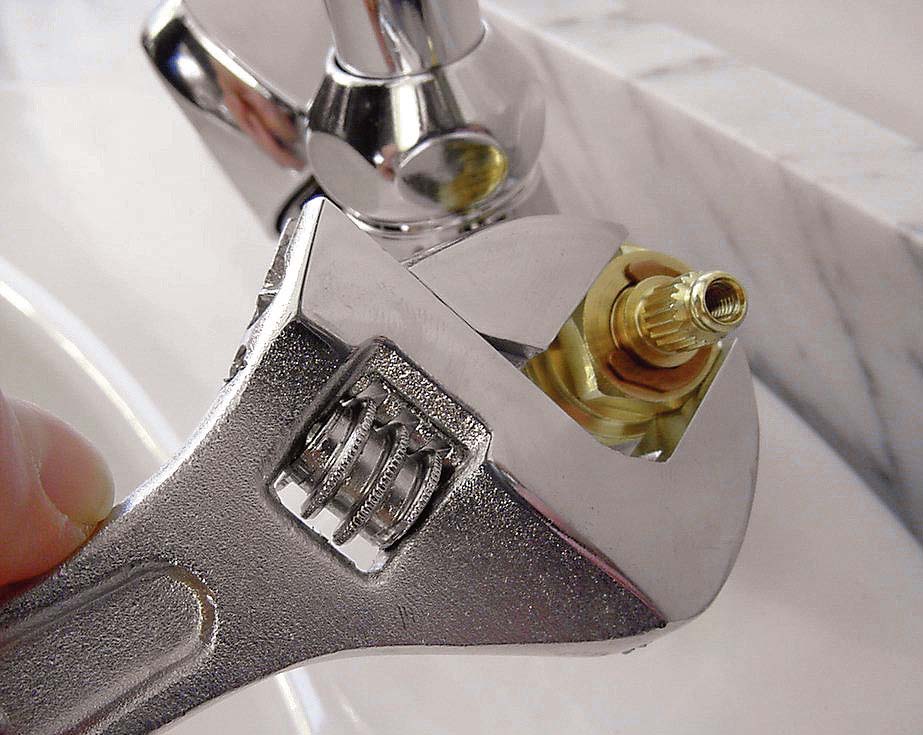
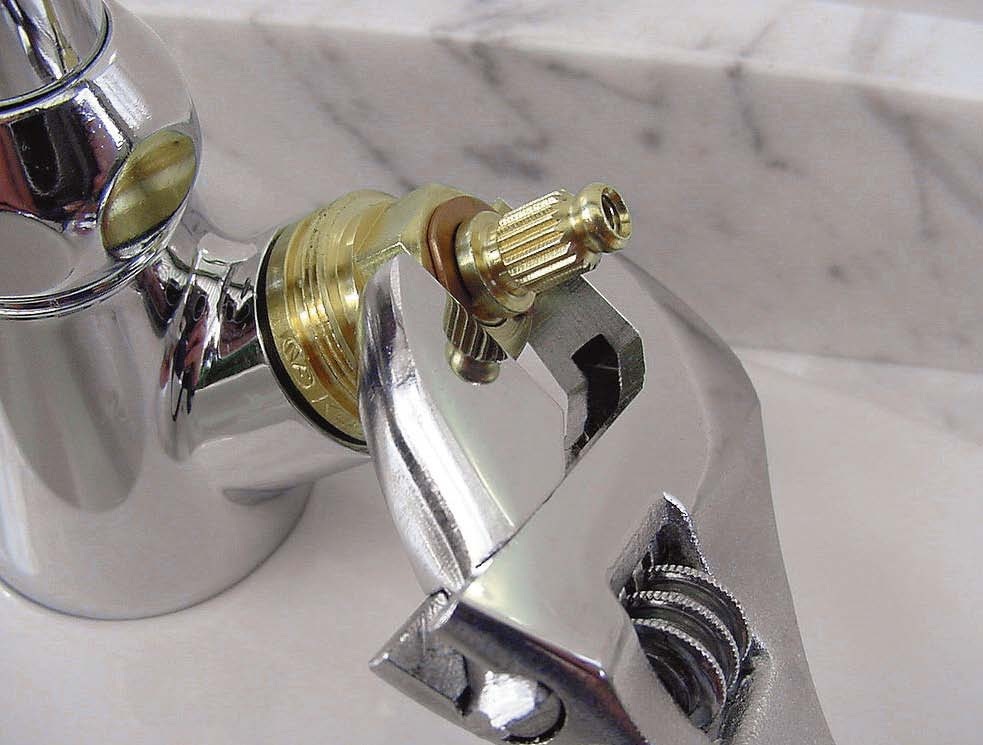
- Unscrew the valve axle using a suitable wrench.
- Remove the used oil seal and, if necessary, clean its location from rust and dirt.
- Put on the new sealing element and reassemble the mixer in the reverse order.
If we are talking about semi-rotary crane axle boxes, then the mechanism for repairing them will look a little different:
- Prepare a new axle box and turn off the water.
- Remove the decorative valve plug by prying it with a screwdriver or unscrewing it if there is a thread.
- Carefully unscrew the screw that secures the valve (the situation can become more complicated if the screw is soured from rust and is firmly “stuck” in the valve).
- Unscrew and remove the worn axle box.
- Put a new one in its place and assemble the structure in reverse order.
Important! Do not over-tighten the axle box: over time, the connection may succumb to corrosion, and it will become much more difficult to unscrew it.
Single lever mixer repair
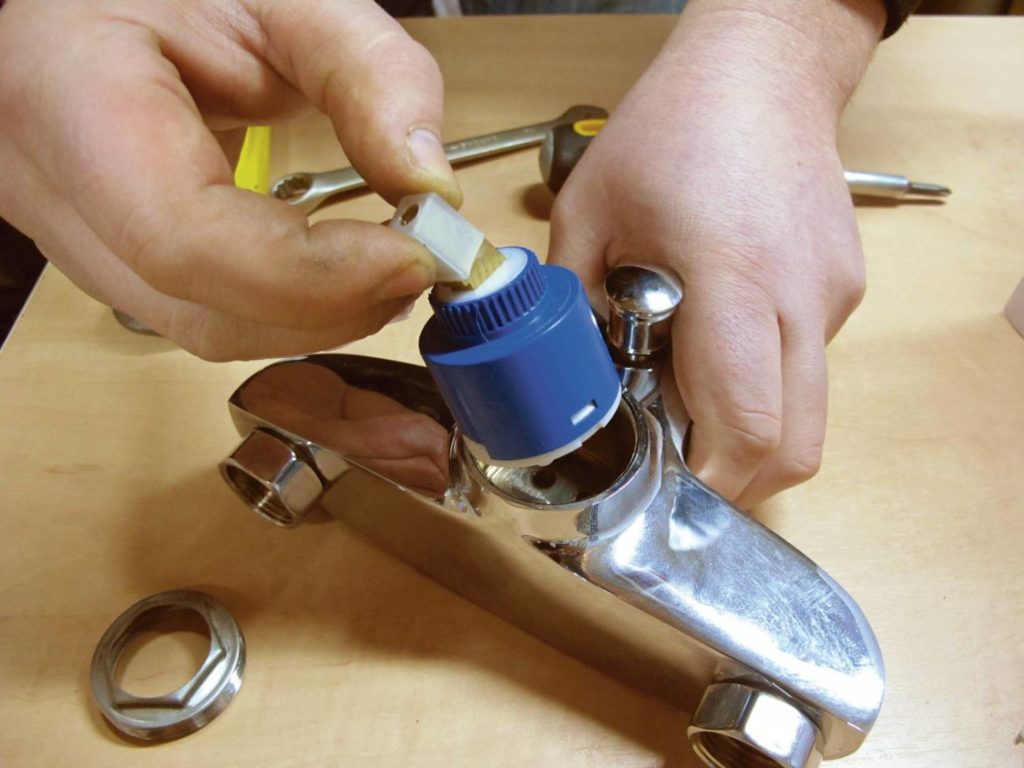
In recent years, single-lever faucets with a cartridge have become one of the most common for installation in virtually any residential or industrial premises. The cartridge of such a device has the shape of a small “barrel” with rotating ceramic elements inside, the main function of which is to shut off the water entering the device.
If water flows from under the lever or from the tap itself, or the handle is jammed, or the mixer has stopped “catching” the average temperature (boiling water or an ice stream is pouring from the tap), the entire cartridge of the device is replaced, since there are no replacement elements for such models.
To change the cartridge of a single-lever mixer to a new one, you will need:
- turn off the water supply to the mixer;
- using a screwdriver, pull out the plug that closes the handle lock (usually it is made in the form of a blue-red circle indicating the sides of the water supply);
- Loosen the screw that opened under the plug a couple of turns, and then remove the mixer handle;
- unscrew the dome-shaped cover under the handle;
- Using a suitable wrench, unscrew the locking nut under the trim;
- take out the worn-out cartridge and, taking it with you, ask the plumbing store salesperson to pick up the same one;
- mount the purchased cartridge in place, tighten the locking nut and assemble the mixer in the reverse order of the disassembly algorithm.
Important! At the bottom of the cartridge there are special protrusions that must be inserted into grooves on the faucet body. Otherwise, the tap barrel may break during reinstallation.
Despite the fact that ball valves are among the most reliable, leaks when the shut-off ball wears out also occur with them. The algorithm for replacing it looks like this:
- The decorative rivet is removed, after which the screw securing the mixer lever is unscrewed.
- The overhead cover and the nut hiding behind it are dismantled.
- As carefully as possible, the cam washer containing the locking ball is pulled out of the disassembled structure.
- The ball is pulled out of the washer (it is better to replace the latter if it is worn out) and inspected for wear. If the condition of the ball is satisfactory, you can do without replacing it by treating it with a soft cloth sprinkled with a cleaning agent (not an abrasive one).
- If the ball has serious defects, a new one is put in its place and all elements are reinstalled.
- At the faucet assembly stage, special attention must be paid to the correct installation of the springs in the recesses intended for them.
Other faults
Most bathroom faucets come with a special switch that allows you to direct the flow of water either to the faucet or to the shower. Such switches can be pendulum or push-button, and if water flows from the shower and tap at the same time, the problem is clearly in them.
In the case of a pendulum (also called a rotary) switch, the procedure for replacing a worn spool is reminiscent of the process of replacing the gasket on the axle box, which we have already discussed above. As for push-button switches, they most often have a gasket that fails, which can be changed as follows:
- Using an adjustable wrench, unscrew the button.
- Replace the rod sealing washers with new ones.
- Insert the button into the housing and screw it tightly enough.
If the button sticks in any condition, then the cause is most often wear of the spring. In this case, you need to replace the entire switch by removing it and installing a new one.
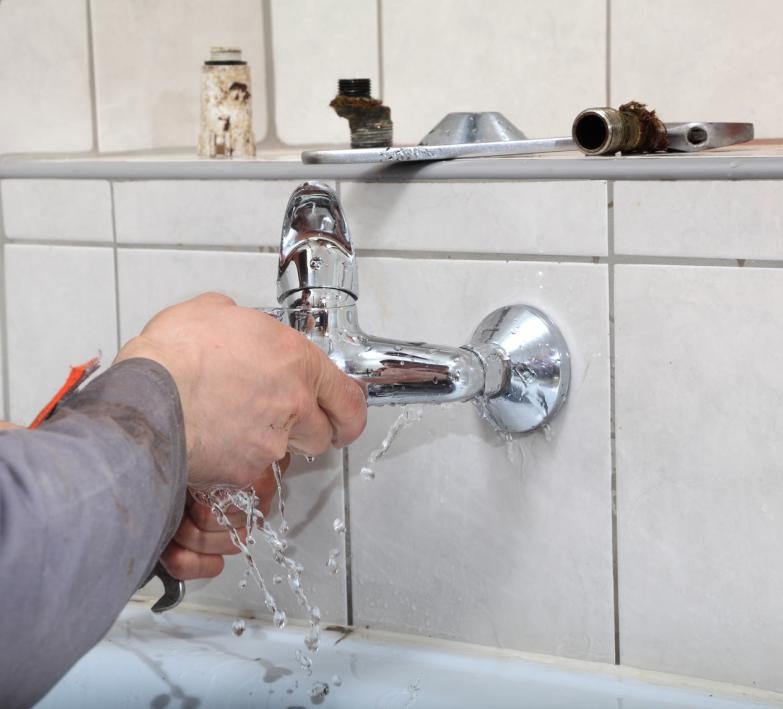
Another common malfunction is a leak at the connection point of the so-called shower head to the mixer. To eliminate it, you need to unscrew the nut securing the gander and use tweezers to remove the worn gasket.
Please note that the gooseneck mounting nut is not removable, so the spacer can sometimes be difficult to remove. If the gooseneck with a new gasket fits into the mixer body too difficult, you can lubricate its ring with plumbing sealant, at the same time sealing the connection.