Instructions and tips on how to assemble a bathroom faucet
There is no doubt that any owner of a bathroom that has a faucet has at least once encountered the need to replace it. Perhaps the old one has already lost its former beautiful appearance, has fallen into disrepair, or maybe during planned repairs they decided to replace the plumbing. Of course, you can always dial the number of a plumber and entrust all the worries to him, but... You have to pay for it. Or you can pay nothing and replace everything yourself. And spend the saved money on other needs. It’s not that difficult to replace the mixer.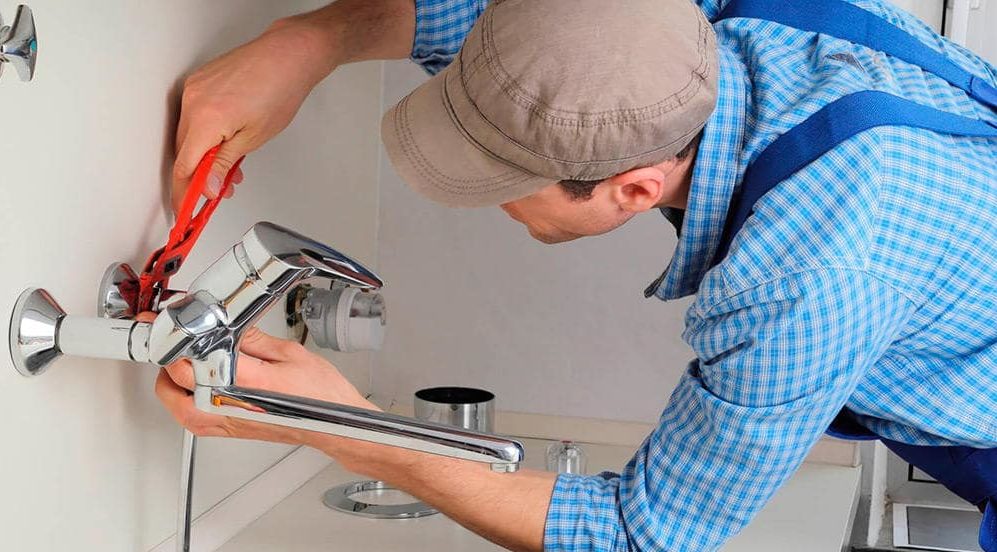
The content of the article
How to prepare for faucet assembly: necessary tools
Before you look important and get to work, you should prepare the room. It would be a good idea to hide all bath accessories in cabinets and close them tightly. Or better yet, move it to another room altogether. It will be more reliable this way.
Make sure that both hot and cold water are turned off. Now you need to stock up on regular cellophane. They need to close both the sink and the bathtub; if there is a shower, then that too. And so that your wife doesn’t force you to wipe the dust off the shelves, you should also hide them behind film protection.
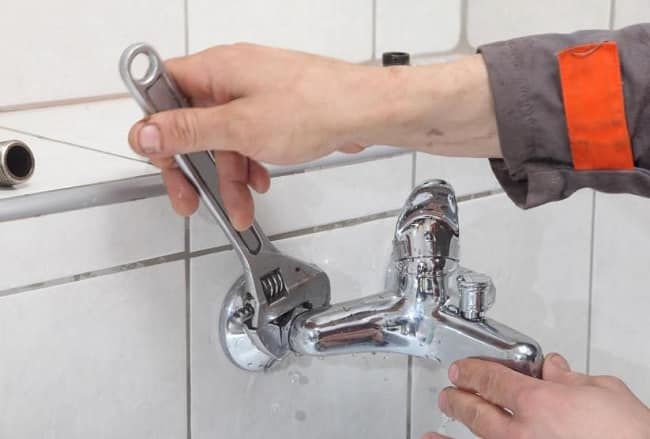
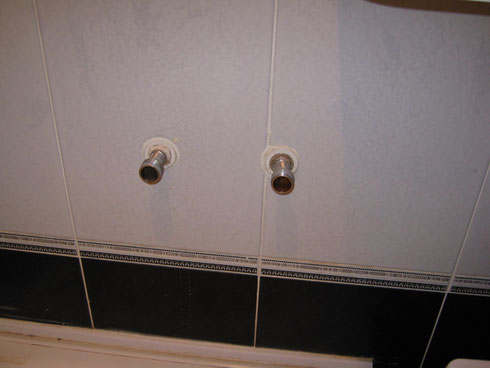
Now you can remove the old mixer. In fact, it is this process that takes the lion’s share of time. You need to act especially carefully here, especially if there are tiles in the room.Even a small scratch or small chip will immediately ruin the entire impression of beauty. And the wall itself should be left as intact as possible. Otherwise, you will have to spend a lot of solution to seal the holes:
- Dismantling should begin with checking the taps that shut off the water supply.
- We check them by cranking them to the limit. If the movement is tight (apparently, there are deposits inside), then they can be worked out a little by opening and closing several times. Then open the faucets and make sure that neither cold nor hot water flows.
- Using an adjustable wrench, unscrew the two nuts that are on the eccentrics. After this, you can safely remove the mixer, which has served you faithfully for so long (or not so long).
- The old eccentrics can be left if their condition is satisfactory and they are well made.
- However, if your mixer is old, then you will have to get rid of the eccentrics in any case. And a gas wrench can handle this. Take it and make yourself comfortable. Use the jaws of the wrench to grip the inner edge of the wide thread. Move the key counterclockwise. Use extreme caution when doing this. The eccentrics themselves are a very fragile product and can easily break. Therefore, do not put too much pressure on the key.
One of the important stages of all work is the preparation of tools. Everything should be at hand. Then it will be possible to install a new device easily and without unnecessary problems. You will need to stock up on the following set:
- buy the faucet directly and all the fasteners for it;
- prepare an adjustable wrench;
- you will need a screwdriver and a hammer;
- To fill all the holes, you will need cement mortar.
Mixer assembly process
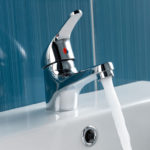
The faucet is supplied unassembled and must be assembled before installation. The design of this product allows you to simultaneously direct both hot and cold water to the tap. And since there are a huge number of different modifications on sale, sometimes you need to work hard to assemble the entire structure. Let's see how the most ordinary mixer is assembled.
Having opened the box, you need to check whether everything is included in the delivery set: the box should contain the head of the faucet itself with a flywheel, as well as a rod, a spindle and a valve should be installed inside the body.
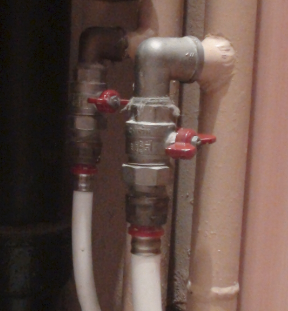
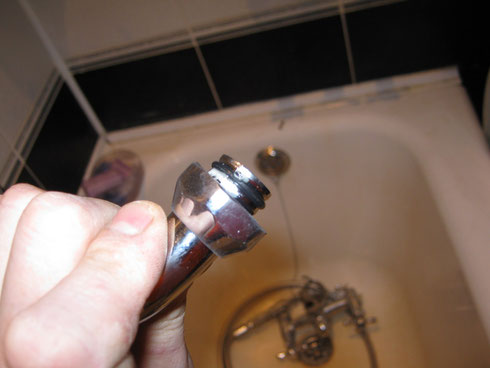
The first step is to install the eccentrics. As a rule, they have a factory sealed winding. If the purchased kit does not have such a winding, then you need to apply it to avoid leaks. For this, the most ordinary linen or fluoroplastic thread will do.
If the thickness of the walls in the room is large and additional adapters are required to install the mixer, then a sealing winding will also be needed on their threads. Check if the eccentrics screw in easily. If they do not match in size, the simplest thing you can think of is to buy others. Their price is affordable. Remember the center of their displacement, as well as the number of revolutions when twisting. Unscrew them.
It is necessary to inspect the end part of the eccentrics. Take something hard and smooth and apply it to the end. If there is no gap between the object and the eccentric, everything is fine. You can twist them. To do this, you will need to turn the adjustable wrench five times.
Attention. Tighten so that the turn is towards the seal. This is very important for a quality installation.
When screwing in the eccentrics, be careful not to damage the winding.It should fit snugly on the threaded connection.
Mixer installation
Finally we got to installing the mixer itself:
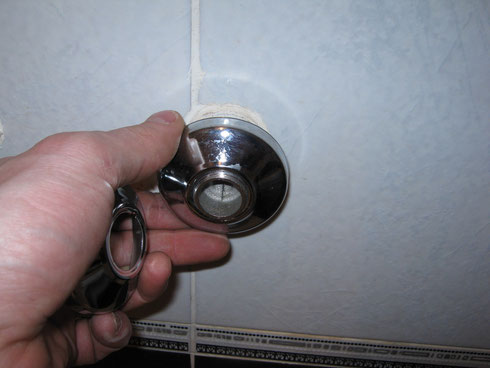
- Before installing the mixer, you need to install gaskets on it, and screw decorative cups onto the eccentrics.
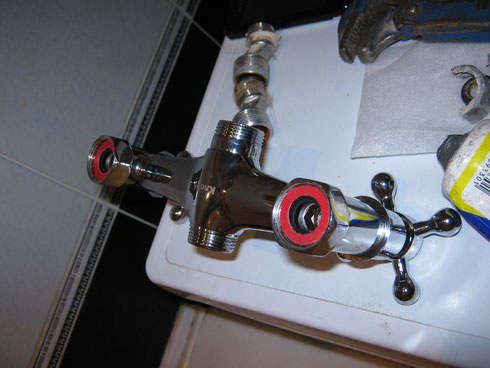
- The cups need to be tightened until the very end of the thread; in this position they will not interfere with tightening the nuts.
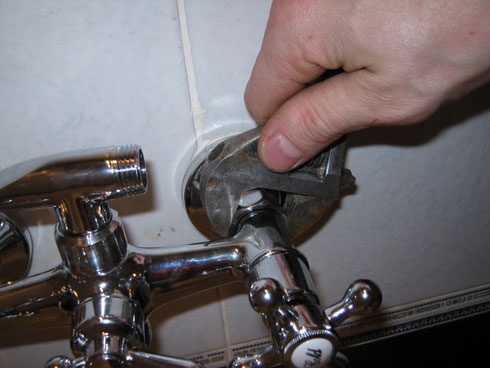
- The nuts themselves are tightened by hand as long as possible, and only then should you use an adjustable wrench. The main thing is not to make unnecessary efforts so as not to overtighten. To avoid scratches, you can place paper or cloth between the nut and the key.
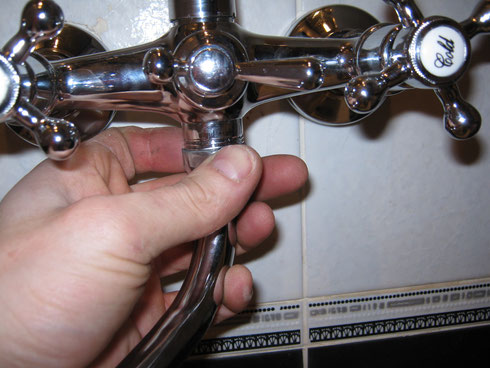
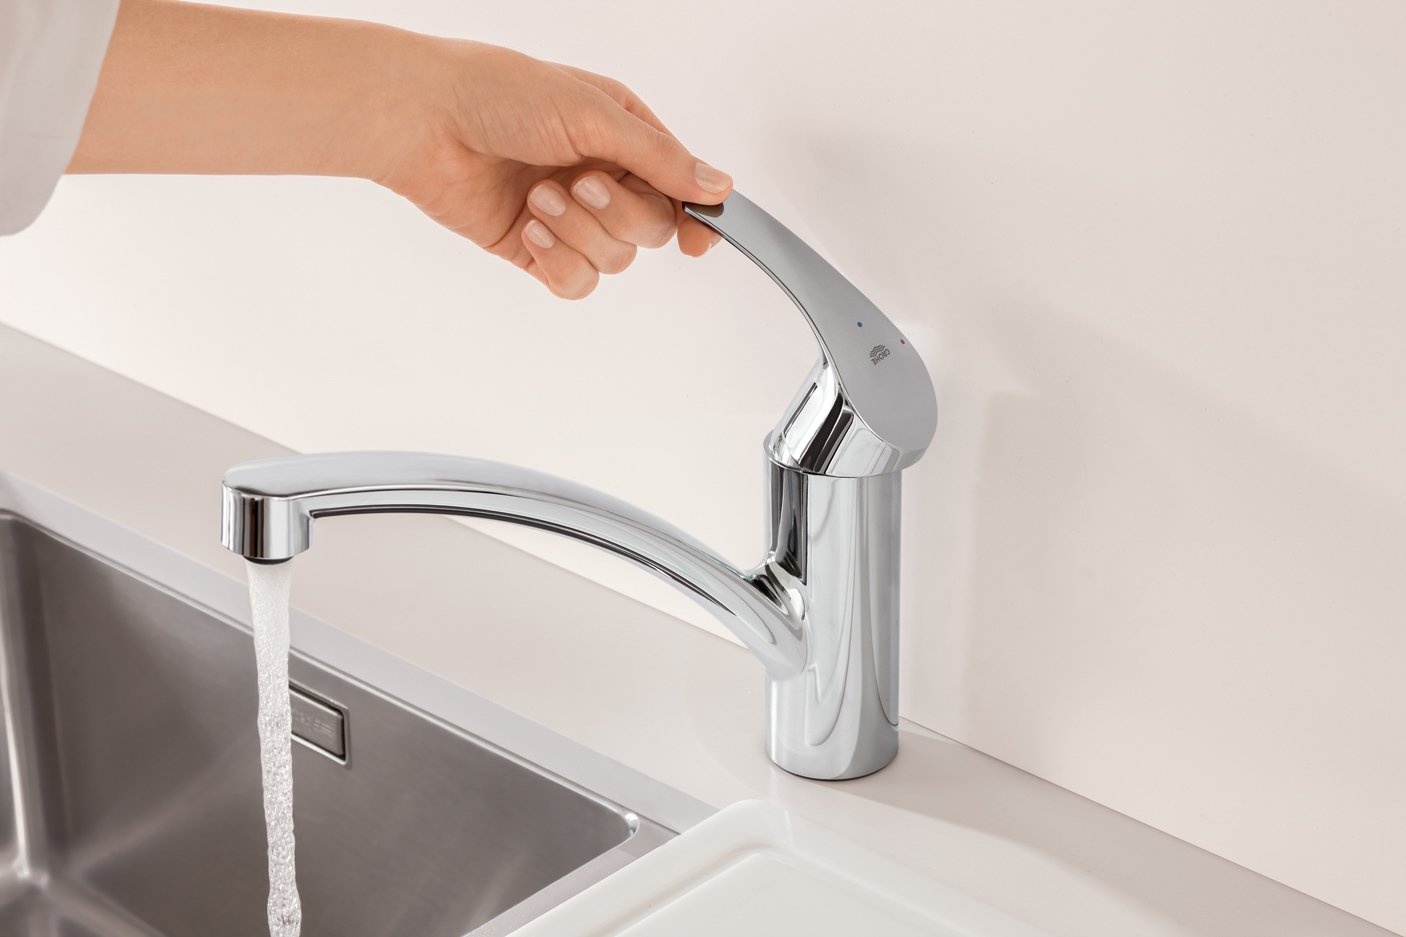
- Now you can install all the other parts - the spout itself, as well as the hose and shower head.
- To avoid clogging the sprayer, you can unscrew it.
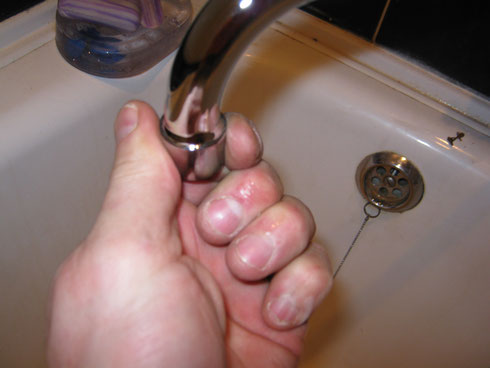
When all installation work is completed, you can check how everything works. Turn on the water. Both cold and hot. If you notice a leak, tighten the connections until the leak stops.
Check all functions sequentially and monitor the process.
As you can see, there is nothing difficult in replacing an old faucet. The main thing is to be careful when dismantling it. And, of course, prepare everything necessary for the subsequent installation of a new product. As a result, the mixer will be installed and someone else’s uncle will not have to pay money.