Installation of shower glass, action plan
In addition to the need to assemble a shower tray that holds the entire structure, it is very important to correctly assemble the front windows. When assembled, they represent a frame along which the door moves and the rear walls are attached to it.
Assembling the rear walls is a relatively easy process, there are no questions with it, but with the front windows it will be more difficult.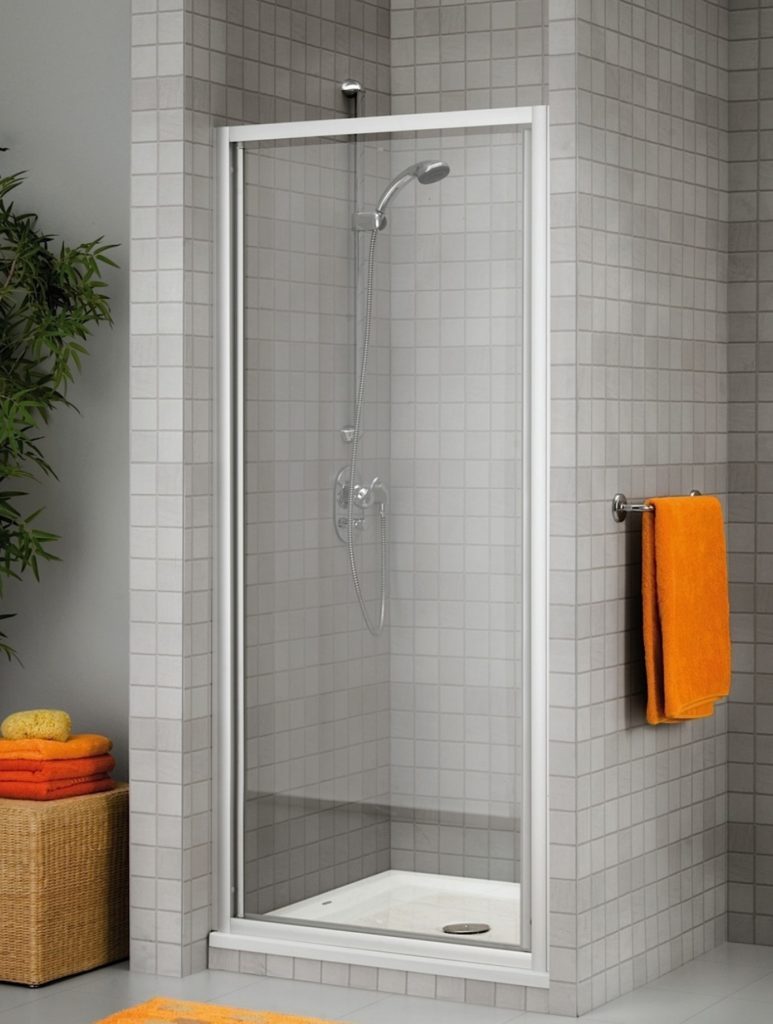
The content of the article
A necessary tool for installing glass and shower doors
Assembling front windows alone is a very inconvenient and time-consuming task. You'll have to get a partner.
Before you start assembling, cover the floor with the cardboard in which the glass was packed, or with fabric. Remove the glass carefully and do not place it on the corners.
Before you begin assembly, prepare the necessary tools:
- electric drill;
- spanners;
- hex wrench;
- building level;
- plumb line;
- silicone sealant;
- flashing;
- self-tapping screws;
- roulette.
The above list is sufficient not only for installing the front panel, but also the booth doors.
Types of shower doors
Before you begin any installation actions, you should understand the most popular door operating mechanisms:
- Swing type. This is the easiest to install and most common option, but it requires a special door frame and additional free space so that the doors can open. Most buyers prefer this type of design because it is affordable.
- Pendulum type. This is a type of swing option. It is distinguished by the absence of a door frame. The door moves freely in and out. The cost is low, and the appearance is very impressive, especially if the walls are transparent. The effect of weightlessness is created. No dome or tray installation required. The disadvantage of this model is the possibility of spontaneous opening.
- Sliding type. Similar to wardrobe doors. Door movement is ensured by guide rollers. If you need to save space in the room, this is a good and common option.
- Folding type. Outwardly it looks like a screen. The look is very attractive and unusual, but it takes a lot of time during installation. Not the most common option.
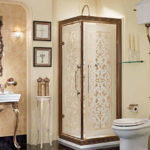
Installing glass in the shower
There are five main stages in the process of assembling shower glass.
First stage
You need to start the assembly by connecting the horizontal and vertical profiles that form the frame. The profiles are connected with self-tapping screws, for which there are two holes on the side in the lower and upper parts.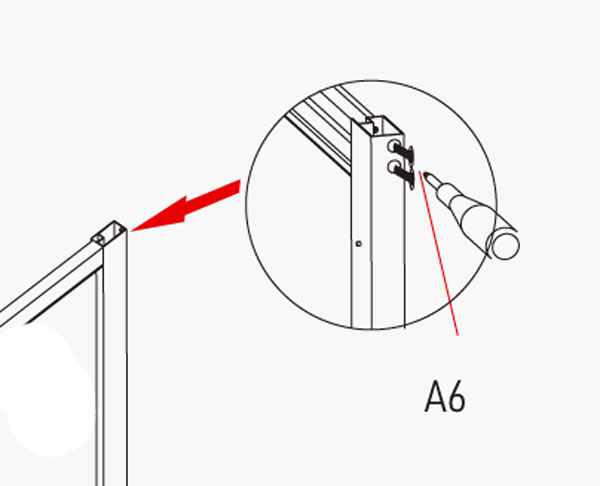
Your partner will have to hold the profiles at an angle of ninety degrees. In this case, you need to tighten the screws with a screwdriver. Since there is a risk of overtightening them, it is better to refuse a screwdriver.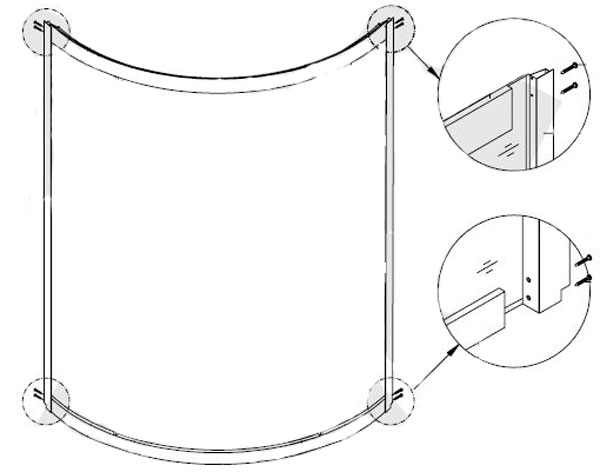
Reference. The dimensions and shape of the shower cabin do not affect the assembly process of the front frame.
Second phase
Next, you need to install fixed glass into vertical profiles.
The glass must be installed in the existing groove in the profile - before this, a rubber seal is put on. It must also be placed on the lower edge of the glass, which is installed on the horizontal profile.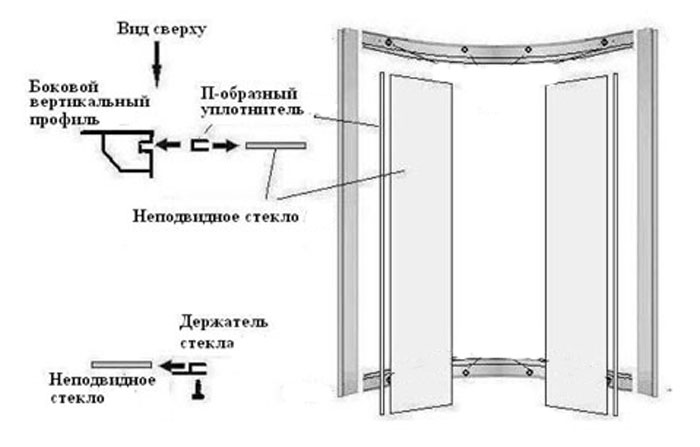
If the length of the seal is longer than necessary, and they are often supplied in the form of a coil, then you need to measure the required size and cut it with scissors.
Insert glass carefully, do not use a hammer. If things are not going well, you should apply sealant to help the glass slide better.
Third stage
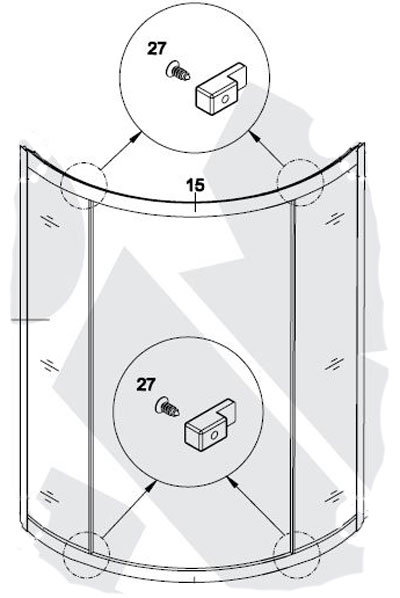
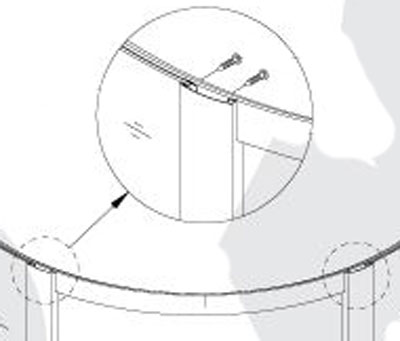
Once the fixed glass is installed in the profile, they need to be secured with screws and fasteners.
There are three types of fasteners. The use of one type or another depends on the shower model:
- fastening on the corners - if there are no prepared holes in the profile, then use a three millimeter drill;
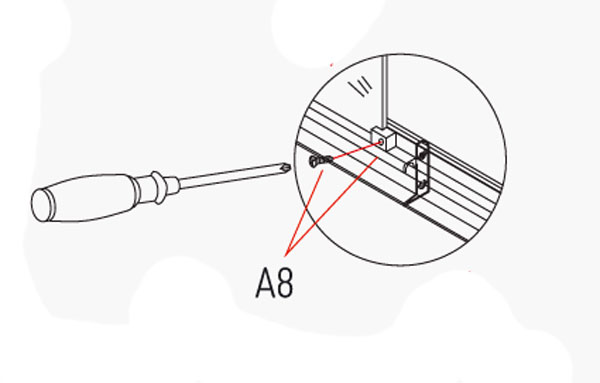
- fastening on a narrow profile;
- mounting on a wide profile.
Fourth stage
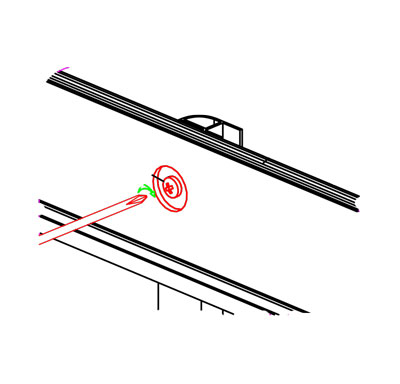
If there are no rubber bumpers on the profiles, then they need to be installed.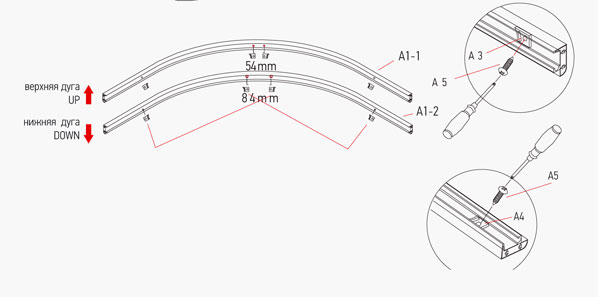
Fifth stage
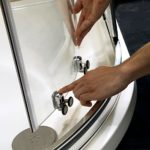
Now you need to assemble and install the doors. Handles with rollers are secured to the door glass. Rollers equipped with adjustment buttons are fixed at the bottom.
After this, you need to put on magnetic seals, as well as water cutoffs.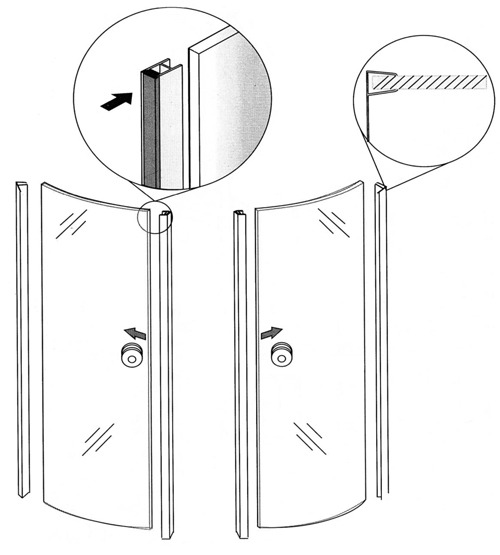
The doors are hung on the front frame - for this, the upper rollers are inserted into the groove. After this, the same is done with the lower rollers - to do this you need to hold down the buttons on them. The door needs to be adjusted to ensure it closes tightly. This is done using adjusting screws on rollers.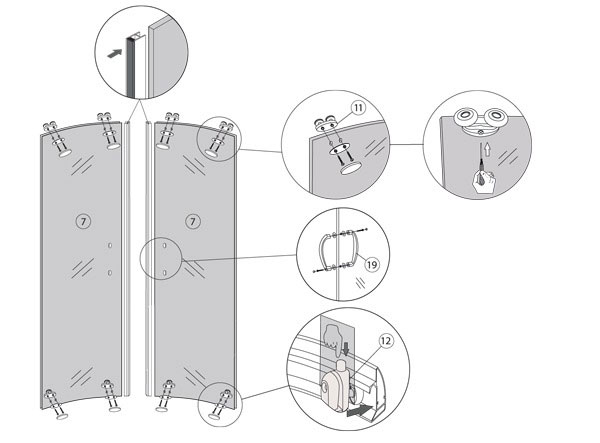
At this point the work can be considered completed. Now you need to install the resulting structure on the pallet. You can't do this without a partner.The pallet and frame are not fixed to each other, since the rear wall is fixed to the frame and fixed to the pallet. All this makes the design quite reliable.
In individual showers, it is necessary to fix the tray to the front frame. But if this is not done, then nothing catastrophic will happen.