How to make a countertop for a bathroom sink
If you want to create an original and unique bathroom design and at the same time are partial to hand-made items, then you can try to make a countertop for the sink yourself. And then enormous creative freedom will open up before you, because you won’t have to painfully search in the store for the only option that would suit both the size, the interior design, and your taste - everything is in your hands!
The content of the article
Materials for making a countertop for a bathroom sink
In this regard, you also have complete freedom.
For example, you can choose natural or artificial stone, although this is, to put it mildly, an expensive option. In addition, it is not so easy to work with it, and it has significant weight. But the result is worth it - such countertops look truly luxurious.
A more budget option is laminated chipboard or MDF. Even beginners can work with it, but it also has disadvantages. Such a countertop may become deformed over time due to humidity, especially if it is damaged (for example, scratches and chips).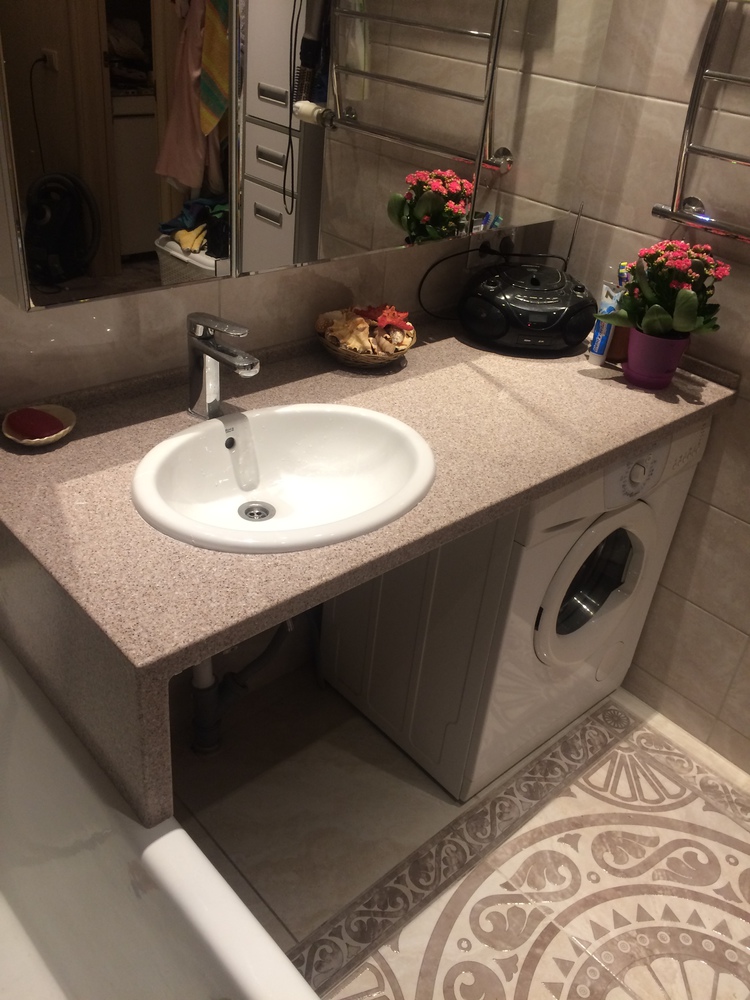
If you still want to have a wooden surface in the bathroom, it is better to choose hardwood, it is much more moisture-resistant and durable.
Reference. It is varnished for additional protection.
Another simple and inexpensive option is good old plastic. It weighs little, does not become moldy and does not react to water in any way. Its only drawback is its low strength. Plastic surfaces become scratched quite quickly.
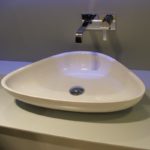
A material that can compete with stone in its sophistication and originality is glass. Since special, hardened material is used for countertops, you don’t have to worry about its strength. However, such a surface requires constant care - any prints, drops and stains on it immediately catch the eye.
Reference. If such a countertop is deformed (for example, cracks or chips appear on it), then you will not be able to fix it yourself, and repairs are usually so expensive that it is cheaper to purchase a new one.
Drywall is an ideal material for making it yourself. You can give it any desired shape, even the most complex and unusual, and as a result you will get a durable and rigid tabletop. But this material itself does not tolerate moisture well, so it will require additional cladding, for example, mosaics or tiles.
Wood table top manufacturing technology
The first step is to make a drawing on paper marking the location of the fasteners and the holes for them. In accordance with it, these holes are drilled on the workpiece for the tabletop. Larger ones (under the sink, faucet and water hoses) are cut out using a jigsaw.
Now let's move on to measurements again. This time you need to determine the height at which the countertop with the sink will be located.
Reference. When making calculations, take into account the presence of small children in the house, so that it is convenient for them to wash themselves.
After this, we make two supporting elements from wooden boards.
Before fixing it in its place, the tabletop and all the elements attached to it should be given an aesthetic appearance. Therefore, at this stage, it and the legs are sanded and varnished.
After it has completely dried, it is time to attach the tabletop to the wall. Drill two holes in it, insert dowels into them and attach the brackets to them using self-tapping screws.
Screw the legs to the tabletop using wood screws and steel corners. It's time to install! Place the tabletop against the wall and screw it to the brackets. And the last step all you have to do is install a sink on it and connect the communications.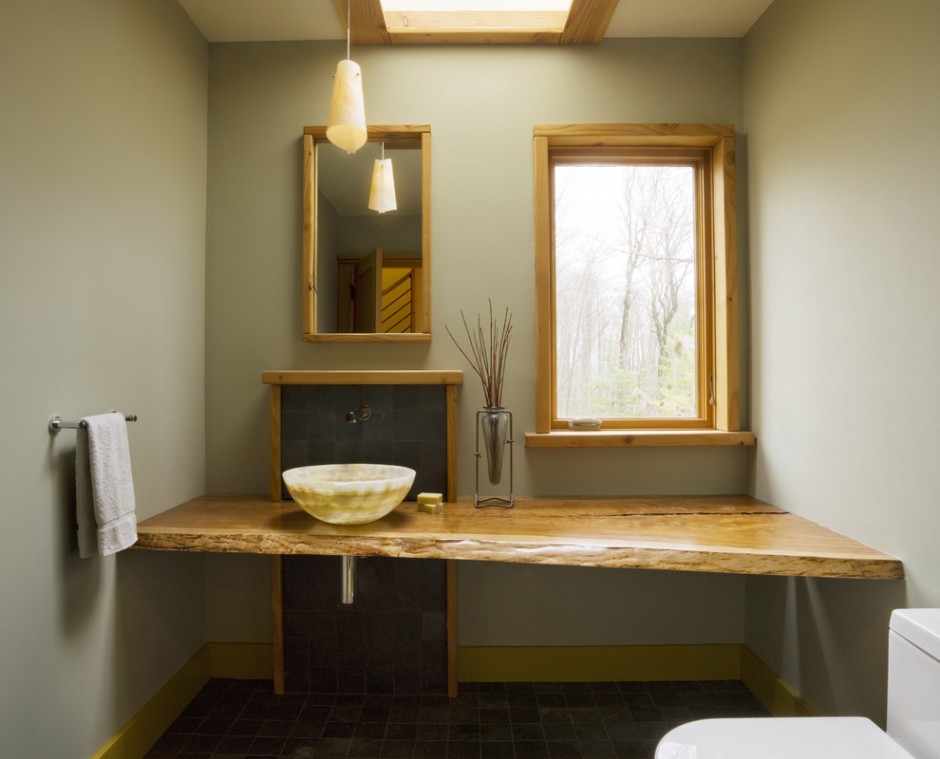
The procedure for making a plasterboard tabletop
First of all, a frame is created. You can choose wooden bars or metal profiles as the material. The former are easier to install, but the latter are more durable. The selected frame is covered with moisture-resistant plasterboard with special hydrophobic additives. And at the end it is decorated with mosaics or tiles.
Tools we will need:
- hammer drill or drill;
- screwdriver;
- jigsaw;
- metal scissors;
- building level;
- pencil;
- fine sandpaper.
Like last time, it all starts with a drawing, according to which markings are made on the wall. According to it, the frame is cut, after which it is assembled. The finished structure is attached to the wall and floor using dowels.
Attention! Don't forget to use a building level to avoid distortions.
The upper support bars for the washbasin are installed last.
It's time for the sheathing.Two blanks are cut out of drywall: one will be attached to the top, the other to the bottom of the structure. All this is placed on the frame and fixed with self-tapping screws.
Then, according to the previously made markings, a hole for the sink is cut out using a jigsaw. In order for the upper and lower parts to be more tightly fastened to each other, rectangular plasterboard blanks are cut out and attached to the sides of the tabletop. At the end, the legs are cut out and fixed with self-tapping screws.
Important! The structure must be assembled in such a way that if repair maintenance of pipes is necessary, they can be accessed. Otherwise, if an emergency occurs, you will have to destroy the tabletop.
The last stage is decorating with mosaics or tiles. Here you are free to create as you want. Most importantly, do not forget about moisture-resistant grout so that water does not get under the finish.
DIY artificial stone countertop
The blank for this product must have a thickness of at least 3 millimeters.
First of all, you need to create sides that will securely hold the tabletop. They are located along the wall. After this, the wooden frame is assembled. The material you can use is:
- an old wooden tabletop, sawn into strips;
- plywood purchased specifically for this purpose;
- finished boards approximately 7 centimeters wide.
The frame is attached to the workpiece using epoxy resin, which is applied with a spatula. After it hardens, the ends are processed with a milling cutter. Then the entire structure is installed on the sides.
All that remains is to make all the necessary holes: for the sink, faucet (if necessary) and communications.
Installation Tips
First of all, pay attention to the total weight of the sink and countertop and calculate the strength of not only the fastenings, but also the wall on which it will all be supported.
Reference. If a massive structure (for example, made of stone) is installed on brackets, they should have additional diagonal reinforcement to increase reliability.
If you choose a safer option - on supports or on legs, then the tabletop should still be attached to the wall so that it does not wobble.
Never forget about sealant! Any plumbing fixture constantly deals with water and humidity, so tightness is paramount here!
Also pay attention to fasteners, especially if you are dealing with a suspended structure. The more securely it is secured, the safer it will be to use. However, if plastic fasteners are used, it is important not to pinch them.
That's all the subtleties of the technology for self-installation of countertops in the bathroom. Good luck with the installation!