How to cover a bathtub with acrylic at home?
Bathtubs can last a long time, but over time their coating loses its quality. If there is a need to update your plumbing, it is not necessary to purchase a new model. Read on to learn how to apply an acrylic layer at home with your own hands, about the main stages and features of the work.
The content of the article
Is it possible to cover a bathtub yourself with acrylic?
Anyone can carry out such an operation at home on their own, without the involvement of professionals. The process does not require special skills or specific equipment.
What does that require?
Let's prepare the tools and materials we need:
- Bulgarian;
- pliers;
- sanding paper (coarse and fine grain);
- whisk attachment;
- drill (with a special attachment for grinding surfaces);
- rubber spatula;
- vacuum cleaner;
- construction hair dryer;
- stationery knife;
- rag, sponge;
- acetone;
- soda;
- sanitary cleaner;
- cans or plastic bottles;
- acrylic, hardener.
For convenience and safety you will need:
- flashlight;
- work gloves;
- respirator or cotton-gauze bandage and safety glasses;
- polyethylene, newspapers, rags;
- Scotch tape (or other adhesive tape options).
Stages step by step
It is important to consistently follow the application technology in order to obtain a reliable and durable result.We will tell you in more detail about all the nuances of the work being carried out.
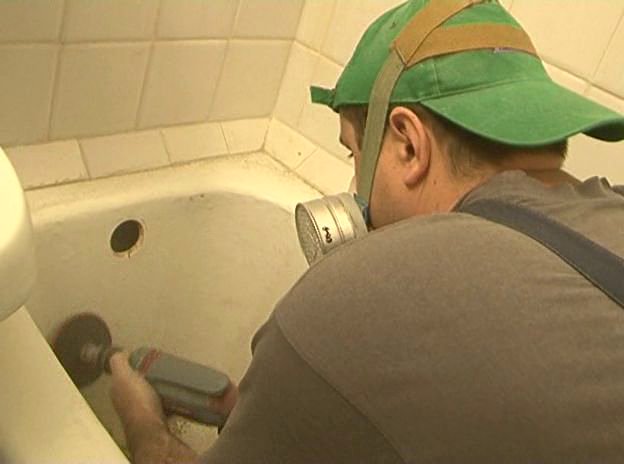
Treating the surface
- We use a grinder or a drill with a special attachment to completely remove the old layer.
- Then, using sandpaper for roughing (with large grains), we thoroughly clean the bathtub from the remnants of the previous layer. An additional option would be heating the areas to be cleaned with a hair dryer and processing with a stationery knife, if the previously applied enamel is not of the factory type.
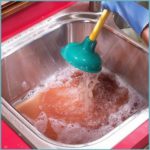
- We clean and wash off the particles of debris, apply a plumbing cleaner over the area of the accessory, distribute it with a sponge and wipe everything, including the place where the overflow was located.
- We wash the product again and leave it to dry.
- Then pour baking soda over the entire area and rub thoroughly with coarse sandpaper. This manipulation is necessary for degreasing. It is carried out with gloves, a maximum of 3 times.
- We thoroughly rinse the accumulated debris with a water jet.
- We dismantle the drain, overflow and siphon, treat the areas where they are located with soda, then wash off the particles. Faucet and shower device must be covered with film and secured with adhesive tape. The action is carried out to prevent the penetration of liquid onto the future layer.
- The wall above the bathtub and the shelves are wiped from dust with a rag, because acrylic must be reliably protected from any particles during the hardening period.
- Dry the container prepared in this way with a hairdryer, special We pay attention to the sides between the product and the wall (it is better to dismantle them for the period of repair), cement joints where liquid accumulation is possible.
- We inspect the structure for damage (cracks, etc.); any defects found can be quickly eliminated with automotive putty.Apply the mixed mixture with a rubber spatula and allow time to dry.
- We treat the dried mixture with fine-grained sandpaper and remove the resulting particles with a vacuum cleaner. Apply acetone to this area (and areas of the overflow, siphon), it will provide degreasing.
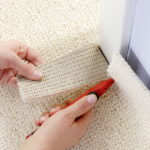
- We cover the floor under the plumbing and the tiles at the joints with paper or film and secure with adhesive tape. The procedure is carried out so that the polymer does not cause damage to them.
- We place a jar (or a plastic bottle with the top cut off) under the drainage area. It will receive excess flowing consistency.
Important! After all the steps, the bathtub should be rough to the touch, this will provide better adhesion to the new surface.
How to prepare the composition?
Before the procedure, leave the components in the room for several hours.
- Into a liquid substance in strict portions (100% of the base should account for 0.95% of the additive), gradually pour in the hardener. Carefully bring the mixture to homogeneity using a drill with a whisk attachment.
- Stirring time – 10 minutes. Let's see so that polymer fragments do not remain on the bottom and in the corners. Care will help to avoid unevenness of the future layer.
- Leave the prepared mixture for 20 minutes. We will need a plastic bottle (or glass) to pour the solution.
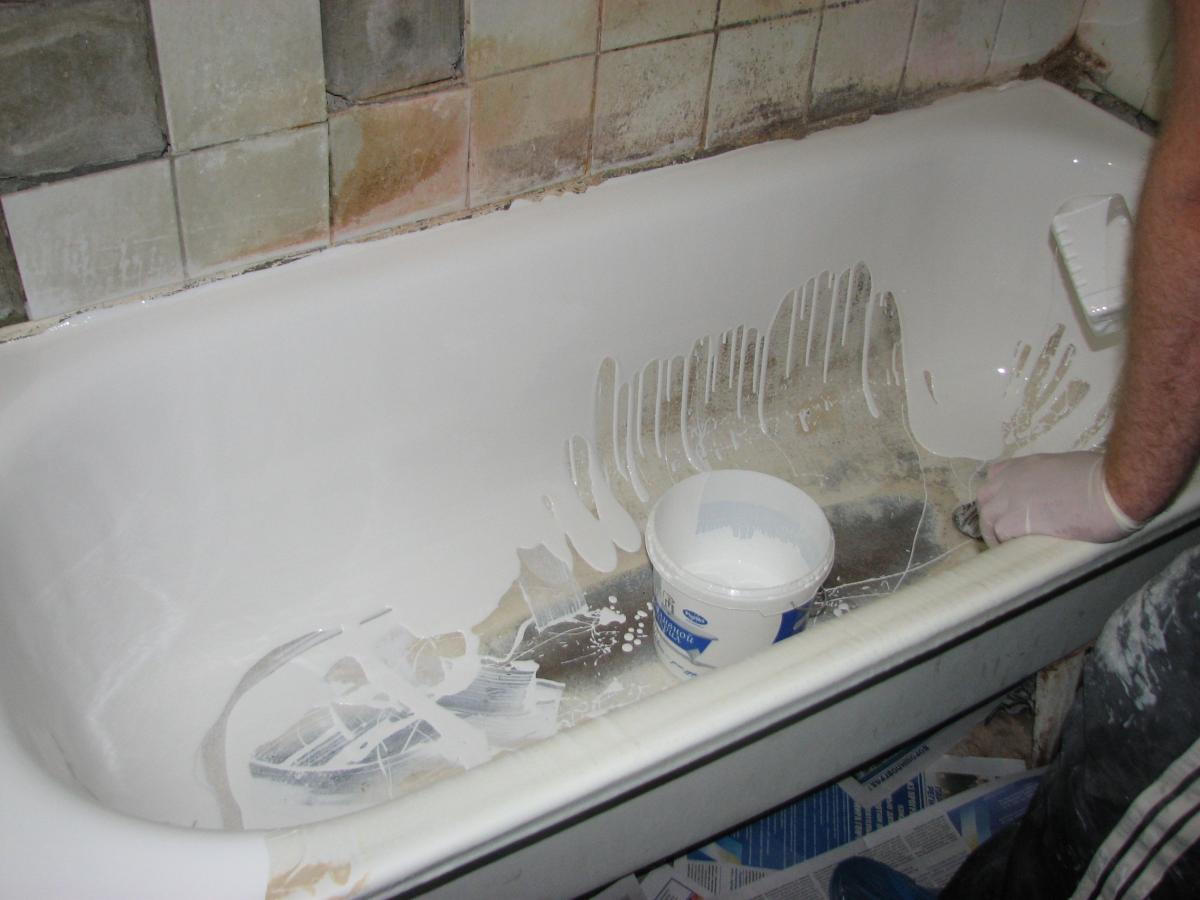
Coating
Work rules:
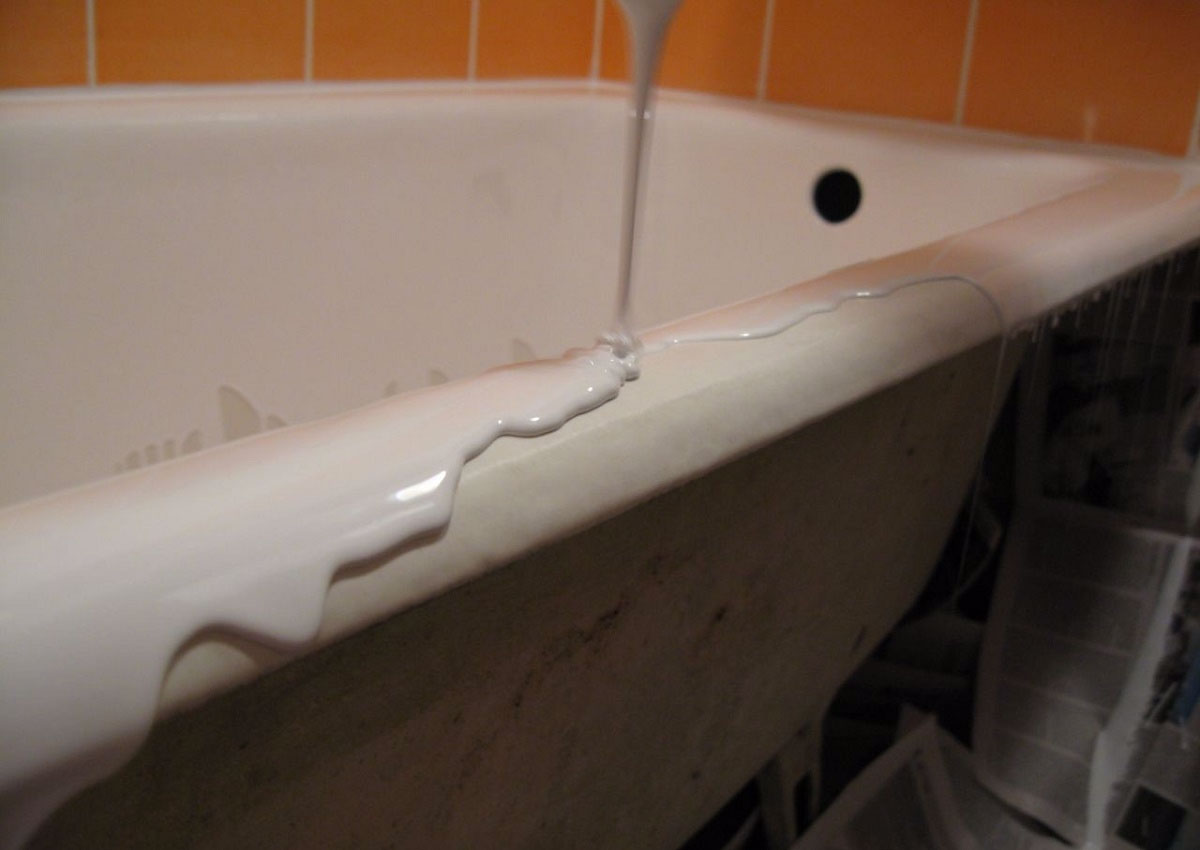
- pouring is carried out from top to bottom, along the perimeter of the product;
- first we process the part adjacent to the wall, then the outer side;
- the mass flows in a thin stream, application thickness is up to 5 mm;
- It is advisable to use a spatula, with its help the surface is well saturated with the applied material;
- when the layer is completely applied, use the tool to make zigzag movements at the bottom of the structure, then level the area, moving with even strokes from the walls to the drain;
- leave the product for a few minutes;
- turn off the lighting and use a flashlight to inspect the coating for defects (defects, smudges), remove them using a spatula;
- We wait about 10 minutes and check the result again.
Important points
- Full processing will require at least 2 rounds of pouring.
- The finished acrylic mixture may contain air bubbles. They are removed with a hairdryer (at minimum speed), you need to work quickly.
- The mass retains its fluid properties for a certain period of time (indicated on the packaging), the restoration must be completed before it is completed.
- It is not recommended to heat raw materials, it loses its viscosity and simply flows down. The restoration takes place at room temperature.
- It is allowed to add color paste to the solution, which will give the layer the required color. Its permissible content is within 3% of the total weight.
- All stages are carried out wearing gloves and protective bandage (or a respirator).
- The finished product can be used after 1–2 days, but the drying time is determined by the characteristics of the specific composition. If new brands of acrylic are used, this period is only 16 hours.
- Room definitely closes for the drying period.
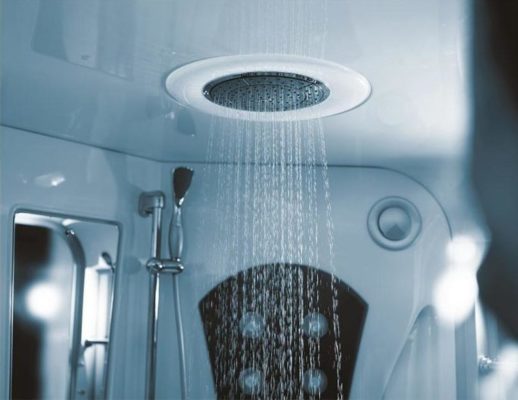
- It is recommended to wash plumbing fixtures with liquid soap, dish soap (without aggressive substances) or specialized substances regularly, after each use.
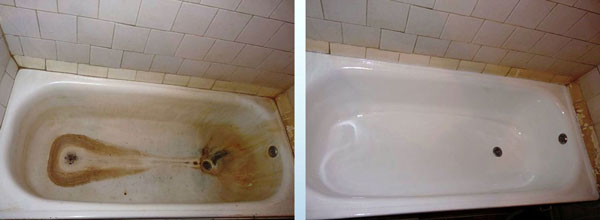
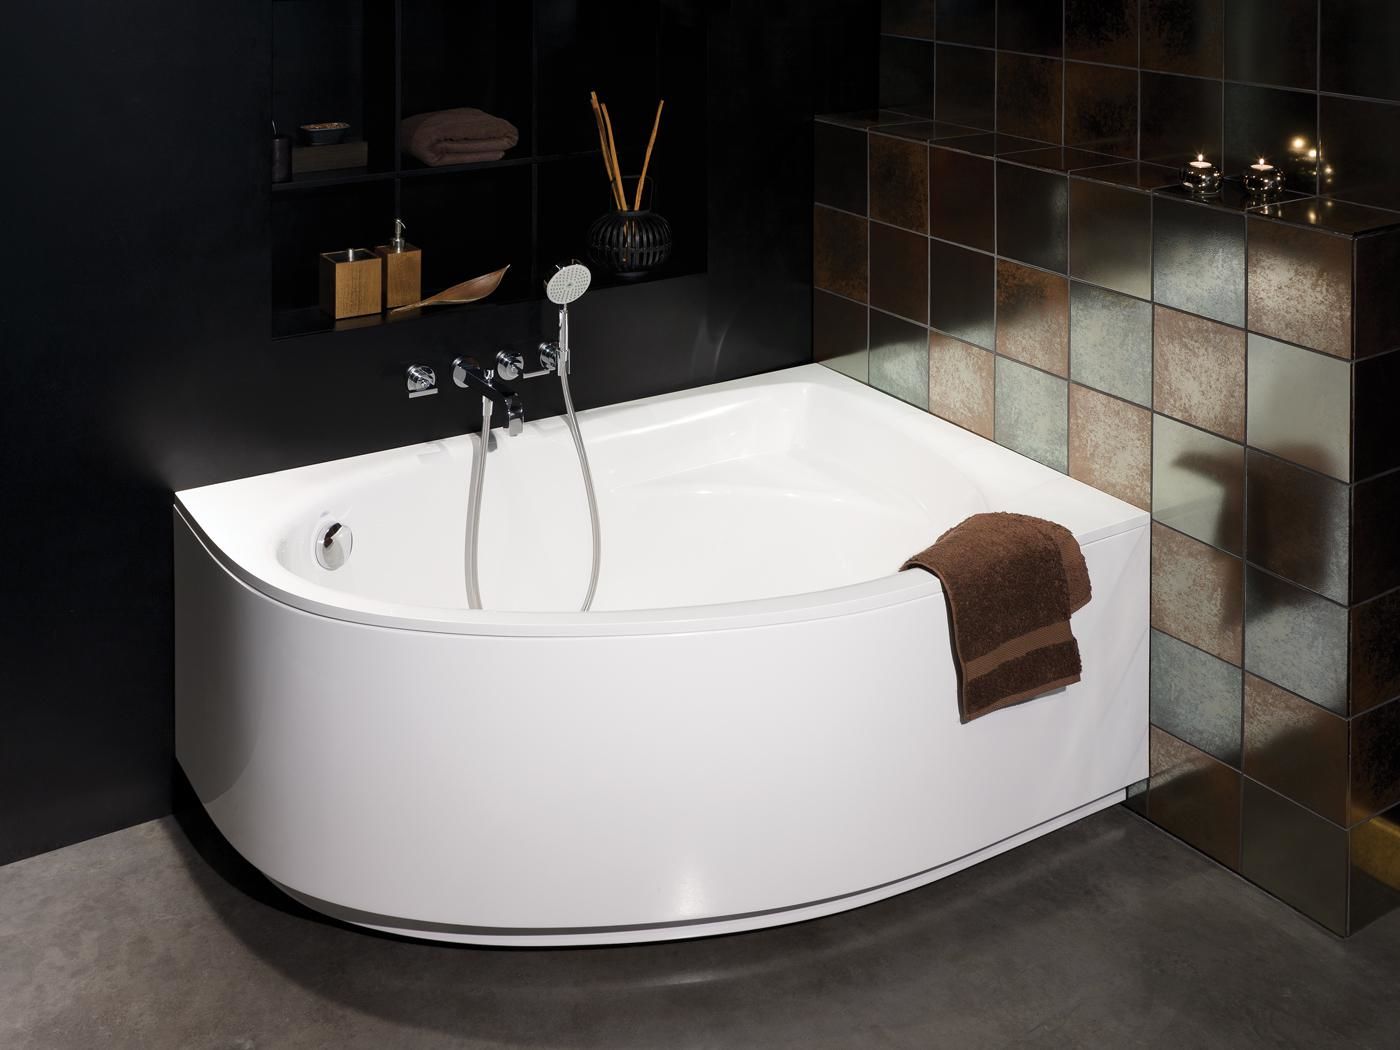
Having completed all the steps consistently and efficiently, you will receive a coating with excellent performance that can last up to 10 years. This will help save money and extend the life of the bathtub.