How to paint a bath
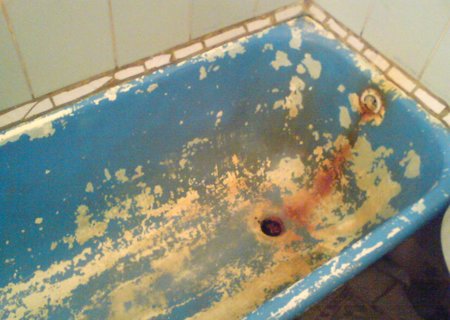
No matter how carefully we try to handle the bathroom, over time, chips and small cracks begin to appear on the snow-white surface, and the coating turns yellow. Traces of rust appear. In order to return the bathtub to its former appearance, it is not at all necessary to change it; you can update the enamel coating yourself.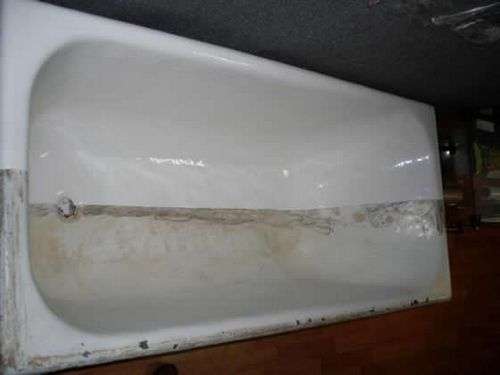
The content of the article
Advantages and disadvantages of painting an old bathtub yourself
To paint your favorite bathtub, choose a paint for the metal surface.
This method has its advantages:
- large range of colors;
- low cost - in comparison with the services of specialists;
- possibility of self-repair;
- rapidity;
- no odor after drying;
- glossy surface.
But it is not without its drawbacks:
- before painting, you need to equip yourself with a sanding machine and clean the entire surface;
- if the bathtub is old, then you will first have to spend time treating it with a composition to protect against fungus;
- After such treatment you will have to wait at least three days.
What are we going to paint with? You will have to find a suitable dye and only then start working.
Choosing bath paint
Naturally, before you take a can of paint off the shelf, you need to study all the positive and negative aspects of various products. This information will allow you to decide on the best product that will turn a cast-iron or other bathtub into a real masterpiece. Various types of paint available:
- based on epoxy resin;
- in the form of an aerosol;
- acrylic;
- alkyd.
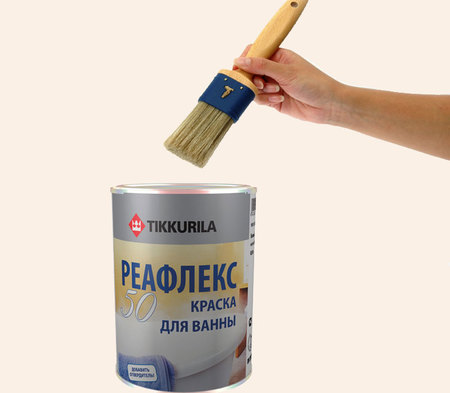
As the name implies, epoxy enamel is based on epoxy resin, in addition to which the kit includes a filler and a hardener. Enamel adheres well to different types of surfaces and, when cured, becomes strong and smooth. Enamel is not afraid of exposure to chemicals. It can be used to cover bathtubs made of cast iron and steel.
The following negative aspects can be identified:
- takes a very long time to dry (up to a week);
- environmentally unsafe;
- sensitive to mechanical stress;
- does not last long;
- unsuitable for restoration of chips and dents;
- turns yellow over time.
Aerosol dyes adhere well to the surface. They are produced in the form of cylinders, which makes painting much easier. It dries quite quickly (thirty minutes is enough), but the dye is short-lived. It is likely that after two months of use it will have to be painted again.
Acrylic dyes are called by different names. On store shelves you can find “latex enamel” and “liquid acrylic”, but these are all two-component polyurethane paint compositions.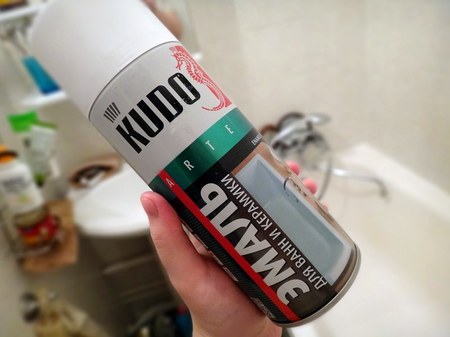
If you follow the technology exactly and apply the coating correctly, it will last for at least ten years. Acrylic coatings are the most popular at present. They have a glossy surface and do not emit any odor.Among the disadvantages: it is expensive, it takes a long time to dry, and if you scratch it, it begins to break down and peel off.
Reference! Alkyd dyes should not be used for DIY restoration. They do not have good technical performance.
Required Tools
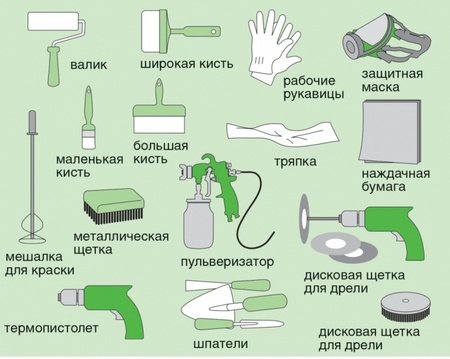
Before starting painting work, you need to check if all the tools are available. You will need products to remove rust stains, and care must also be taken to protect the entire surface in contact with the bathtub from enamel. You should prepare:
- Electric drill. With its help you can remove hard deposits. The best option is a drill with a light weight so that it does not strain your hand.
- Sandpaper. You will need both large and small grains. We will use large grains to get rid of dirt, and use small grains for grinding.
- Rubber wheel for grinding. They are convenient for sanding in places that are difficult to get to.
- Grease removers. With them, the paint adheres better and does not peel off. Solvents or acetone are suitable.
- Tassels. Choose good brushes so that the bristles do not fall out.
- Protection. When working, it is necessary to protect the respiratory system, since the enamel is quite toxic. You will need rubber gloves for your hands.
- Scotch. We will use it to cover the surface from the enamel.
- Construction mixer. They make it easier to mix paint. A drill with a special attachment will also work.
- Dye. Take it with reserve. It is better to have an excess than not have enough during work.
Surface preparation
It's time to get our bath ready for a makeover. The better we do this stage, the longer the renewed surface will last.Remember: even enamel bought for fabulous money will quickly peel off if you are too lazy to prepare the bathtub for treatment or do not do it properly. Let's do everything in order:
- We examine the general condition of the surface. Based on what we saw, we choose a sequence of actions. The first step is to use sandpaper - it will not only clean the entire surface, but also smooth out any unevenness.
- Place the eightieth piece of sandpaper on the grinding wheel and grind. This way we remove solid deposits. We don’t use force; it’s better to walk over the same place several times.
- We get rid of the resulting garbage. A vacuum cleaner or soft cloth will help us here.
- Polish the bottom with 100th grade sandpaper. We do not touch the walls; we use Scotch-Brite for them. After finishing, remove the garbage again.
- Degrease the surface.
How to paint an old bathtub at home
The coloring itself also consists of several stages.
Repairing chips
Chips must be eliminated first and foremost. After all, no amount of paint can even out the difference in height. In addition, the coloring composition is intended for application to enamel, and not to a metal surface. 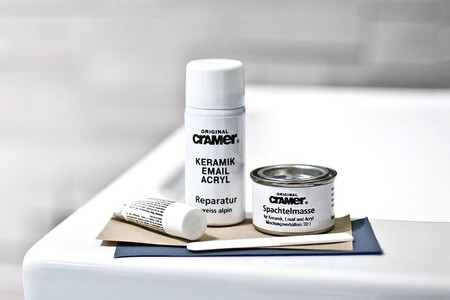
To repair the chip, you can take the putty that you use for your car. We take this product in portions onto a spatula. You need to work exclusively with a rubber spatula. Metal may leave scratches. We apply it in an even layer; if we see microcracks, we clean it with the edge of a knife.
When this is finished, you need to protect the entire adjacent surface from enamel splashes.
Protection against enamel splashes
To avoid having to deal with paint splatters later, it is better to spend time protecting the surface. We take masking tape and cover the entire perimeter with it.We cover the floors and taps with film.
You can do it differently - take technical Vaseline or grease and lubricate everything. No enamel will definitely stick. Apply a thin layer, and then easily wipe everything with a cloth. Now you can paint. To be sure of the result and protect the enamel, we arm ourselves with a brush.
Painting procedure
Why is it better to use a brush? With this you can get a layer of the same thickness. In addition, you will reduce material costs, and the hardening process will take a minimum of time.
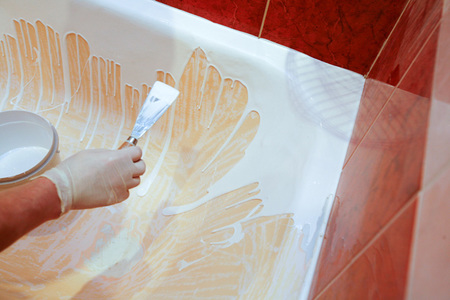
You should act according to this algorithm:
- Mix the base and hardener - do everything strictly according to the instructions. You don't need to knead a lot at once. The instructions recommend consuming a portion in fifty minutes, which you cannot do with a larger volume. After fifty minutes, the composition hardens. Use a mixer while mixing. There is no need to set high speeds so as not to get a lot of air bubbles.
- Take a container with a coloring solution and pour it onto the sides and sides of the bathtub. We wait until everything drains. Where it is impossible to fill, we use a brush. The width of the brush should not be more than five centimeters.
- Dip the brush one-third into the dye, removing the excess. And we begin to paint the surface inside. Hold the brush at a slight angle or perpendicular to the walls of the bath.
- Work from the top and work your way down. If smudges appear, remove them using horizontal movements.
- The layer should be two millimeters thick. Do not re-paint. Lastly, treat the bottom of the bath.
After completing the work, put the jar away so as not to tip it over.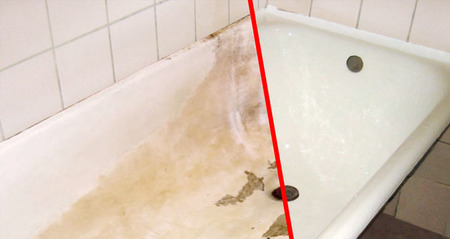
Don't put too much paint on your brush. Carefully check the thickness of the layer. All your actions should be leisurely and thorough.Otherwise, the result will not be a restoration of the old bathtub, but an extra reason to buy a new one.


