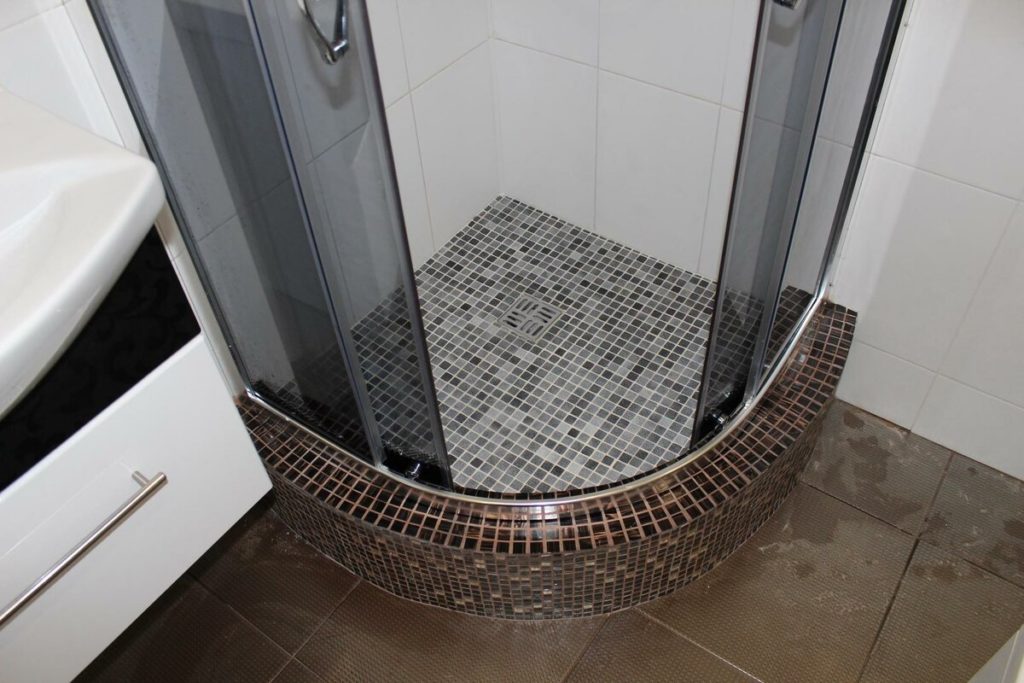
DIY shower tray
Today shower cabins are very popular among consumers. They are installed in a private house, in a country house, in an apartment - all you need is a bathroom with a water supply and sewerage system.
The finished designs are simply amazing. Manufacturers equip them with various additional functions, for example, hydromassage or a steam Turkish bath. Any design, shape, size - such variety is simply dizzying.
However, not every consumer will be able to choose what he likes. Some “Kulibins” begin to fantasize and make shower stalls and their individual elements with their own hands. Today we will tell you how to make a pallet yourself.
The content of the article
What types of pallets are there: shapes and materials
Most importantly, let's figure out what a pallet is. In essence, this is the basis for a shower stall. For this reason, it is made from the most durable materials.
Finished models are made from various materials. Most often this is:
- Steel. Products made from it are characterized by low weight and high strength. However, steel products have a rather fragile enamel and a low level of sound insulation.
- Ceramics. The product has an attractive appearance and is quite easy to use. Among the disadvantages is that such products are relatively fragile.
- Cast iron. The products have the greatest strength, making them durable.At the same time, they are heavy and take a long time to warm up, which creates some discomfort when visiting the shower. They are also high in cost.
- Fake diamond. High strength and durable material. Its characteristics are practically not inferior to natural stone. It has low thermal conductivity, the product is very heavy and stands out for its high cost.
- Acrylic. Lightweight, practical material allows you to get an attractive finished product. It perfectly absorbs the noise of falling water. Among the disadvantages is the susceptibility to deformation. It is also easy to damage.
- Tree. An excellent option for a country house or country house. Environmentally friendly and safe product. Service life is no more than 4 years.
- Plastic. It has the lowest cost. However, it is more suitable for a summer shower than for an apartment or house. Very fragile material.
Each of the materials has its own advantages and disadvantages. For example, cast iron and steel are stronger than acrylic. However, the cast iron product is heavy, which can create some discomfort during its installation.
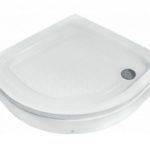
The shape of the trays corresponds to the most popular shower cubicle configurations. Most often they are:
- round;
- corner;
- square.
How to make a shower tray with your own hands: instructions
Most often, the pallet is made of tiles. This option is one of the most budget-friendly. To make it, it is enough to have a set of the following tools:
- tool for cutting tiles - suitable for both manual and electric;
- Master OK;
- roller or brush;
- putty knife;
- Ruler and pencil;
- electric drill.
As for materials, you will need:
- cement;
- sand;
- bricks;
- waterproofing - bitumen or special mixtures are perfect;
- tile;
- tile adhesive for it;
- self-tapping screws
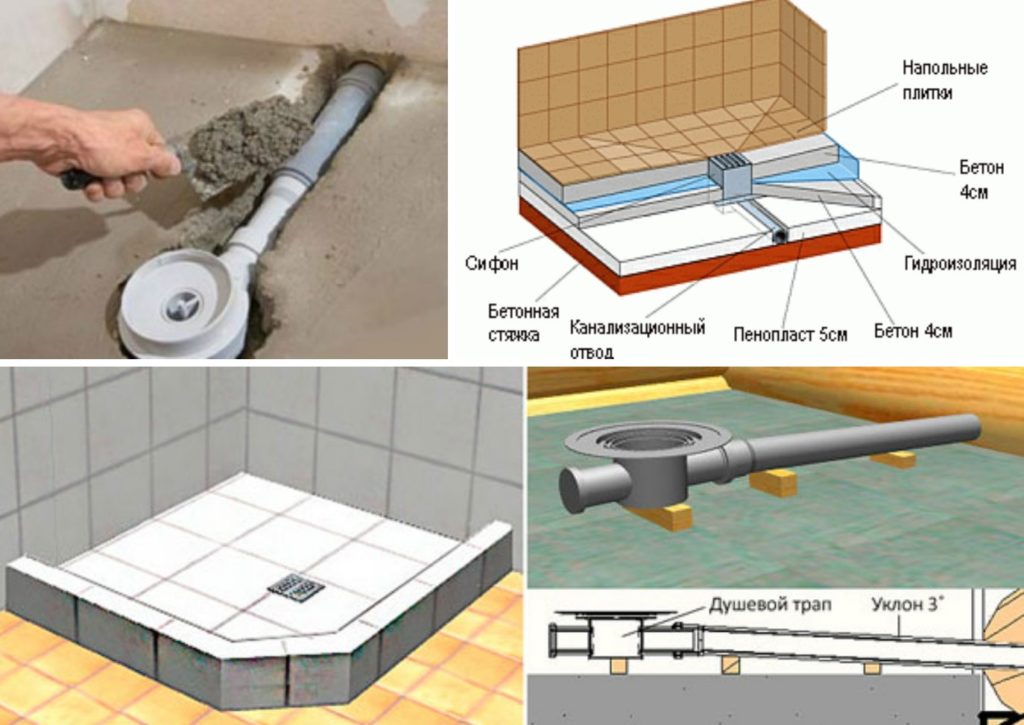
The first step is to prepare the base. If there is no screed, then it needs to be done. Pre-waterproof the floor. WITH This task is best accomplished with mastic or a film made of polymer materials. Be sure to make a small approach to the walls.
When the screed is ready and dry, coat it with a primer and also waterproof it. This will prevent flooding of the rooms located below, if any. Waterproofing also protects against fungi, unpleasant odors and eliminates high humidity.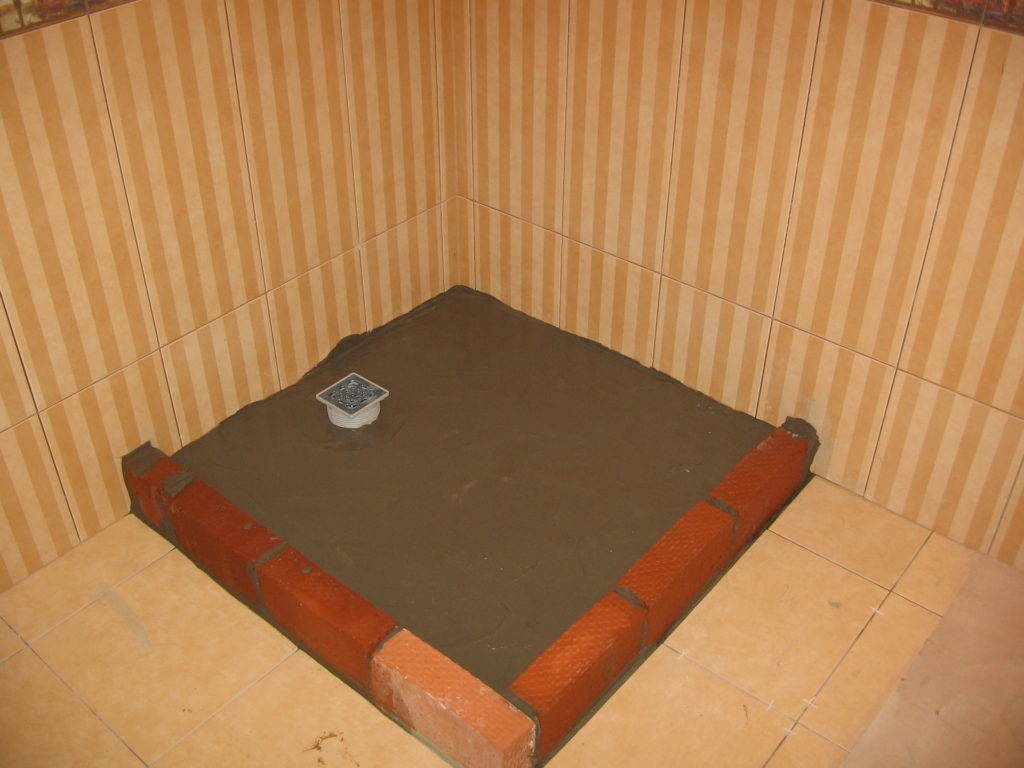
Reference. For additional comfort, the base of the cabin can be equipped with a “warm floor” system. Thanks to it, you don’t have to wait for the tiles to warm up from the water. You can also insulate the floor using expanded polystyrene sheets, which are laid under the tiles.
Next, apply a self-leveling layer of a special mixture to the screed. Prime it and waterproof it. This especially applies to all corners, joints and seams around the drain hole.
After that, choose the height of the base. It can be almost anything and depends only on your wishes and preferences. Do not forget about the need to observe the slope: it must be more than 3 degrees. For this reason, the pallet should not be too low; a low design will not allow this angle to be maintained.
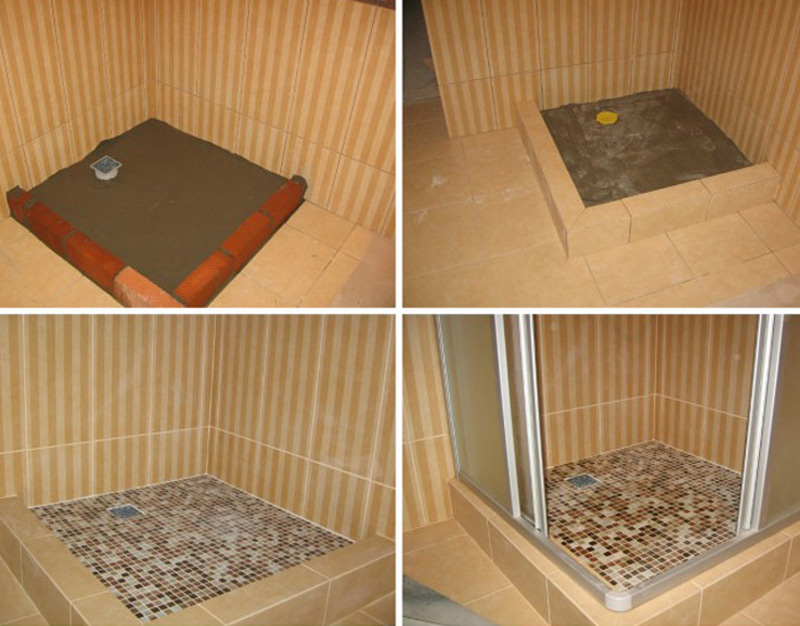
In most cases, the height of the sides of the pallet is equal to one brick. This allows you to protect the room from water and easily enter the cabin. The sides can be poured from cement or made of brick.
After the sides are ready, the drain is installed. It occupies an important and special place in all work.If something goes wrong, it is quite difficult to fix the problem after all the work is completed. Therefore, try to ensure high quality right away.
To do this, follow the instructions:
- the drain must be connected to the sewer with a slope of three degrees or more - it is this angle that ensures the optimal speed of the drain flow and eliminates stagnation in the pipeline;
- all joints must be sealed;
- give preference to pipes made of high-quality plastic - this material does not corrode and will last for many years;
- fix the drain ladder as firmly as possible;
- the base is poured after you are sure that the structure will remain completely motionless and will not move in the future.
When everything is dry, you can begin finishing the surfaces. The best option for facing material is standard ceramic tiles. It allows you to create a variety of patterns, select any colors, and is suitable for sides made of any materials.
The laying technology is no different from laying any types of walls and floors. However, there are a few small nuances here. The glue must be moisture resistant. During tiling work, observe the following recommendations:
- the glue must be applied with a notched trowel - the tool helps to create the “correct” surface;
- Apply glue to the pallet itself, and not to the tiles;
- press down on the tile so that the glue adheres better;
- level the surface by tapping with a rubber hammer;
- all seams must be of the same thickness;
- you need to glue the tiles from the corner;
- Grout the joints until the glue dries completely.
Pros of homemade shower trays
A do-it-yourself pallet has several advantages over store-bought ones:
- Low cost. Making a pallet will cost several times less than purchasing and installing a finished product.
- Any design and shape. You can choose the desired shape, size and height of the future pallet.
- Any colors and patterns. Finishing with tiles will allow you to choose not only the desired color, but also create almost any pattern. To do this, just cut the tiles into small elements. After that you can create.
At each stage, maintain the accuracy of the calculations and maintain the required drying time for the concrete. This will ensure high quality and reliability of the design.