Replacing fittings in a toilet cistern
Many people have come across the wrong picture of water standing on the floor in the toilet. And this is even better if the puddle is shallow. Or, after much “thinking” in the toilet, the tank refuses to drain water. There are other problems, but the reason is the same for all - a faulty drainage system.
It’s very good if the repair involves simply replacing the gasket or the screw just needs to be tightened. What if everything is not so simple and you need to change the entire system? Scary? But there's no need to panic.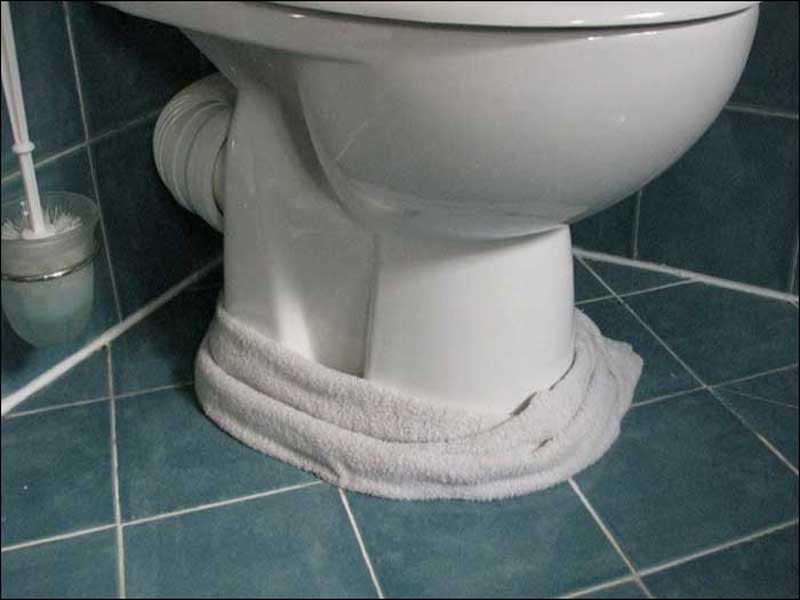
If you arm yourself with knowledge about the design of the drainage system and understand a little about repairs, then you can cope with troubleshooting yourself, without involving outsiders or free help. But where to start?
The content of the article
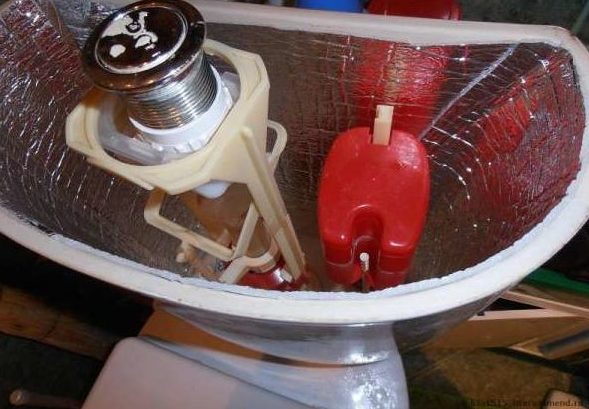
Device and main components
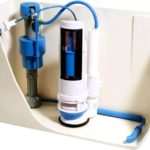
The drain fittings of modern models are quite compact and easy to repair. Even if we take into account that models from different manufacturers differ in the layout of parts, we can identify common factors:
- Most drain fittings can be easily disassembled.
- All devices operate on the same principle.
The drain fittings include two units: an inlet valve and a drain valve. The nodes responsible for water inlet may have an upper or lower connection.The difference is not so significant - only the installation location of the float and the locking force pattern change. From the old models with a pear-shaped float, which had a tendency to depressurize, the new ones differ in that a double glass is installed on them.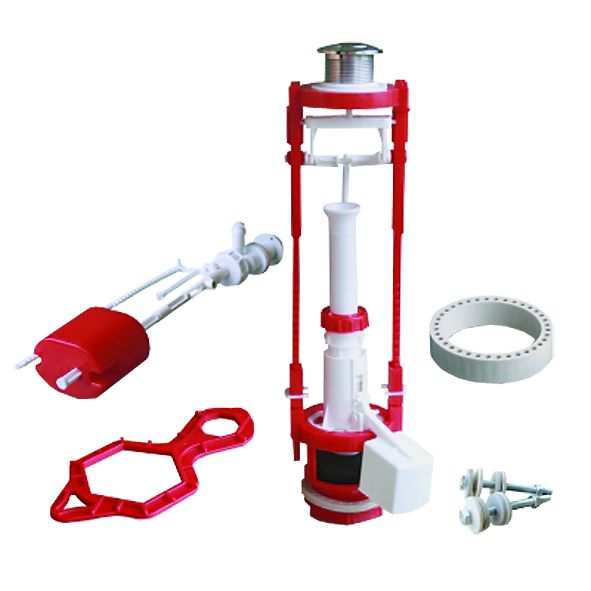
Drain valve - has the form of a column installed vertically in the center of the tank. The lower part is equipped with an annular seat, which is covered by a cuff. The force to shut off the water occurs due to the rod’s own weight, as well as the mass of the water. The valve opens by lifting the rod, which is connected to the release button.
Types of faults
All faults can be divided into two groups:
- Intake valve malfunction.
- Problems with the drain part.
Intake valve malfunction
The malfunction of this element is directly related to problems in the locking mechanism. At the same time, water, having filled the tank, continues to accumulate, and having reached the level, it is discharged through the overflow system.
To eliminate the malfunction, it is necessary to replace the inlet assembly or install a new cuff or closing plug.
Attention! Often both parts need replacement at once.
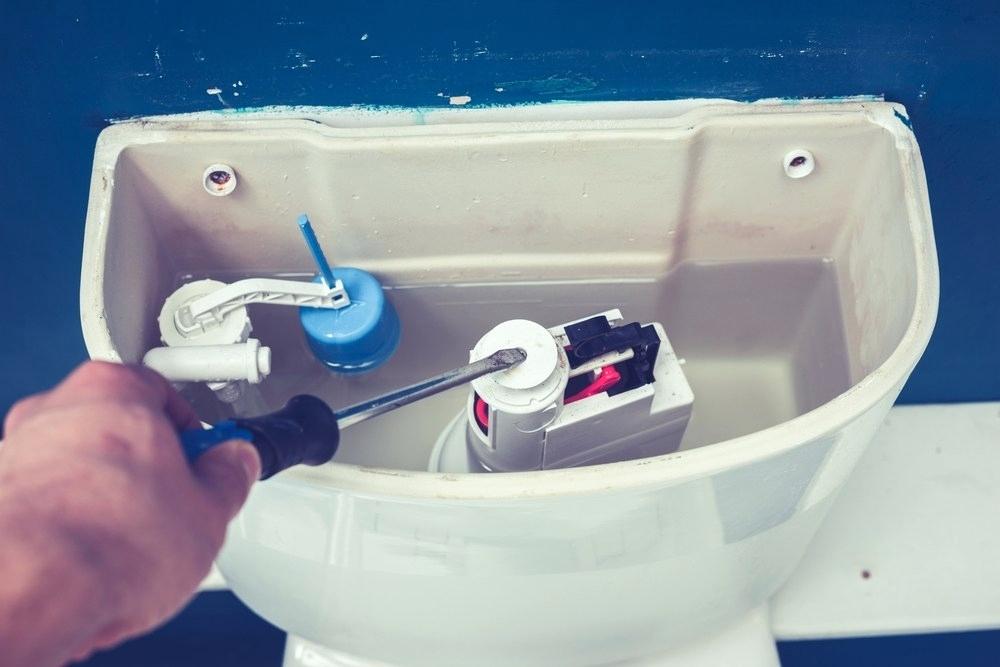
Before proceeding with the replacement, you need to do the following:
- turn off the water supply, and then remove the inlet valve - before this you will need to remove the drain button and remove the lid from the tank;
- Next you need to unscrew the plastic nut that secures the valve;
- to gain access to the closing plug, you need to unfasten the drive from the float, first uncoupling the float from the rocker arm;
- after this, you can remove the rocker arm, the reverse end of which is fixed to a plastic cup with a rubber stopper.
After inspecting the plug, you should replace it or try to change the working side and reinstall it.
Problems with the drain unit
You can restore reliable locking of the drain hole in various ways. One of them is that you need to remove the membrane and put it on the other side.
Attention! We need to try to restore elasticity to the membrane. To do this, the rubber needs to be placed in hot water for some time.
If all that has been done has not brought results, then most likely the leak is due to insufficient pressure. You can change the clamping force by increasing the stroke length of the rod. Usually it is limited to a stop in the side ribs. To do this, you need to do the following:
- The moving part of the drain column is turned counterclockwise to the floor.
- The structure is removed from the clamps.
- The stops on the ribs need to be sharpened, shortening them by a couple of millimeters.
You can increase the clamping force by adding more weight to the piston. To do this, attach several heavy nuts to it.
If all the efforts made do not help, all that remains is to change the fittings.
Repair of fittings in the cistern
If your toilet has a leak, you should pay attention to the following:
- Is the drain tank sealed tightly?
- Is the seal worn or damaged?
The first step is to tighten the bolts that secure the toilet tank. There is no need to over-tighten them, as this could damage the toilet itself and the flush tank. If the leak does not stop, remove the drain tank and replace the seal on the drain channel. Replace the washers that are on the tank.Treat all joints with silicone sealant.
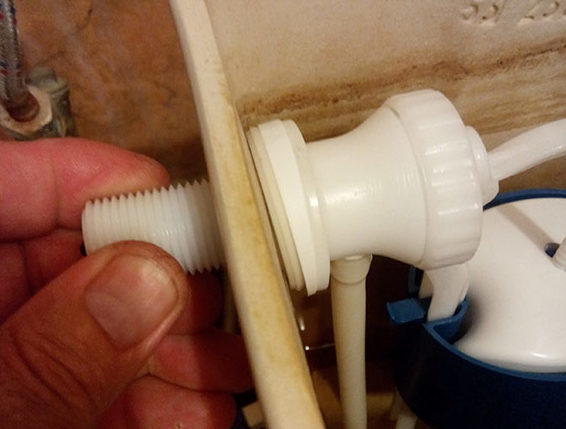
Drain tanks with bottom water supply are more difficult to repair. A leak can also form in them due to wear of the seal at the water entry point. In this case, the seal should be replaced with a new one and secured with sealant.
Repairing the valve on the drain tank can also solve the problem. The purpose of the valve is to ensure dosing and movement of water in the toilet. The basic operating principle of the toilet is as follows: when water enters, the float rises to a predetermined level, after which the water stops flowing. After draining, the float lowers and water begins to accumulate again.
Replacing toilet cistern fittings
Most problems with the toilet can be easily solved by replacing the old fittings with new ones. There is nothing complicated about this. If you do everything carefully and correctly, you can handle it yourself and not waste money on calling a specialist.
Dismantling the old structure
If you break down the dismantling of reinforcement into stages, it will look like this.
The water supply to the tank is cut off. The water supply hose is disconnected.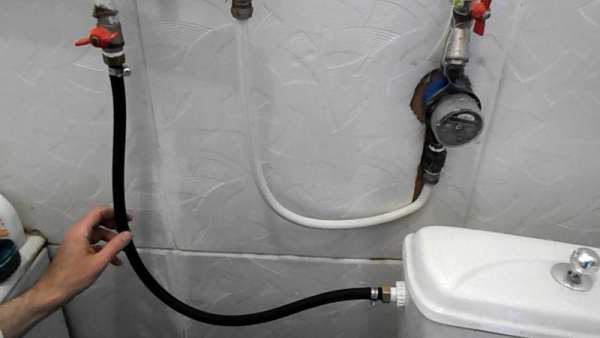
After the water supply valve is turned off, you need to empty the tank and dry it.
Attention! It happens that due to haste, people forget to remove water from the tank. When the fastening screws are unscrewed, a “flood” occurs. A very unpleasant situation not only for the owner, but also for the neighbors.
The tank is disconnected from the drain pipe (if it is an old model) or directly from the toilet in new type devices. For the first case, you need to unscrew the nut that is on the pipe.
The second case involves unscrewing two nuts located under the toilet platform. When working with an older model device, dismantling may be difficult because the fastener is covered with rust and cannot be unscrewed. If such a problem occurs, then the nuts can simply be cut off.
The drain tank is removed. It must be laid on a flat and stable surface of the required width. Then the float and water pipe with valve are removed. The drainage system is dismantled.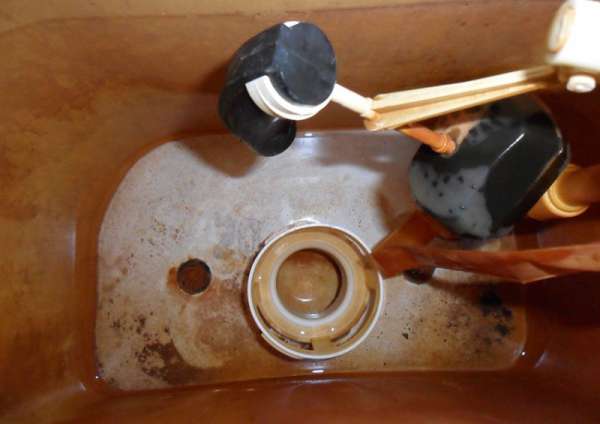
After the old fittings are removed, the tank should be washed and dried, and also checked for chips and cracks.
Installation of new fittings
Older models have large holes for fittings. This does not play a big role if the old part is replaced with a new one of a similar type. But it often happens that there are no longer new parts on sale for toilets of older models. We will have to install modern fittings. This needs to be given special attention.
- In devices of the old modification, we attach a bracket with a rod and a bulb to the bottom of the tank with a metal fastener. In new-style devices, the drain system is installed in the center of the tank and secured with a plastic nut. You should be especially careful when working. Plastic fasteners must be handled carefully. Excessive force during fixation may damage the fastener.
- We install the water supply pipe. In older models we attach a float to it on a spoke. In new types of products, the pipe can be equipped with a water level monitoring system. In other words, both the float and the pipe are made as a single structure. We put everything together.
- Now the tank along with the drainage system needs to be placed on the toilet.
- Older models have an elongated rubber gasket that acts as a shock absorber. It is installed between the toilet and the tank.The gasket covers the drain hole and the overflow hole. If you have to install modern fittings on an old device, then the hole for the overflow tube must be closed. In toilet bowls of modern modifications, the shock-absorbing gasket has a ring shape.
- A drain tank is installed on top of the gasket. It must be secured to the toilet with mounting bolts.
The installation is complete.