Causes of toilet cistern leaking and ways to solve the problem
Any malfunction of the toilet causes many problems. This is especially true for the tank - the most important and structurally complex element of the system. Read on to learn about the causes of leaks and slow filling, ways to eliminate them and prevent such episodes.
The content of the article
Why is the toilet tank leaking?
Let's look at the problems that cause the tank to leak when it leaks water into the toilet.
The usual overflow of the container is the most common. Here the excess volume of liquid is simply drained into the overflow opening. A malfunction may occur in the following cases:
- the float is in the wrong position;
- the valve pin holding the displacer failed after a long service due to corrosion;
- the valve body is cracked - water leaks through this damage;
- the gasket lost its elasticity and became deformed during operation;
- The seal is of high quality and has retained its properties, but there is a small gap between it and the outlet hole due to loose contact.
The second source of trouble is the bolts that secure the tank to the toilet. Metal fasteners rust over time, and plastic analogues may burst. An option could be loose contact.
The third case involves a pear that has lost its elasticity. As a result, it has an irregular shape after a long service life.
The fourth situation is a skew or noticeable displacement of the lever connected to the buoy. The part could have moved after long-term use, or the reason lies in the poor quality of the float: sometimes a gap forms in it through which water leaks.
The fifth type of problem occurs between the toilet and the tank. It indicates loss of cuff seal.
The sixth malfunction lies in the shut-off valve.
The seventh defect is formed due to cracks on the sides or bottom of the container.
What to do if the tank is leaking
We carry out a certain sequence of actions. It consists in first diagnosing the source of the malfunction and then eliminating it.
Remove the tank cover. Raise the float element with your hand. If the problem lies there, the leak will stop immediately. This means that the displacer arm is at the wrong angle and cannot block the leak.
To restore the functionality of the part, let’s bend the lever a little. Once the water reaches a certain level, it will begin to block its flow.
If water still flows, inspect the valve for external damage to the pin. Located inside the valve, the device controls the valve circuit, stopping its operation at the right moment. Additionally, we look at the condition of the opening in which the stud is placed - it should be without deformation.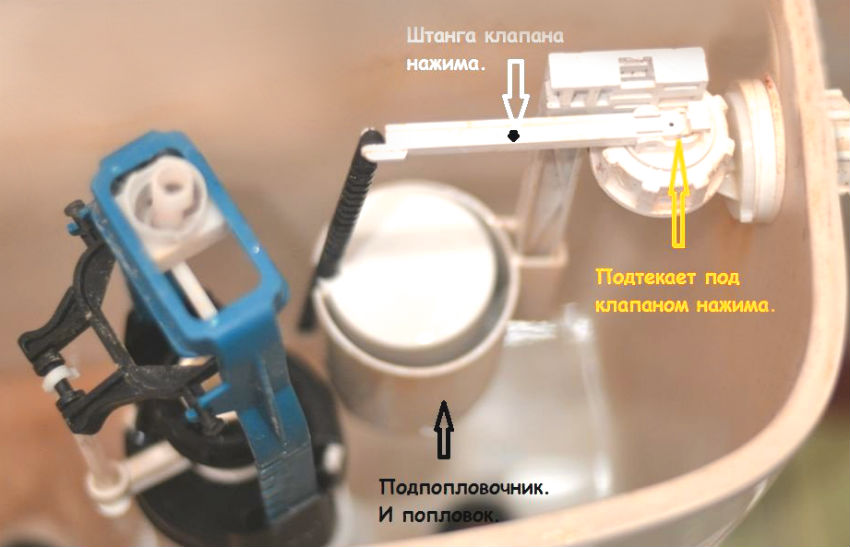
The defect that has arisen can be corrected by replacing the pin with copper wire of identical diameter. The problem with the hole is solved by installing a new shutter.
Let's pay attention to the cuff for wear or gap between it and the valve.
Let's press the part more tightly to the valve, and if the leak has stopped, you need to restore the loose contact. If adjustment does not help, simply change the gasket.
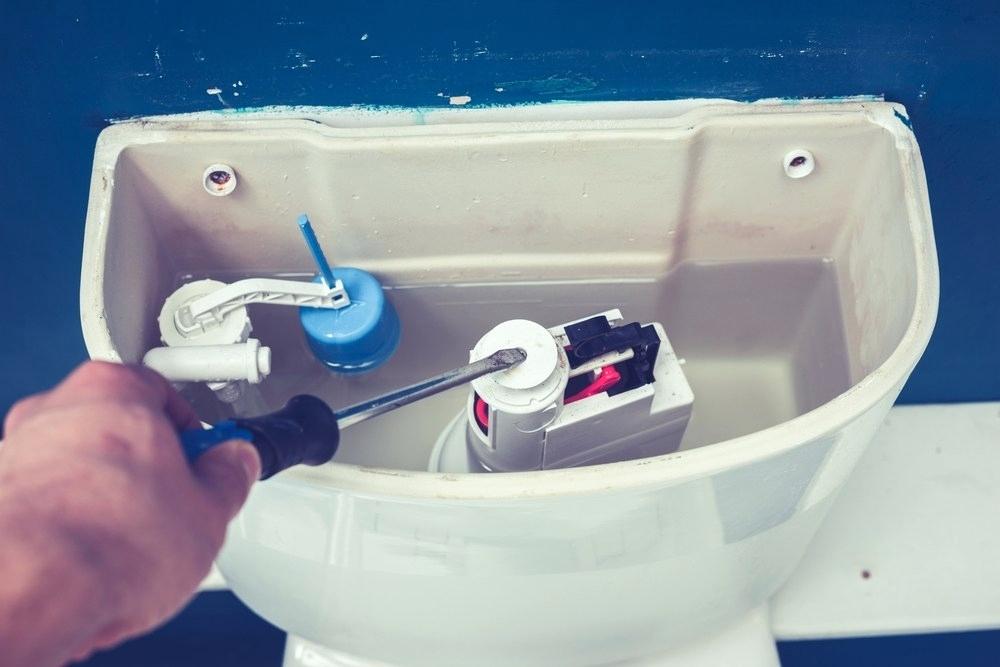
Let's inspect the bolts connecting the tank to the toilet. In cases where at least one of them is rusty, we recommend that you completely replace the set so that after some time you do not have to do this repair again. Decide for yourself whether to change both plastic clips. Look at the bolt that remains intact: if it has no visible damage, it can last quite a long time.
We tighten the fasteners that have become loose using a wrench and a screwdriver.
Attention! When tightening parts, be careful: ceramics is a fragile material, and it will crack from excessive pressure.
Let's make sure that the pear retains its shape.
This element cannot be repaired; if a defect is discovered, you will have to buy a new part.
Let's examine the float. If there is a hole in it, it can be closed with a piece of polyethylene or a heated piece of plastic. However, this is a temporary measure; it is better to exchange the product for a higher quality analogue.
Next, let's work on the seal between the toilet and the tank. A gasket that has lost functionality will require replacement.
Reference! Buy the one that is softest to the touch; it will last longer before becoming hard.
Let's work with the drain valve. It can be disassembled, the pressure on the drain tube can be adjusted by slightly cutting the end. However, these procedures require a lot of time, effort and do not always give the desired result. The optimal solution here is to buy a new unit.
Let's inspect the tank for cracks.
To correct the identified defects, remove the tank from the toilet and leave it until completely dry. We carefully treat all chips with high quality sealant and wait for the seams to dry.
Attention! When carrying out repair work, we follow the principle “from simple to complex”: first we correct elementary defects, then we eliminate more serious flaws.
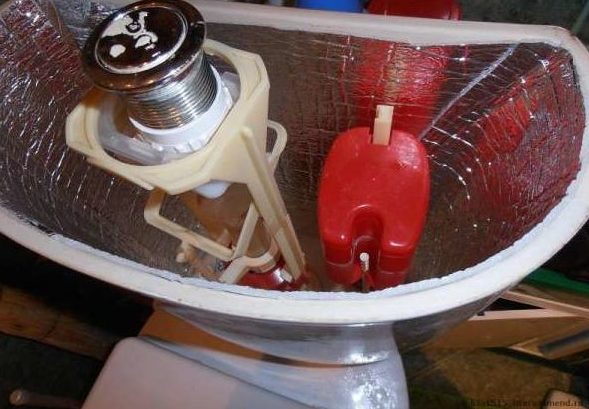
Actions if a toilet cistern with a flush button is leaking
The cause of the problem is often the failure of the return spring that operates the switch. In such situations, the circuit is constantly in the “open” position, and water will continuously flow out.
To fix the problem, we will perform a number of manipulations:
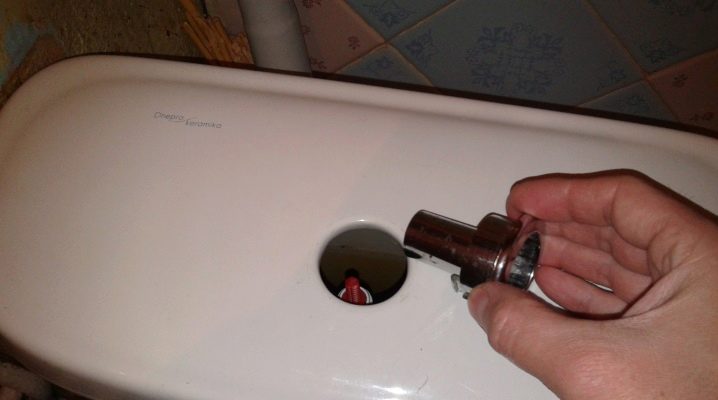
- remove the toilet lid;
- remove the sunken push-button mechanism;
- replace the spring;
- we check that the place for planting the system is strictly in the center, directly under the hole in the cover;
- We carry out the installation in reverse order.
Preventive measures
These measures will help avoid unnecessary problems and ensure the smooth functioning of your plumbing:
- Once every six months we completely clean the tank and toilet bowl from rust and accumulated deposits;
- We regularly monitor the condition of the fittings, control the correct position of all elements;
- We maintain a constant temperature in the bathroom, because its fluctuations can harm the parts;
- we exclude any mechanical damage to the device.
Repairing a tank in case of leaks usually does not cause serious difficulties. If you follow the methods described above, then all actions are carried out in the shortest possible time, with the least amount of time and effort. Often components require complete replacement, but in simple cases repairs are carried out to ensure long-term and stable operation of the device. It is important to regularly carry out preventive maintenance - this will significantly increase the service life.


