Installation procedure for toilet installation
The toilets that are familiar to everyone are gradually losing their popularity. All communications look painfully ugly. And the space needs to be distributed more rationally somehow. Both of these problems can be solved by installing a toilet.
The structure on which the wall-hung toilet is mounted easily hides inside itself not only pipes and inlets, but also a flush cistern. This frees up a lot of usable space. All this sounds quite scary, but if you look at it...
The content of the article
Installation options
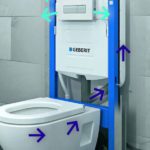
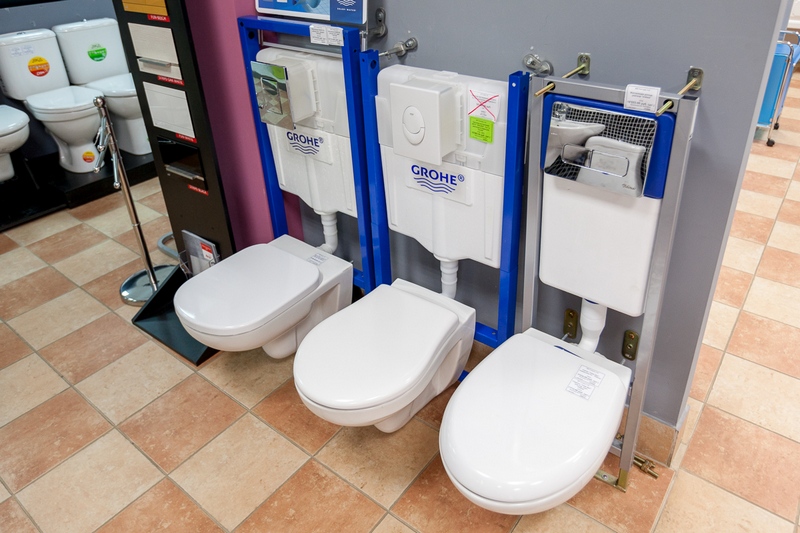
All installations can be divided into two types. These are frame-type and block-type structures. To attach a block installation, you must have a solid, load-bearing wall. The block installation includes a plastic tank and drain fittings. In addition, there is also a mounting kit for the toilet.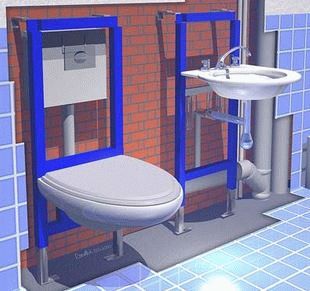
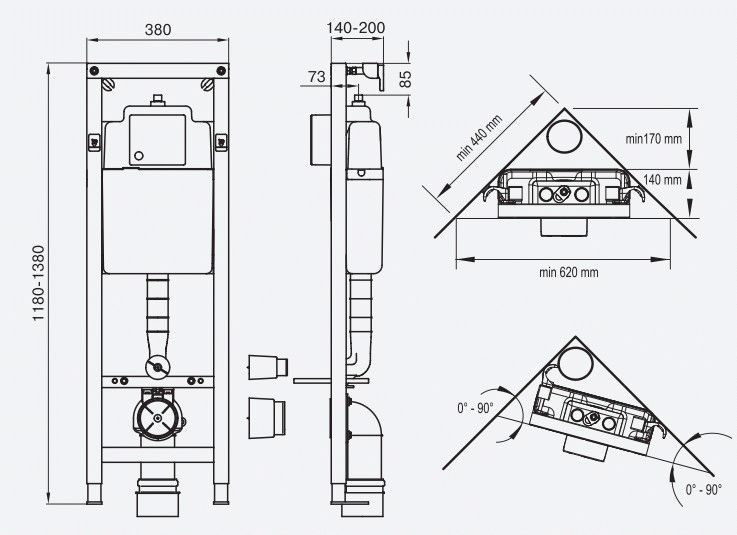
The frame installation as a base has a metal frame on which fasteners for the toilet are installed, as well as sewer outlets. In terms of cost, it is more expensive than a block one. A subtype of direct frame installation is the corner option. It can easily be installed in the corner of the room, thereby making it more spacious.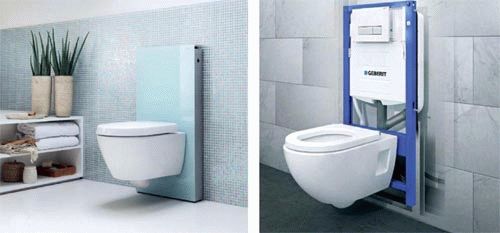
In the corner installation options, plumbing equipment is optimally located. Two devices are placed inside one block. Corner models are mounted in the same way as standard options. An example of the assembly can be seen in the diagram below.
Advantages and disadvantages of installed structures
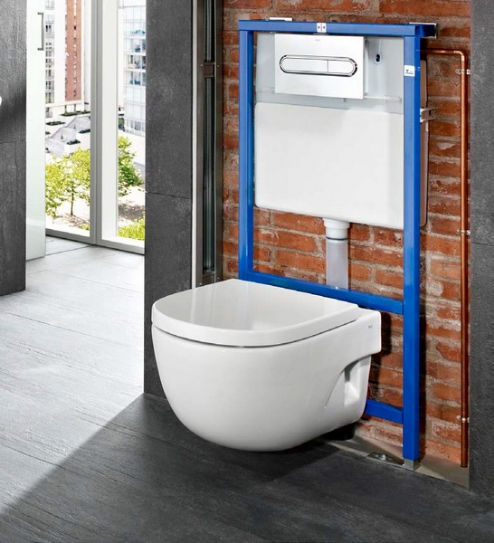
Already in many apartments and private houses you can find built-in plumbing equipment. People appreciated all the advantages that this installation option offers. Among the positive qualities are the following:
- small sizes, allowing not only to free up space, but also to expand the space visually;
- convenient access to all external elements, which allows for easy and quick maintenance;
- silent drainage of water due to insulation;
- the ability to make separate drains, which will save water;
- reliability and long service life of the structure;
- do not interfere with the installation of heated floors or tiles.
However, they are not without drawbacks, namely:
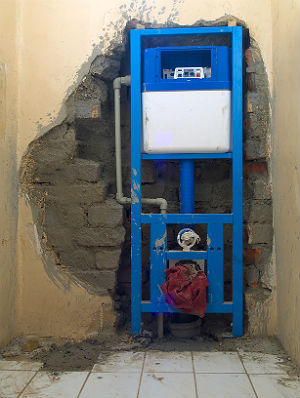
- there is no access to communications, as they are hidden by a decorative wall;
- although the installation is considered very reliable, if a leak occurs in the drain tank, then to eliminate it it will be necessary to dismantle the decorative wall, which will entail additional costs;
- in the form of an assembled structure, the installation allows you to save space, but at the installation stage it will sometimes be necessary to expand the space to install the frame;
- classic toilets do not require strong walls, which cannot be said about block installations.
Preparing for installation of the installation yourself
Before starting work, you will need to stock up on the necessary tools for the job and prepare the workplace.To work you will need:
- to make holes in the walls you will need a hammer drill;
- to control placement along the horizontal and vertical planes, you need to have a building level;
- in addition to this, you will need to prepare wrenches, drills and a hammer, screwdrivers, and pliers;
- For marking you need a tape measure and a pencil.
By spending some time preparing everything you need, you will save on installation time and save your own nerves.
When preparing for work, you need to consider the following:
- how accurately the niche is marked and whether it is suitable for installing the model that you plan to purchase;
- It would be wise to purchase the product as a whole set, so as not to have to worry about adjusting and selecting parts;
- When purchasing equipment, you should carefully read the package contents;
- decide on the fastening method, which will affect the success of the installation work.
In addition, it is better to purchase a model that has electronic control and a better position of the drain buttons. This will ensure comfortable operation of the device.
Installation of the structure
Let's look at the process step by step.
Apply markings
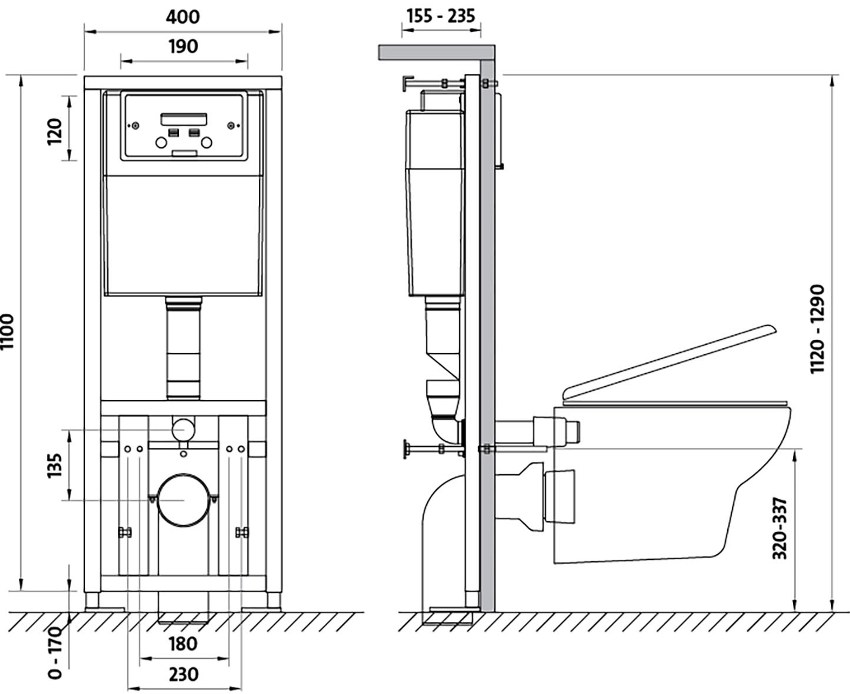
Before installing plumbing fixtures with installation, it is necessary to mark the installation location. First you need to draw a line on the wall that will mark the center of the entire structure. From the wall you need to measure the distance to the device. This distance depends on how the sewer system will be connected to the installation.
However, it should be taken into account that you do not need to do less than fifteen millimeters - it is quite possible to leave more space. After this, we will mark a place to install the tank. Usually it is mounted at a level of a meter from the floor. Don't forget to take into account the height of the installation itself. We mark the mounting locations on the wall and floor.
Important! At this stage, you should be especially careful and attentive to even the smallest details. This is the key to success in the installation process.
Preparing the fastening system
It makes absolutely no difference whether you buy a corner model or a simpler one, but the fasteners must be of high quality. Using a hammer drill, holes are made in the wall. Marks that were applied earlier will help you avoid making mistakes in applying them. Dowels are inserted into the prepared holes.
Important! The type of installation is not important. In any case, it will have vertical and horizontal fasteners. You need to install anchor fasteners into the prepared dowels - it will make it possible to attach the device body vertically. During installation, all elements should be placed sequentially, as this will facilitate further vertical level adjustment.
Toilet installation with installation
The sequence of actions during operation does not depend on the type of installation - Is it narrow or angular, or maybe standard. The installation body should be placed in the place that has been prepared.
It must be secured with screws and adjustment nuts. It would be correct to check that the level is maintained horizontally and vertically. This is one of the most important points.
Horizontal adjustment is made using the legs. They should be set to the desired height and secured. Vertical adjustment is carried out using anchor fasteners, after which a plug is installed.
We install water supply and sewer systems
To make the connection, we will use plastic clamps for fixation. The drain pipes from the tank, as well as from the sewage system, are fixed in them.
After fastening, you need to additionally make sure that everything is fixed qualitatively. Does the design correspond in size to the dimensions of the toilet? Carry out an additional check of vertical and horizontal level compliance. Now we can say that the structure is finally assembled and ready to install the toilet.
Final stage
The installation work on the installation body has been completed, it is time to install the toilet bowl. Check that the connecting pipes going from the installation to the toilet are the correct size. There are exactly two of them. One is for the sewer system, the second is for the water supply. These parts are supplied as a set, as they are non-standard in size and cannot be purchased separately.
Before installing the bowl, you need to put the PVC couplings on the studs. Don't forget to install a cushioning pad as well. Having attached the pipes to the toilet bowl, install it on the studs and secure the fasteners with nuts. Tighten the nuts sequentially until they are completely seated. Do not over-tighten the nuts to avoid damaging the structure.
As you can see, all you need is a little experience in installation work, patience, attentiveness and accuracy, and you can easily build a luxurious and modern installation for your “white friend” in your own home.

