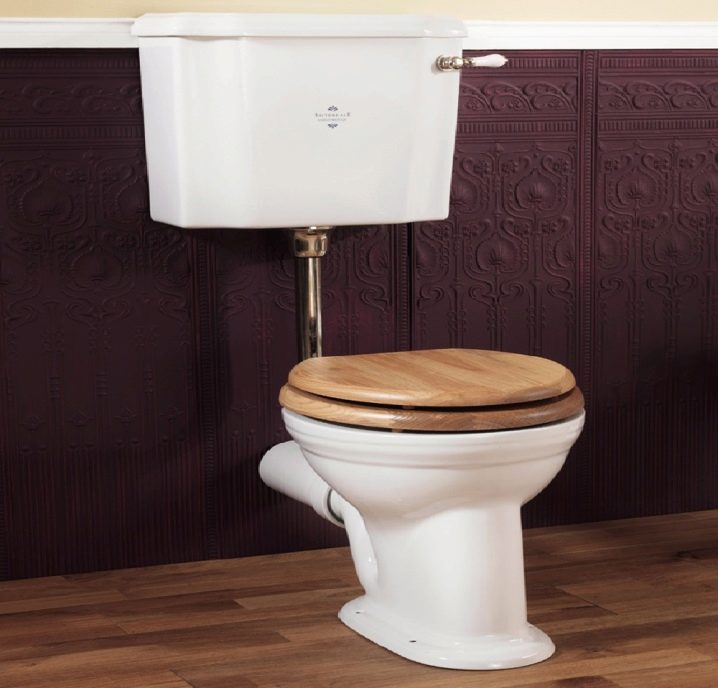
How to assemble a toilet and cistern
It is quite possible to assemble the toilet yourself - there is no need to invite professionals. However, although the procedure is quite primitive, the installation in reality turns out to be not so obvious and simple. If you decide to assemble everything yourself, carefully study all the details. If you do not take them into account, then you are not far from a serious flood, because even a small leak can lead to big problems.
The content of the article
Types of drain cisterns and features of their design
The operation of any plumbing fixture is based on the coordinated interaction of internal elements. Modern industry offers consumers a wide selection of models. Their internal structure may differ, but the principle of operation remains unchanged.
The design of all drain tanks is divided into two categories:
- with one button;
- with two buttons.
The first option, devices with one button, has long become a classic. The principle of operation is the instant release of a large amount of water under pressure. It is not at all difficult to assemble such a device. Reading the instructions and following its instructions is all that is needed.
Devices with two buttons appeared relatively recently. Only at the beginning of the century they replenished the assortment of stores and almost immediately took leading positions in sales. Their functionality allows you to save water.
What is the point of this design? The user is free to choose how much water he wants to drain. If one button is pressed, then the entire contents of the tank immediately goes down the drain, but the second button partially discharges the water.
There are three drain options:
- funnel-shaped drain - the flow of water goes in a circle, twisting in a spiral;
- cascade drain - water flows along one side of the bowl;
- shower drain - water is discharged around the entire perimeter, simultaneously spraying.
Two parts of the structure can be distinguished:
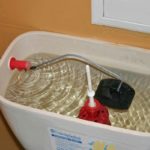
- The supply part is responsible for filling the tank with water. The float stops the water discharge.
- Drain part - consists of a release lever, a rocker arm, a drain valve and an overflow tube.
In classic models, the knot itself is fixed to the side wall.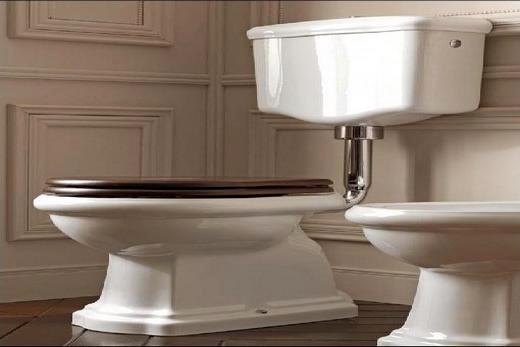
If the device is equipped with an internal unit, then there are no special differences, but there are some nuances. Under the influence of water pressure, the piston lifts the rocker arm with the attached float. When the tank is filled with water, the float compresses the piston and the flow of water stops. Everything inside is typical.
How to assemble a toilet cistern
When we go to the store for a new toilet, we receive a “assemble it yourself” product. In other words, the entire package is packaged in various bags. Naturally, there are quite detailed instructions, which describe the entire kit and describe in detail how and what to connect. It is advisable to read this piece of paper before assembly.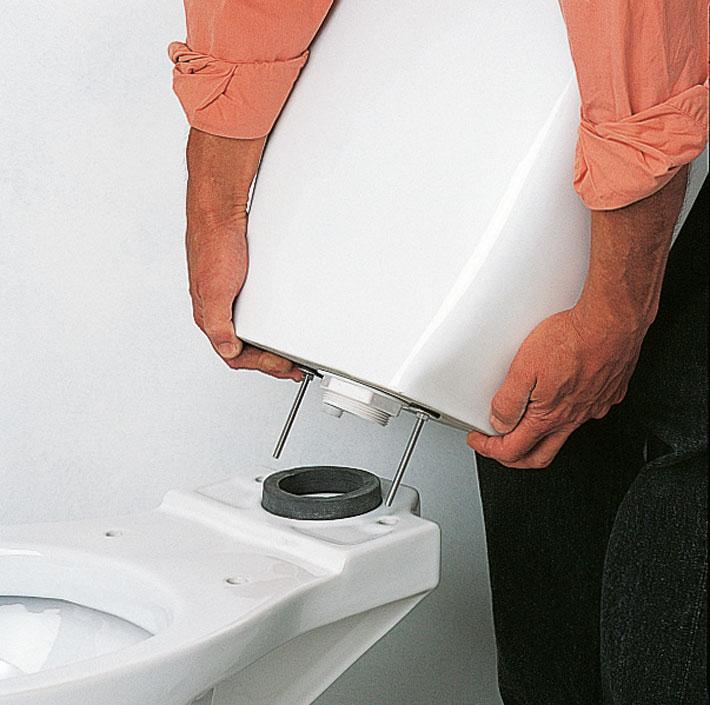
In addition to the drain mechanism itself, the delivery set includes all fasteners. To strengthen the fixation, it is a good idea to stock up on sealant.
The basic equipment is designed for the drainage system:
- Valve that shuts off the water supply. Naturally, it prevents water from draining from the tank.It is fixed next to the side hole in the tank.
- Drain mechanism - responsible for the operation of the drain block. It should be mounted in the central hole of the tank.
Let's look at how to assemble the tank together with the toilet:
- Unscrew the plastic union nut.
- Place the mechanism in the hole in the center.
- Lubricate the gasket with sealant and install it on the neck of the drain mechanism glass.
- Place the nut on top of the gasket and carefully tighten it until it stops.
- Place the water valve in the hole on the side. First unscrew the nut and apply sealant to the sealing collar.
- We secure the mechanism with a wrench and a nut.
- We install the tank on the bottom of the toilet. We insert the bolts into the side holes, put a gasket on the threads and tighten the bolt.
That's all, actually. The assembly of the cistern is complete. Now you need to secure the tank to the toilet bowl.
On the shelf you can find a hole that has a recess for an O-ring. To increase adhesion and improve resistance to moisture, it is better to lubricate the hole with sealant.
Remove the protective tape and place the gasket in the groove with the side on which the adhesive is applied. Press the bottom of the tank against the base of the toilet. Make sure the bolts line up with the holes. Now you should tighten the nuts.
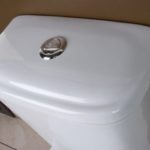
It would be wrong to leave the question of installing a cover with a button unanswered. If you have all the details, you won’t have many questions:
- We lower the lid onto the tank and trim along the edges.
- Screw the button onto the intended rod. If there is no play, then the task has been completed.
- We check the operation of the fittings. We press the button and the tank should empty. The button should work smoothly and not get stuck.
- Now you can assemble the toilet.When it is fixed in its rightful place, all that remains is to install the cover.
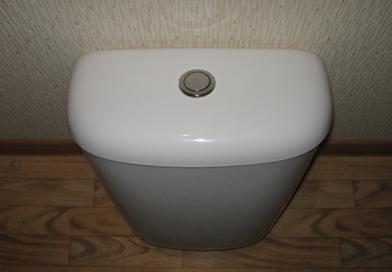
Self-assembly of the toilet
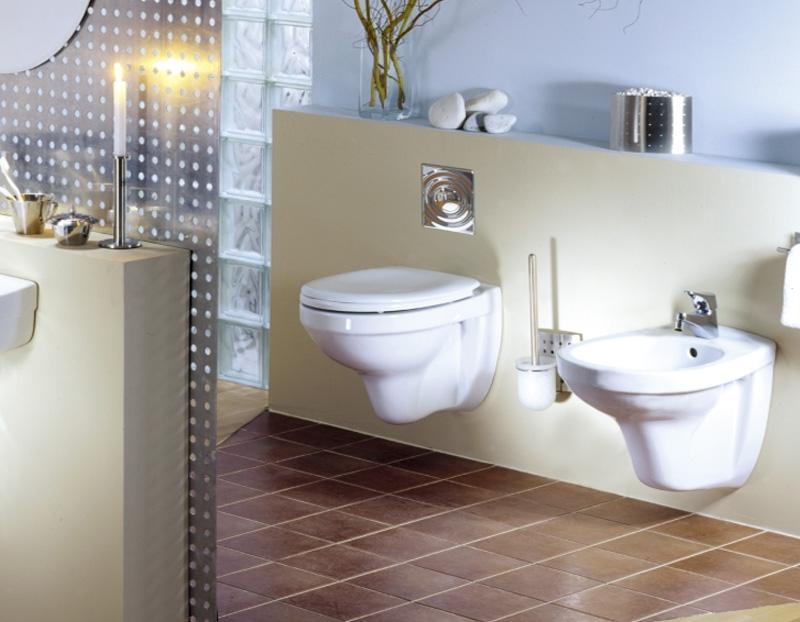
Installing a wall-hung toilet is much more difficult than fixing a floor-standing one. For the most part, this happens because the tank itself is not visible to the eye, which means you need to cover everything with drywall or stick tiles. Working with fixing a floor-standing toilet consists of only two steps: the assembly itself and installation of the entire structure.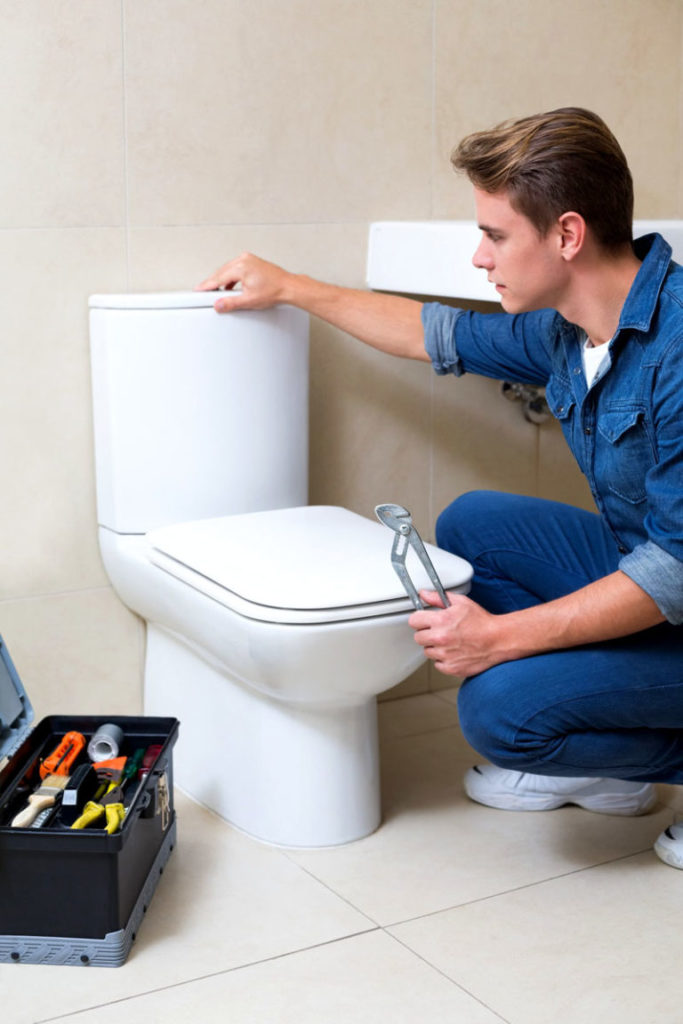
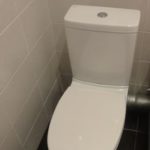
Reference! Most toilets, especially if they are floor-mounted and the manufacturer is well-known, are sold ready-made. The delivery consists of two elements: the toilet itself and the packaged tank. If there are any differences, it will be in the assembly.
There are other manufacturers. They, wanting to make the product cheaper, deliver it disassembled, placing all responsibility for the final result on the buyer. The mechanism is placed separately, next to it is the float. You need to install all this yourself.
In fact, there is nothing complicated: the drain system and the float are secured with a nut using a sealing gasket. Considering that the nut is made of plastic and there is only one in the set, you need to tighten it by hand, tightly, but without applying Herculean efforts. Otherwise, the plastic will simply crack, and you won’t be able to get by without going to the store for a new one.
Most of the questions arise with the assembly of the tank. It is necessary to fine-tune its mechanism, and this is not so easy. It is necessary to adjust the water supply mechanism, drainage and overflow systems. The quality of the toilet depends on all this.
If you carefully examine the entire structure, you will notice the adjusting screws. They are on the drain and on the float.The overflow system is adjusted simply by changing the length of the telescopic tube. Once all the elements have been assembled, you can begin installing the tank on the toilet bowl.
The drain tank is secured with two screws. In addition, you need to install a large rubber gasket, which is also included in the kit. The gasket is put on the outlet of the drain mechanism, then the washers are put on. Then cone-shaped rubber seals are inserted into the drain hole, which is located at the bottom of the tank.
It's time to install the tank in its intended place. To do this, you need to align all three holes and tighten the mounting screws using the thumbscrews. Tighten by hand, without any keys.

