How to assemble a toilet
Have you decided to change the toilet, but your “inner Jew” sighs heavily every time you look at the cost of the services of professional craftsmen? Are you the happy owner of straight arms that grow exclusively from your shoulders and not from somewhere else? Then to achieve success, you just need to read my article and follow all the recommendations step by step.
The content of the article
Design features of modern toilets
So, you've come home from the plumbing store and are unpacking boxes with anticipation. What will you see in front of you? Most likely, something like this standard set will appear before your eyes.
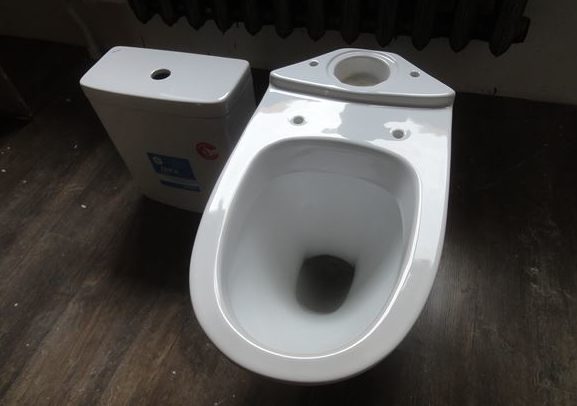
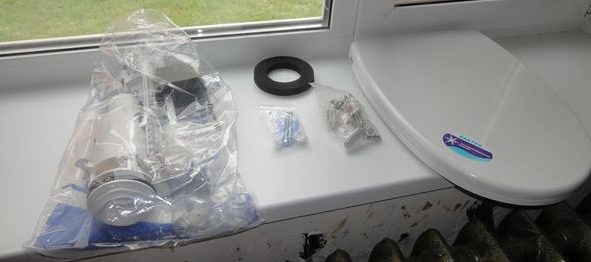
Something may differ in appearance, but the essence remains the same. So, “what, what, what are our earthenware friends made of?”
- tank;
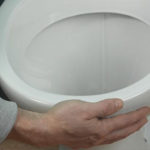
- bowl;
- toilet seat;
- set of fittings (water supply and discharge parts);
- set of fastenings.
The tank also has to be assembled separately, as well as the toilet seat attached, but I will definitely write more about this a little later. So, is everything there? Have you forgotten anything? Oh yes. I recommend purchasing additional sealant separately to better secure the rubber seals.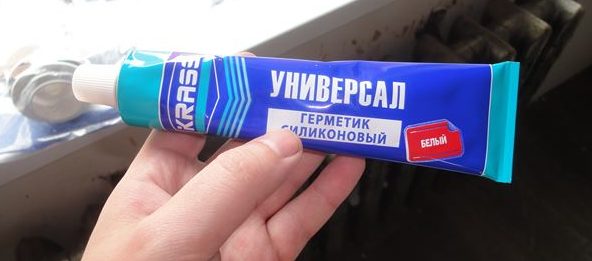
How to assemble a toilet
It's time to start assembling. Of course, I will help you with this, going through every stage with you: from dismantling to that joyful moment when you press the flush button for the first time and hear the familiar gurgling sound.
Dismantling the old structure
First of all, you need to turn off the water supply and drain everything that is left in it from the tank.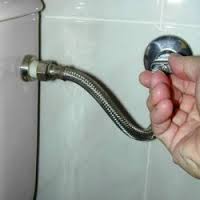
Next, we arm ourselves with a comrade named Wrench and unscrew the hose connected to the water supply.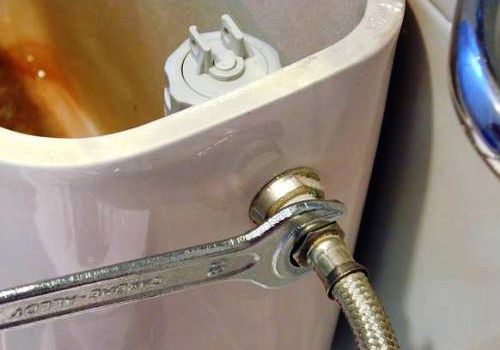
Now you need to unscrew all the fasteners from the tank. I warn you, this can be difficult, because with long use they often rust.
Attention! If so, soak them in kerosene beforehand.
We remove the tank and start fixing the toilet. Everything is the same here. The main difficulty ahead is detaching the leg, since in old buildings it is usually tightly concreted. If this is the case for you, you will have to use a hammer and chisel. Peel the cement around the entire circumference, loosen the toilet, and then lift it up. Tilt towards the drain so that the water accumulated at the bottom pours into it.
Ready? Now disconnect the drain from the sewer. As a rule, this step does not cause any difficulties for anyone, but!
Attention! The smell will be, to put it mildly... Not floral. Therefore, keep a large, thick rag ready to immediately plug the sewer hole.
I leave it up to you to decide what to do with the old toilet, and move on to the next stage.
Assembling the tank and attaching it to the toilet
Since all the main elements of the reinforcement are attached there, this is where we will start. Let's get to know its parts.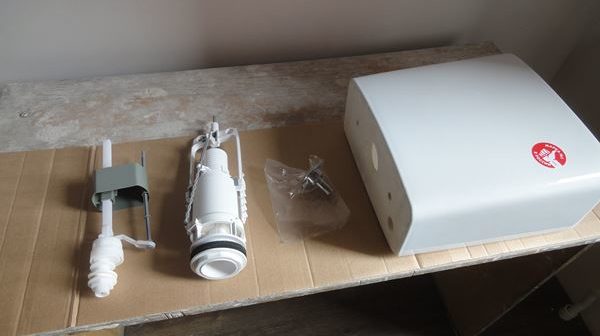
This beauty is a water shut-off valve, which is needed to regulate the water supply.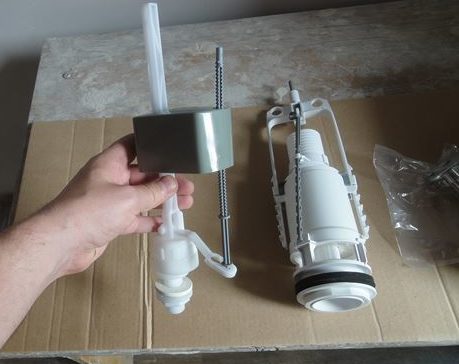
We will attach it to a small hole on the side of the tank.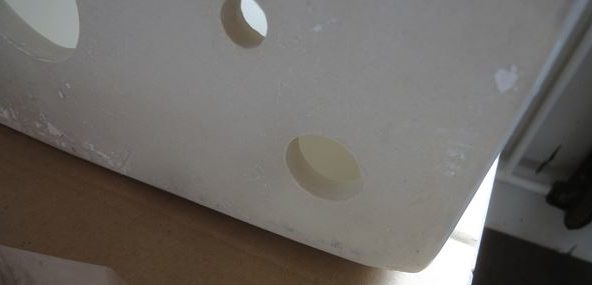
But this proud young lady is a flushing system.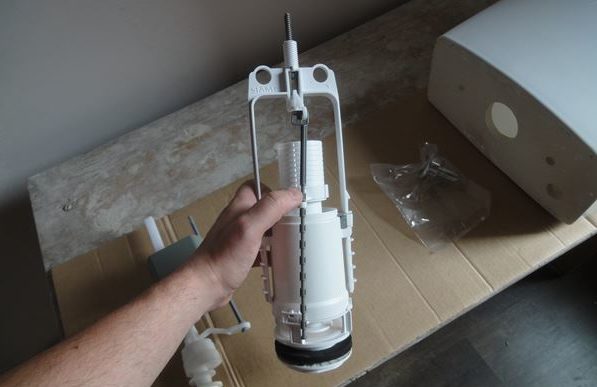
It will attach to the large hole in the middle, like this one: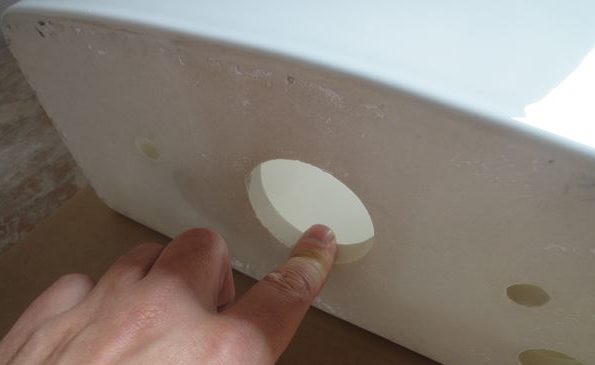
And we will start with it. Usually, by default, a plastic nut is screwed to the flush system, which needs to be unscrewed; it will be useful to us later.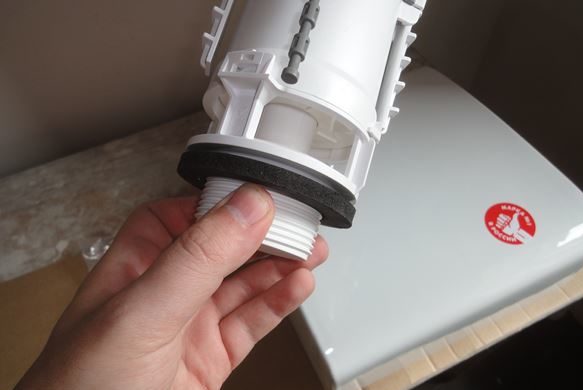
And now it remains to install it in the hole that we have already mentioned. 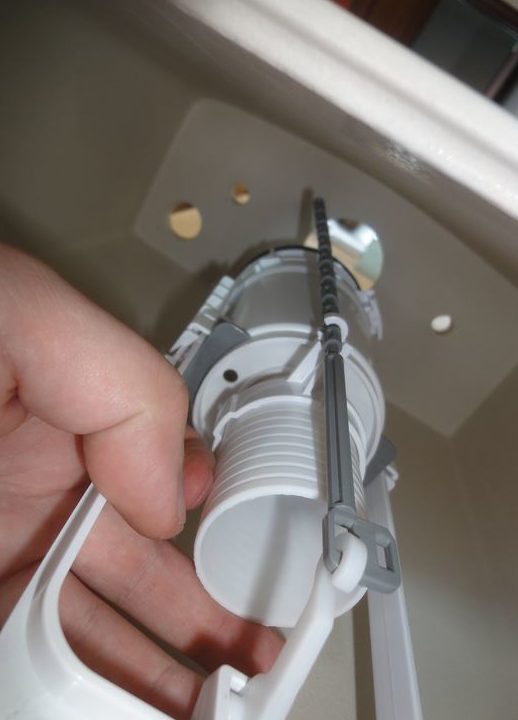
Now tighten the plastic nut from the reverse side.
Attention! I really don’t recommend using keys, they can easily break it. Better by hand. Or extremely carefully.
This is what it will look like from below: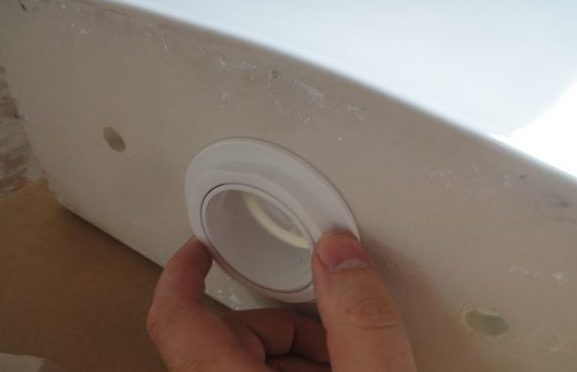
And here it is from above: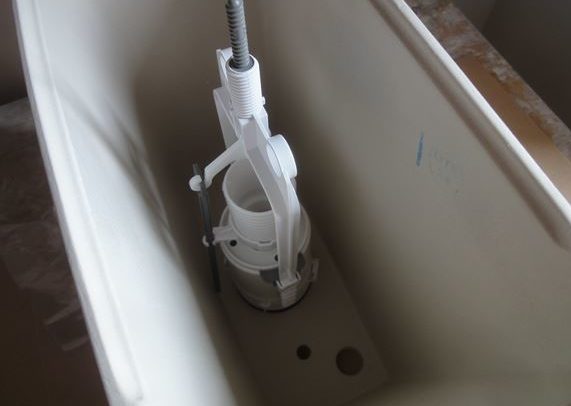
Now it's the valve's turn. It is practically open at the bottom, so there is a high probability of leakage. To prevent this from happening, I highly recommend using a sealant. Now I’ll tell you and show you everything in more detail. We start again by unscrewing the nut. 
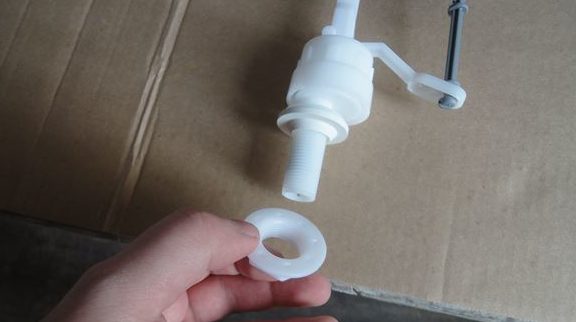
First you need to check whether there is a defect and whether the valve fits the tank. Insert it into the desired hole and move the gray part up and down: it should not come into contact with the walls.
If everything is in order, take it out and we will collect it. Do you see there is a silicone gasket just above? The tube points to her.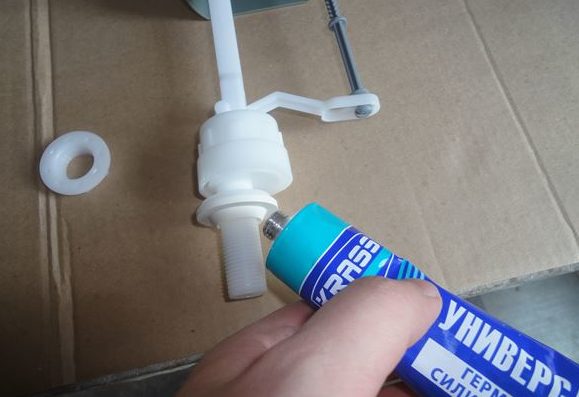
So we coat it in order to close all possible cracks as much as possible.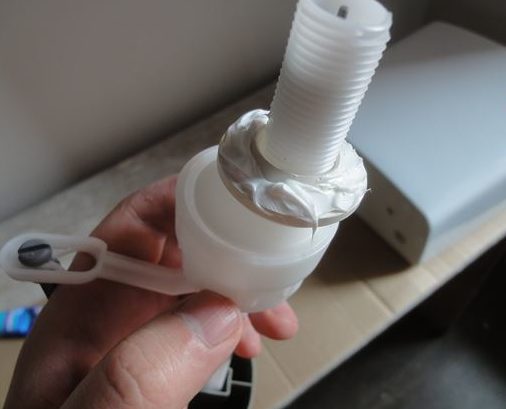
Insert it into the tank and tighten the nut on the back side. At this point you can use a wrench to tighten it, but remember that it's plastic, so don't overdo it!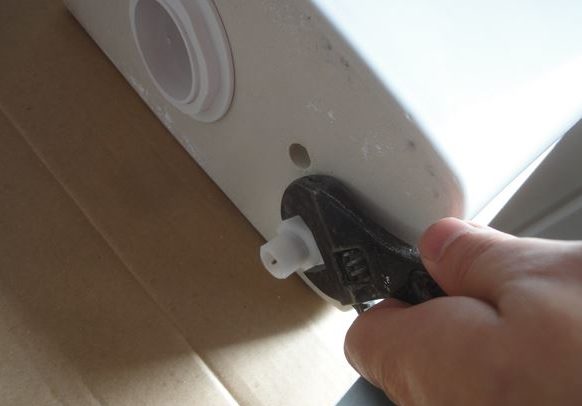
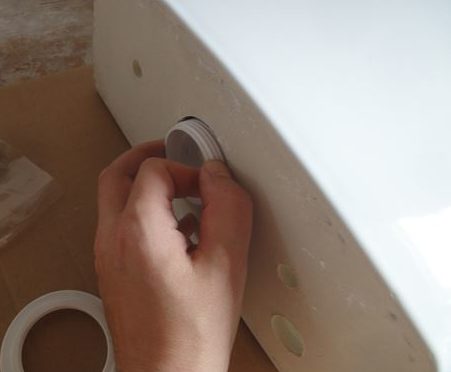
We are left with two small holes on the sides and a scattering of fasteners. Let's take care of them.
We first screw a plastic washer onto the bolt, and a silicone gasket on top, like this (you need to scroll to the very end). photo 25
Lubricate it with sealant too.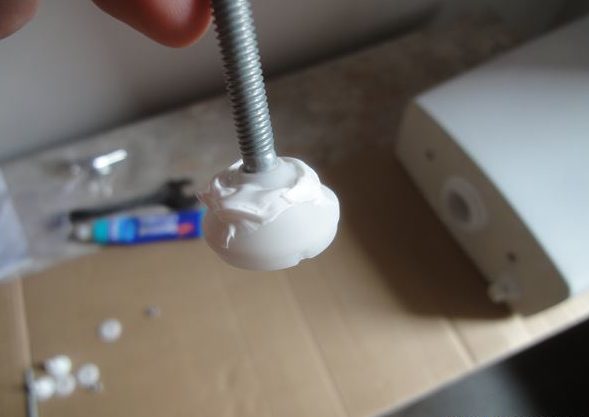
And insert it into the tank.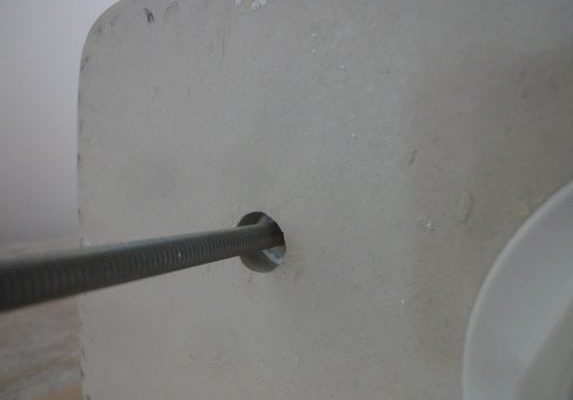
On the reverse side, first put on a plastic gasket, then a metal nut, which is pressed tightly (but without fanaticism) using a wrench.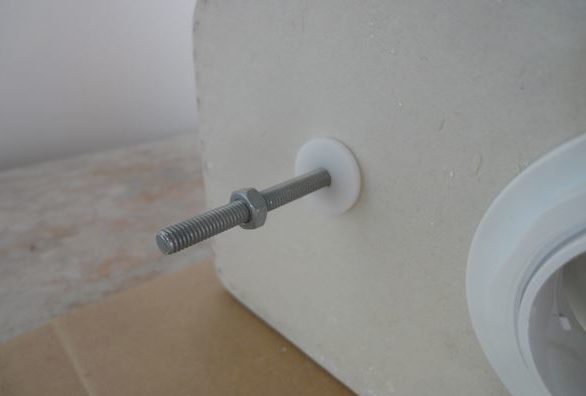

Ready! The tank is assembled!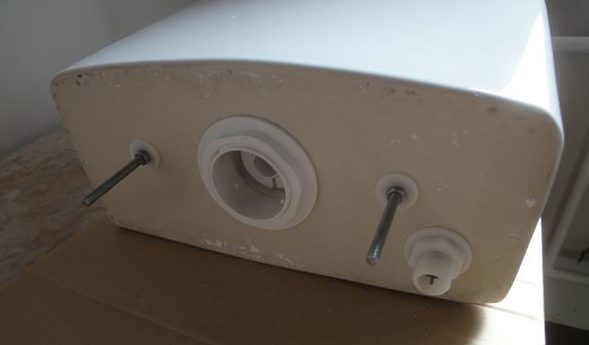
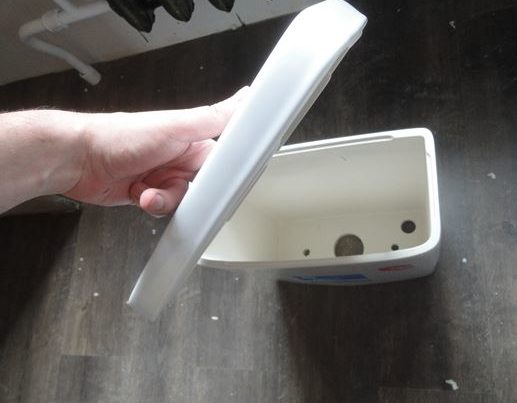
Let's move on. Now you need to attach it to the toilet. This large gasket will help us with this.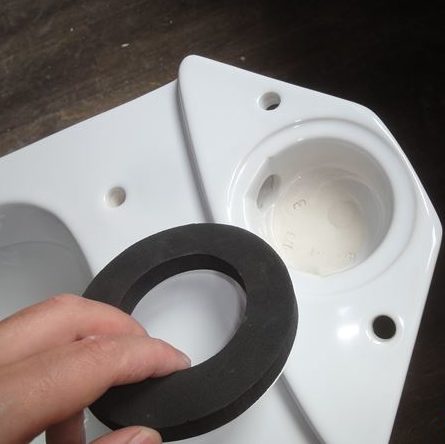
We will attach it here:
One side is sticky, the other is not.The sticky one should face towards the toilet. Before sculpting, coat the gutter with sealant.
We remove the protective film from the gasket...
...and we cement their union, if not forever, then, hopefully, for a very long time.
More, even more sealant! We also apply it on top.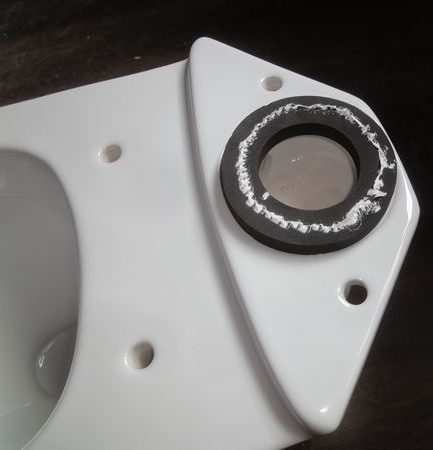
Reference! Why so many? Because this is the weakest point of toilets, most often they leak here. But we don't need this.
Now carefully place the tank so that the fasteners fit exactly into the holes.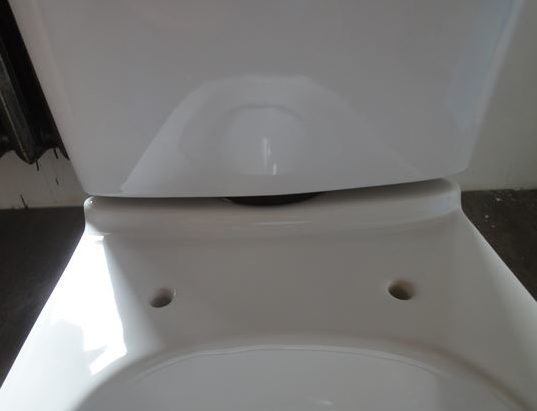
We are left with these two pieces: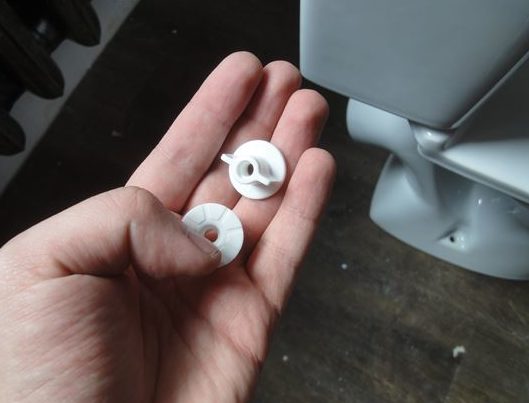
We twist them from the bottom. You can do it manually; this place will not be subjected to special loads.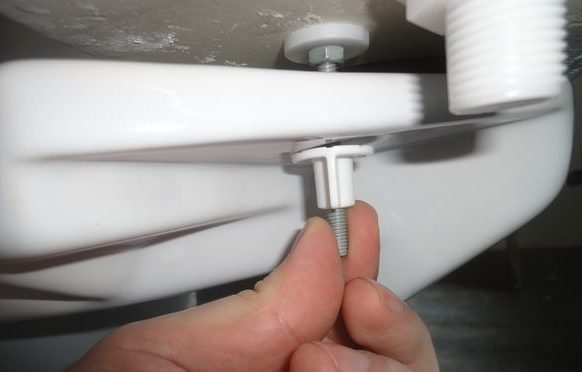
Ready! 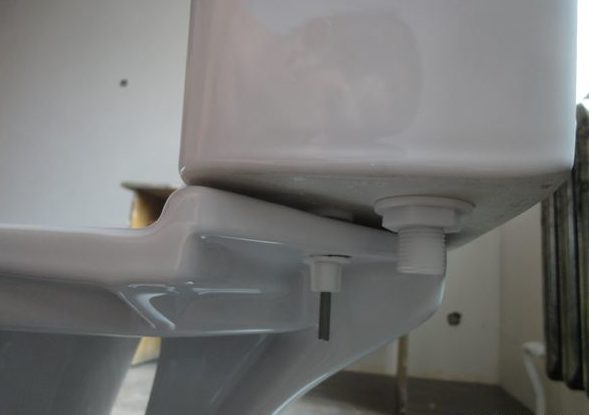
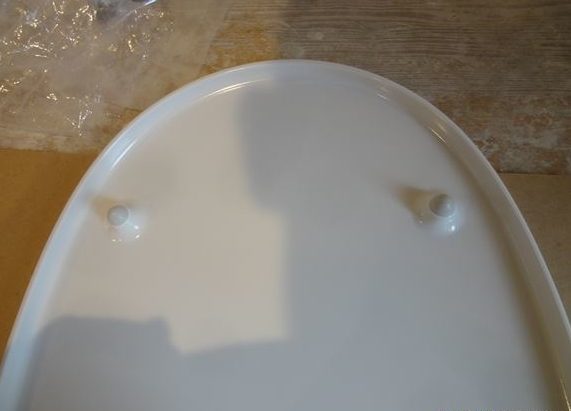
Seat assembly
It's time to start on the toilet seat.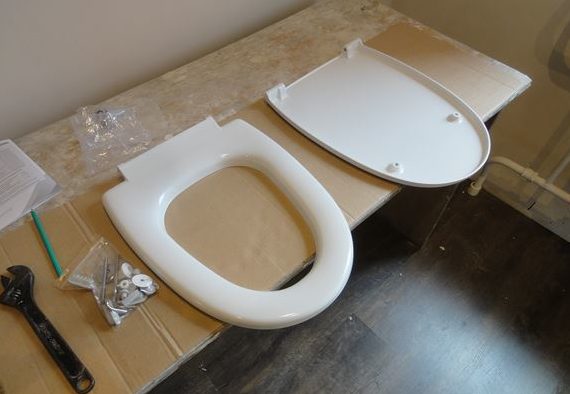
First we need to connect the cover to the seat. The following silicone inserts will help us with this: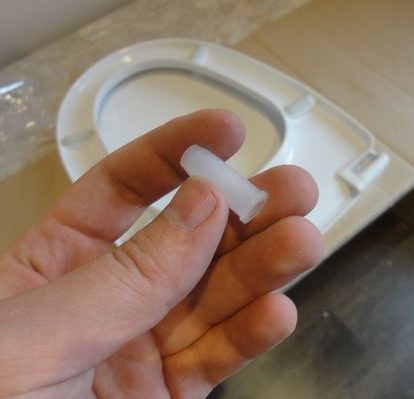
We paste them here: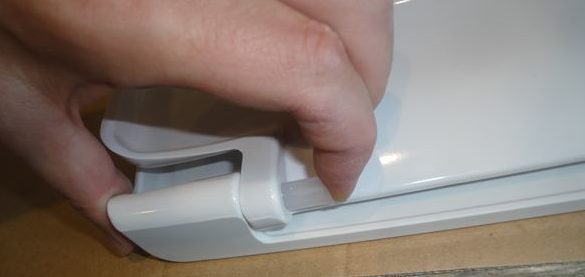
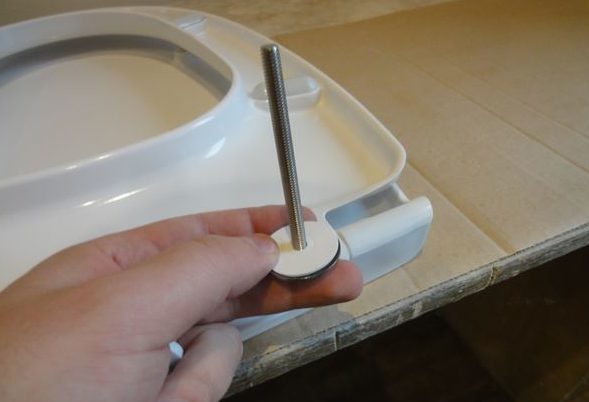
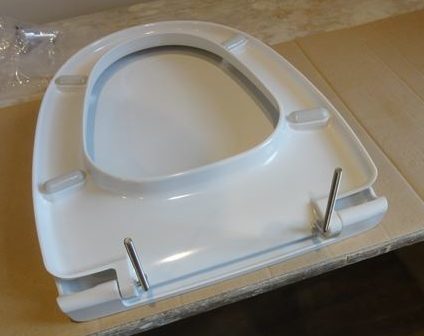
Next, we place the metal fasteners so that the result is something similar to this: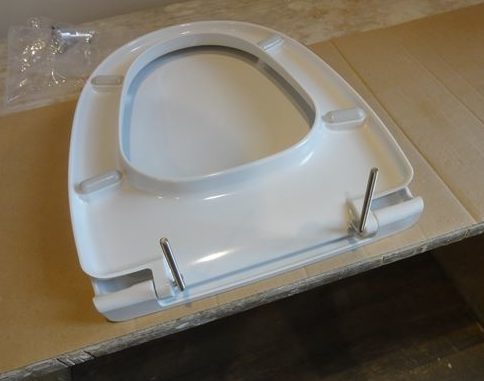
We screw metal washers on top, the second layer is a silicone gasket.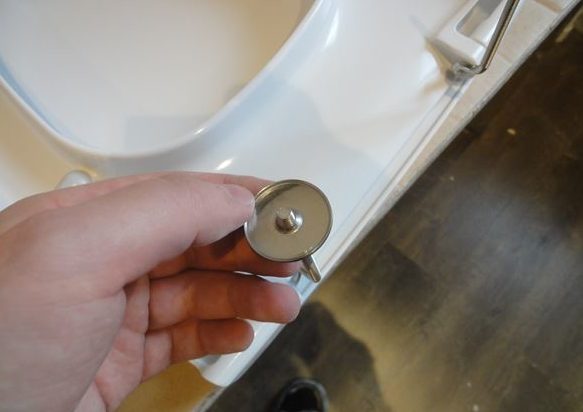
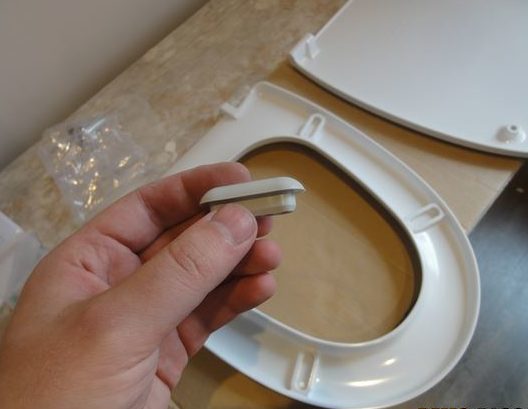
Now it's time to deal with what I call the "meats." These are such small inserts. The round ones are attached to the lid, and the elongated ones are attached to the toilet seat. They are needed to reduce the impact force when the toilet seat falls sharply (to prevent cracks) and make the sound from it a little less loud. 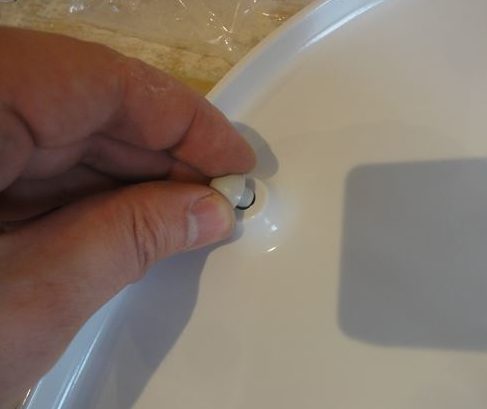
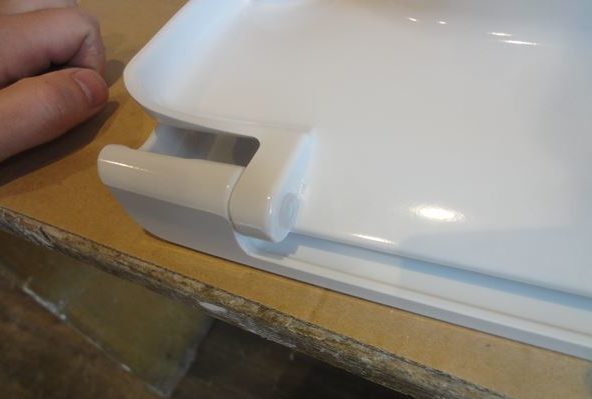
It's time to attach the toilet seat to the toilet!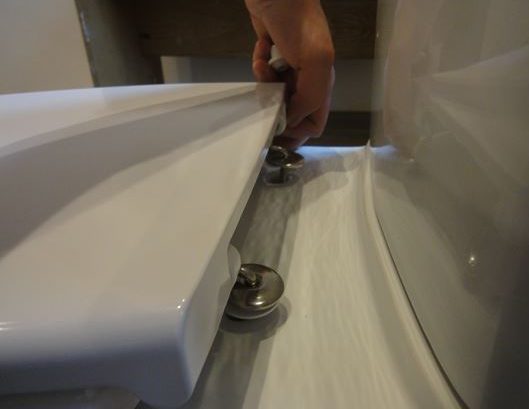
We secure everything from below with the same plastic nuts - you already know how to do this.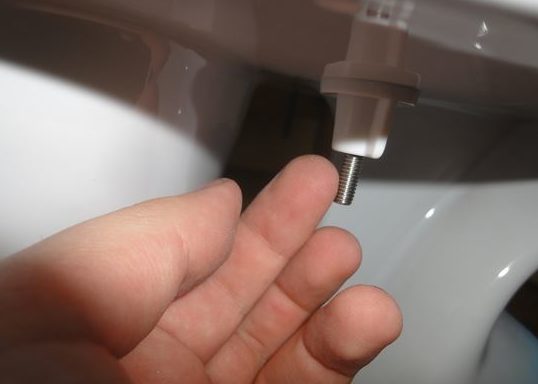
Beauty!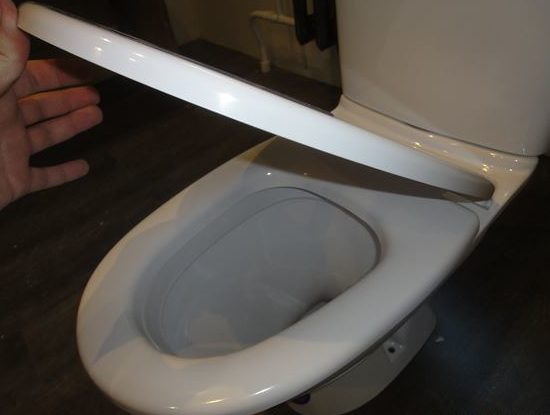
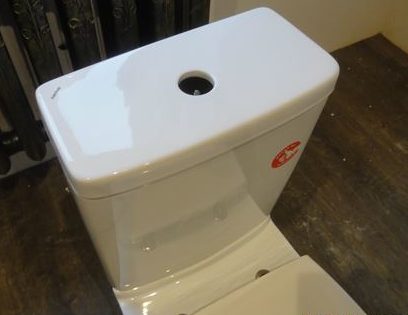
All that's left is the final touch: the tank cap and the button. Everything is as simple as possible here. Place the lid on top.
Do you see that there is a fastener at the top of the flush system? So we screw the button to it, like a nut. Here, too, you can do without a key.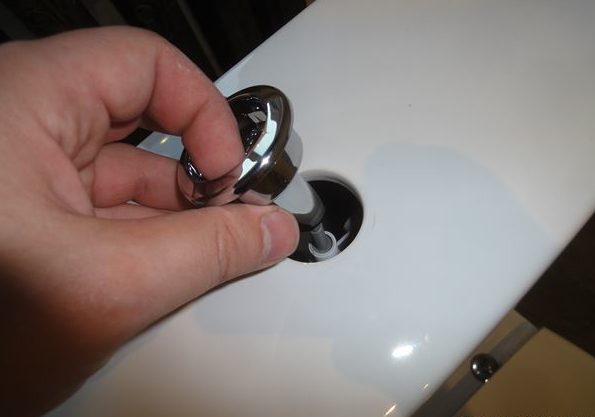
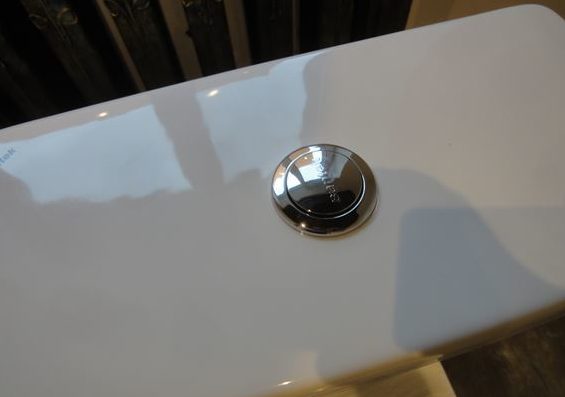
Check the button: does it press normally? Doesn't it sink? Isn't it loose? Well then, congratulations. Your toilet is assembled and ready for installation!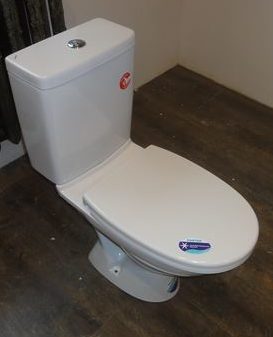
To do this you will need a drill or hammer drill and a drill bit. If the floor is tiled, then the drill is appropriate.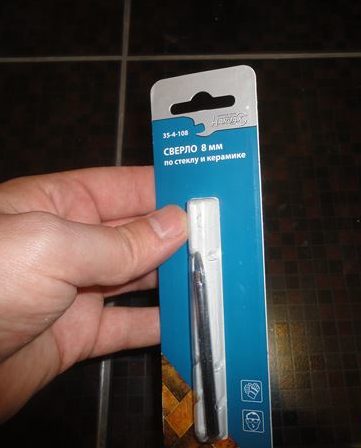
You will also need fastenings for the toilet (should be included in the general kit by default) and a pencil for marking.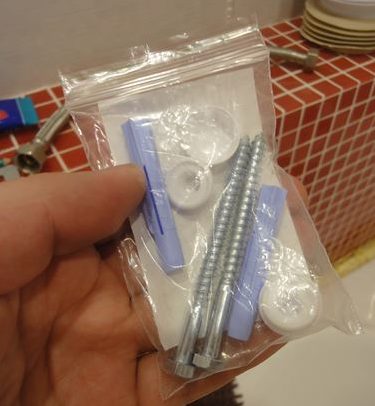
We put the toilet in the place of the previous one.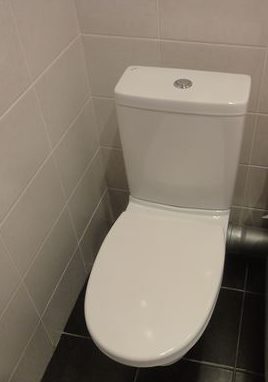
Mark the places for fastening with a pencil.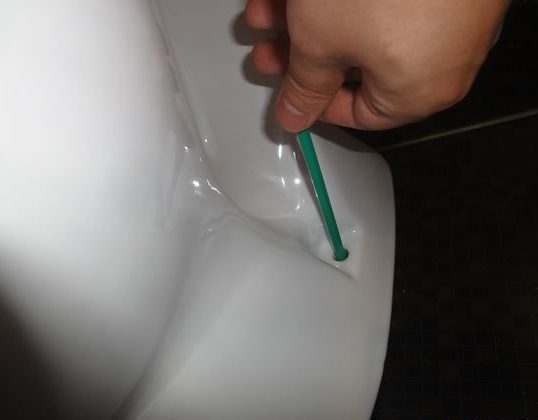
We clean the toilet. Time to piss off the neighbors!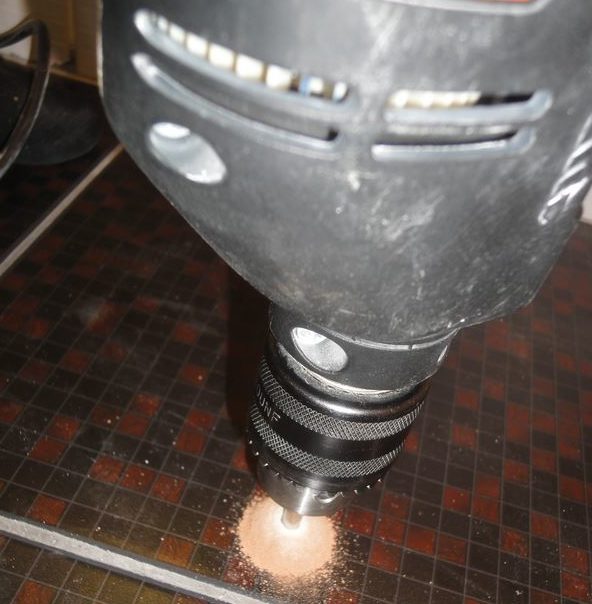
Ready.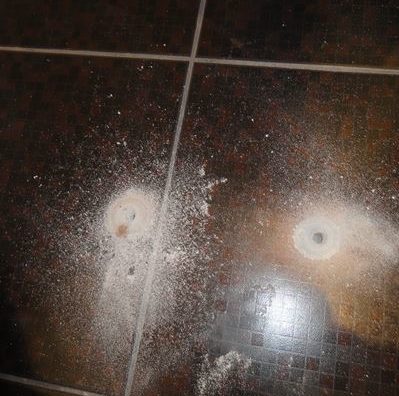
Let's tidy up a little and see two neat holes.
First, check the length of the mounting bolt - it should go the entire length. If not, we drill again.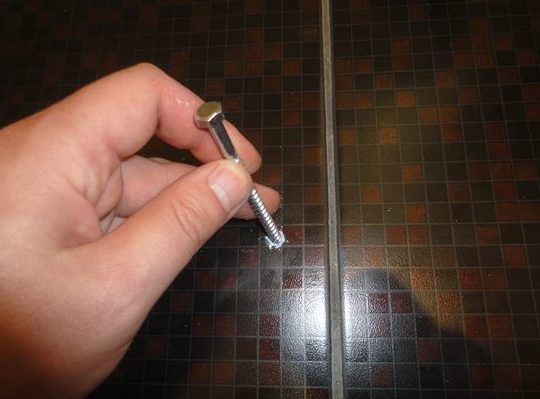
If yes, great, then take it back and drive plastic dowels into the holes.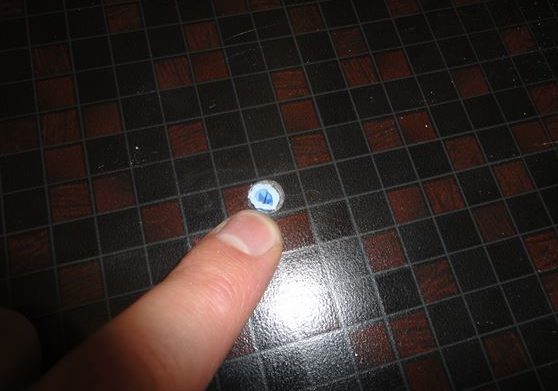
We return the toilet to its place and place it again so that the holes for the fasteners match. We tighten the bolts in them.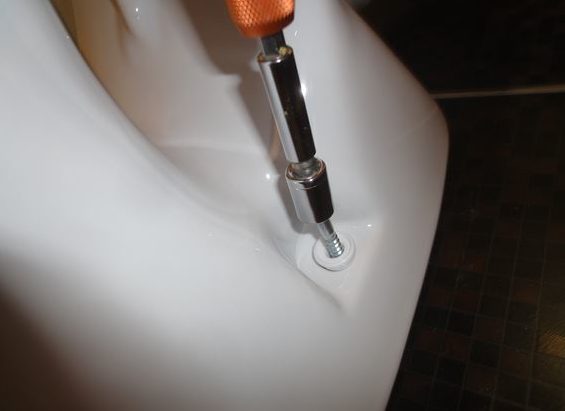
For beauty, we put a plastic cap on top.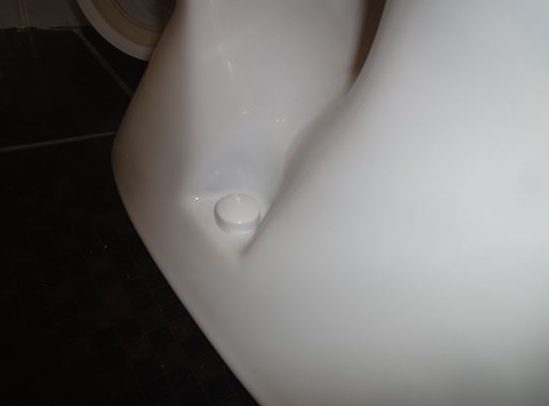
All! But no, that's not all. The toilet should not only stand and please the eye, but also work.
Connection to sewerage
For this you will need a flexible pipe like this.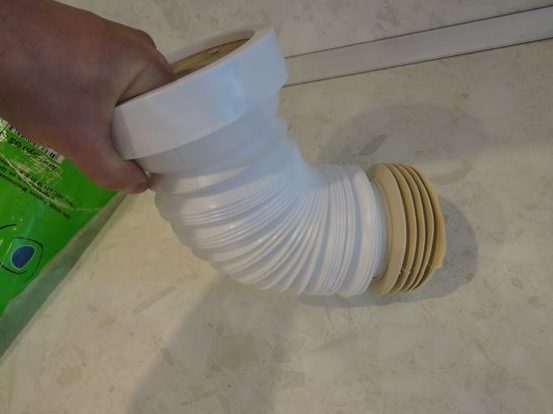
We insert one end of it into the sewer pipe... 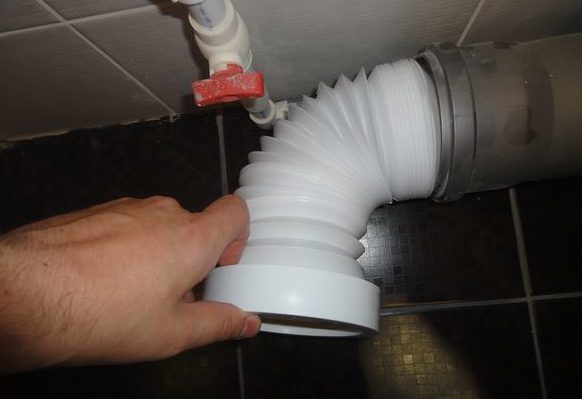
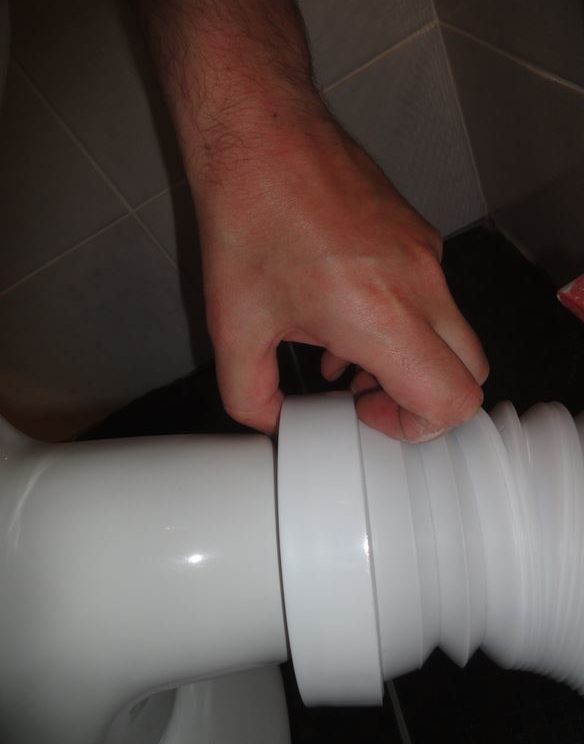
... and we put the second one on the toilet flush. The deeper you go, the better.
Attention! Don't be alarmed, it will be very easy to put on. This is the peculiarity of its design: it is much easier to put on than to take off.
Connection to water supply
We will do this with a pipe like this, it is also flexible: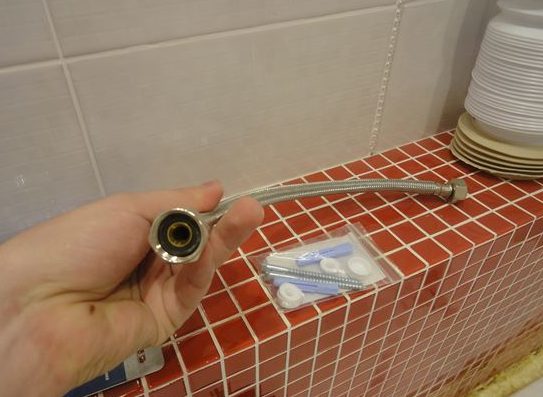
On one side we screw it to the water outlet...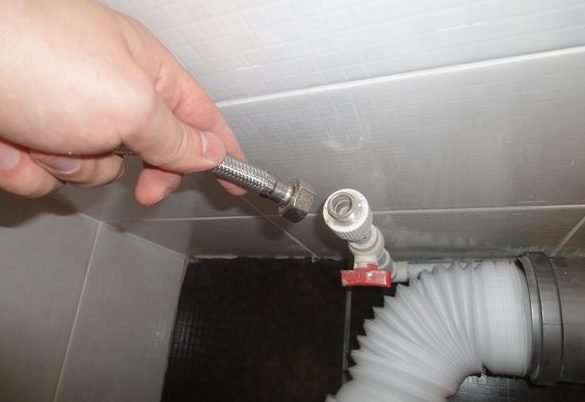
...from the second - to the tank from below. And again: use the key extremely carefully! This is a fragile place that can break easily.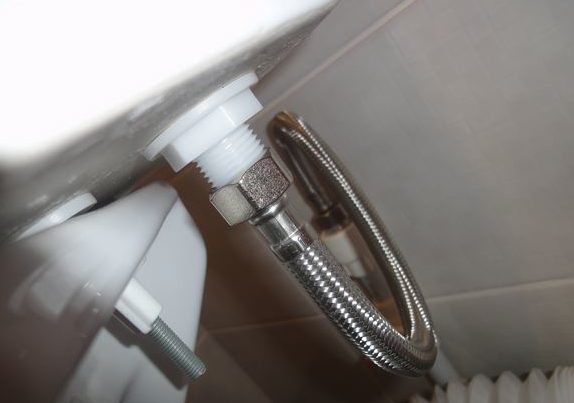
Well, are you ready? Open the water! Press the button! Enjoy the melodic murmur!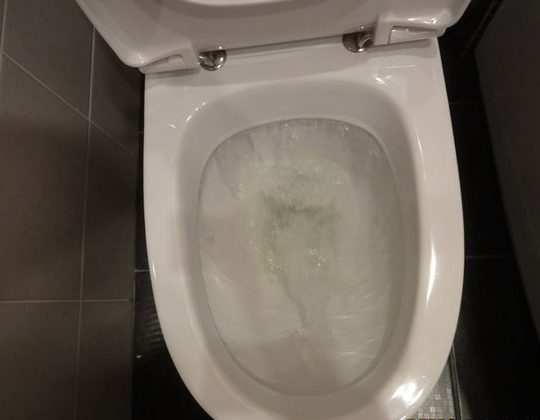
Don't forget to check that nothing is dripping or leaking. Everything is fine? Congratulations - we did it! You can use it with pleasure.