How to adjust a toilet cistern with a button?
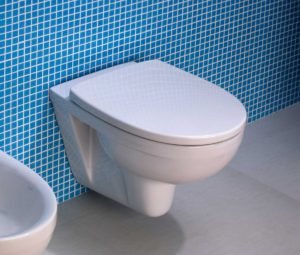
One of the main elements of the bathroom is the tank. In order to quickly and efficiently repair it, if necessary, you need to know some nuances. Read on to find out what parts the tank consists of, the features of operation and adjustment of the button.
The content of the article
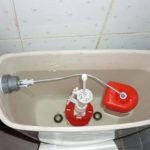
How is the cistern constructed?
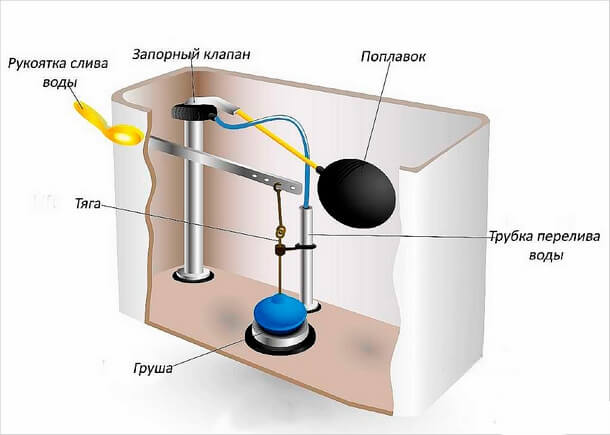
Regardless of what design the container is installed in - modern or Soviet era, it contains certain components that differ in appearance, but perform similar functions. tasks: filling with water and then draining.
Filling
The mechanism provides supplying liquid inside the storage tank, this process ends when a certain level is reached. Nodes forming the system:
- float element;
- stop valve.
The displacer is located on a plastic (or metal) lever; it changes its position depending on the volume of liquid in the tank: it lowers during draining and rises as it fills. At the minimum level, the float activates the supply circuit, at the maximum it blocks the water flow.
Drain
This regulator is used to drain liquid into the toilet bowl. Its components:
- drain siphon;
- drain lever;
- overflow tube.
The siphon device blocks the drain opening and, if the button is not pressed, blocks arbitrary loss of liquid.The lever circuit can be presented in the form of a pneumatic chamber, a rod or a classic lever. It is designed to drain water when you press the button element with your hand. The overflow tube is equipped with a certain number of marks and is located under the float. It blocks further filling of the tank when the volume reaches a certain level.
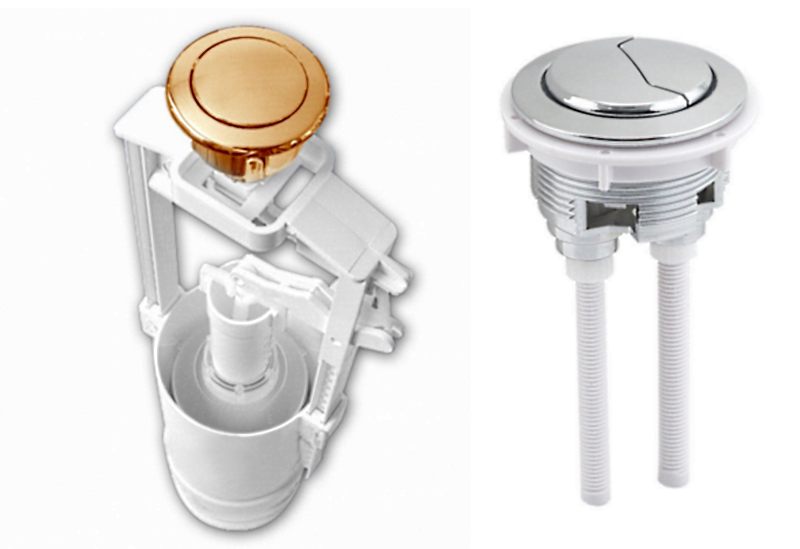
Subtleties of the button operation
Similar descent options are implemented in modern tank models. They can be presented in the form of one (using all the collected water) or two keys.
If a double regulator is built-in, this feature determines the amount of liquid flowing out: pressing the larger element completely empties the tank, using a small button resets half the volume.
Works in some products combined scheme, when the water pressure going into the toilet bowl depends on the force of pressing the trigger mechanism. This model will be the most economical, because it allows you to use the volume of the tank that is needed.
Why can the system act up?
Equipment problems occur for the following reasons:
- errors made during installation work;
- incorrect configuration of nodes;
- individual parts have been worn out or broken;
- accumulation of deposits and rust inside the container.
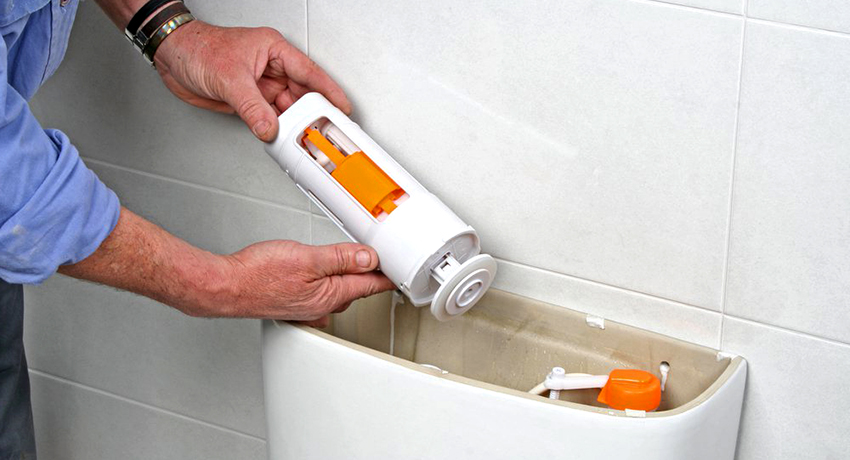
How to adjust the operation of the tank?
After installing the equipment, situations often arise that require additional configuration. Let's look at the procedure:
- Let's make sure that the moving elements of the valves are at a distance from each other. Under no circumstances should the fittings come into contact with the walls of the tank. This is very important for normal functioning.
- The flow of liquid into the tank should stop when 150 mm remains between its level and the edge of the overflow sensor; if there is a discrepancy, the float will need to be adjusted. Let's make sure that it has no distortions; if they are detected, we correct the situation using a rocker arm (located at the top of the device), tilt or bend it.
- The overflow tube can be adjusted by first loosening the clamp and disconnecting the rod. The last step is not always required: there are designs where it is enough to unscrew the nut. By moving the part lower or higher along the marks, we respectively reduce or increase the volume drawn into the tank.
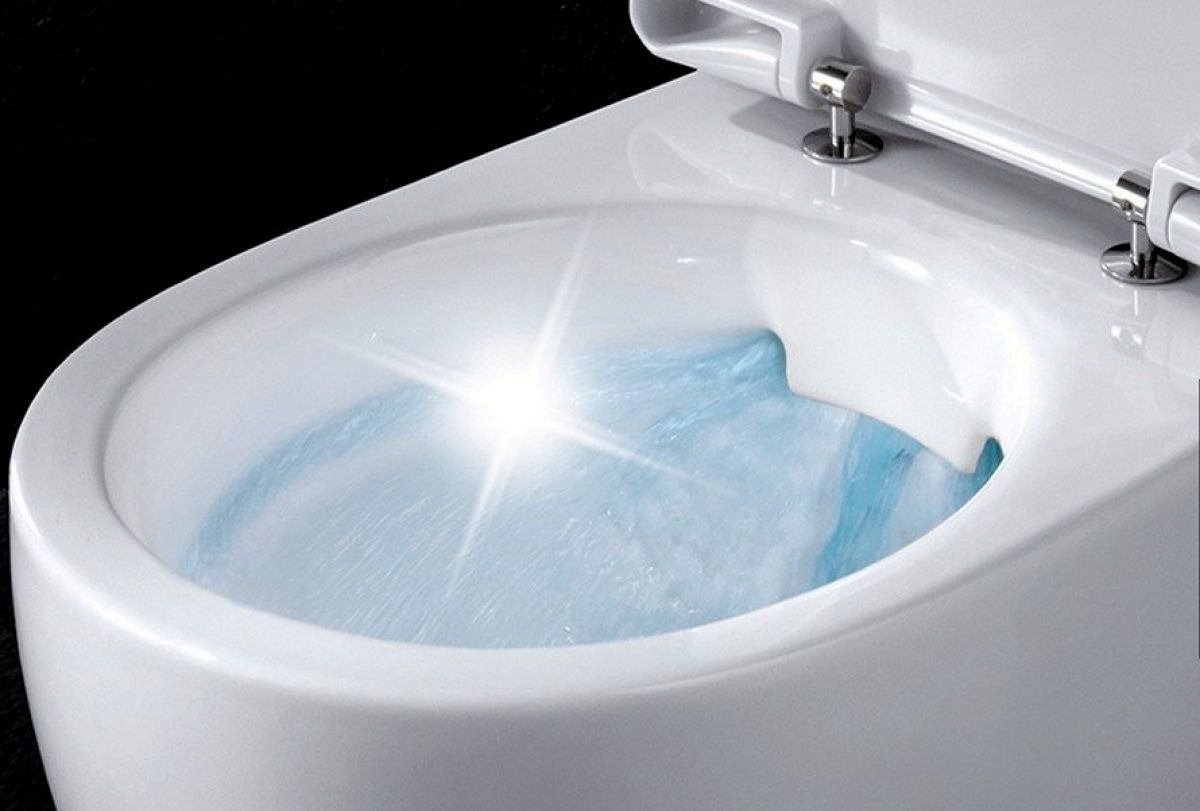
- Some models contain a special strip indicating the optimal value. This value will ensure the best flushing of contaminants.
- Attention! You can find options when the overflow element is located on the inlet fittings. In this case, its configuration scheme does not change.
- The filling tube may be too long, resulting in water splashing during the filling process. To solve the problem, just trim the unnecessary part.
Eat flaws, which manifest themselves only after prolonged use.
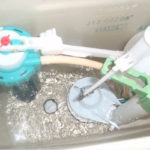
In modern devices, liquid is drawn through the lower line. A common problem here is a clogged filter through which the pressure flows. The component is located under the intake valve buoy. The accumulation of debris in this area leads to two problems: sound effects during operation and slow filling of the tank.
The defect can be eliminated by washing the filter. To do this, turn off the water valve, empty the tank and unscrew the water supply hose. The filter element located inside the filling valve is removed and cleaned.We carry out assembly in reverse order.
Rust and various deposits on the walls of the container can affect gaskets and components. This source of problems contributes to the failure of the structure or leads to the appearance of a gap between seals and parts. A leaky connection, in turn, causes a leak. To prevent such episodes, It is necessary to regularly clean the inside of the tank.
On a note! If one of the valves breaks, you will have to purchase a new component. Damaged gaskets are replaced.
The operation of the tank seems complicated only at first glance. Actually it's the device is designed so that the owner can easily disassemble and assemble the filling. Knowing these nuances, you can change any part yourself or, if necessary, replace the entire set without the help of a plumber. This will save you time and money.

RRRRogozin on the oxidizer tanks and what else, the fart can sleep peacefully and for a very long time.....