Removing the toilet cistern
When problems occur with a toilet cistern, it is often necessary to repair individual components or completely replace the device. Read about how to disassemble the container for these purposes in our material.
The content of the article
Sequence of actions when dismantling the drain tank
The device is dismantled in a certain sequence. Let's look at modern models.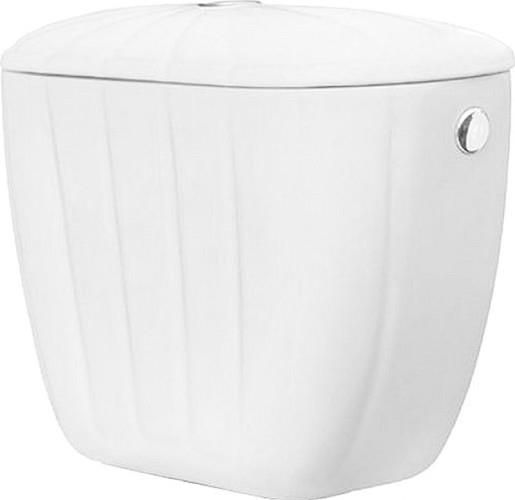
The first step is to disconnect the tank from the toilet. Note that the button head connection may vary in shape and thread (internal, external).
Operating procedure:
- close the water supply tap (it is located on the hard water pipe);
- disconnect the flexible line from the tank;
- by pressing the button we empty the tank and hold the element in this position;
- unscrew the head of the release key (we act carefully, counterclockwise) and remove the container lid;
- use a rag or sponge to remove any remaining liquid inside the device;
- using a screwdriver from the inside and a wrench (or using pliers) from the outside, unscrew the nuts;
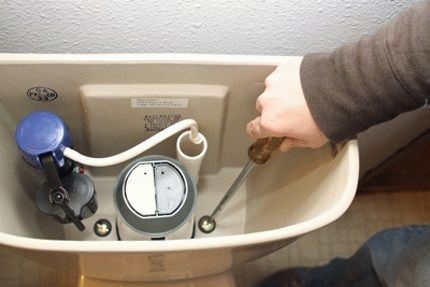
- carefully lift the drive to separate it from the shelf. Here you may have to apply some force - in some cases the cuff sticks.
Attention! Standard fastening on a special protruding shelf consists of bolts or studs with a diameter of up to 7 mm.Bolts can be plastic or metal (bronze, brass, steel), with double-sided threads. As a rule, fastening is done through 2 holes (3 is less commonly used).
The single configuration was discussed above. Removing the cover, equipped with two buttons, has several features:
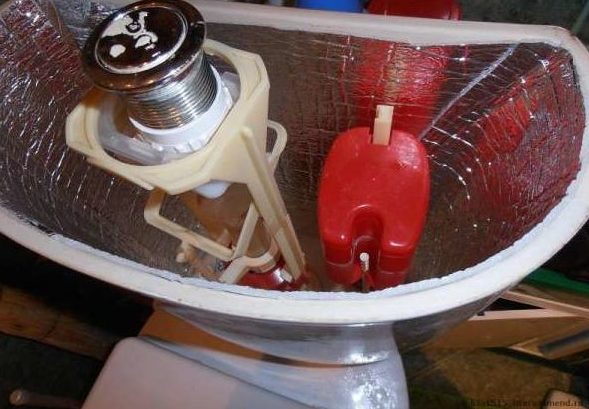
- when the container is empty, press the key that lowers the minimum volume (see photo);
- the lower part of the inner wall of the button contains a groove; use a screwdriver to press the lock through this opening (we act carefully);
- sequentially remove the large key from the cover, then the small one;
- remove the screw under the buttons holding the structure in place.
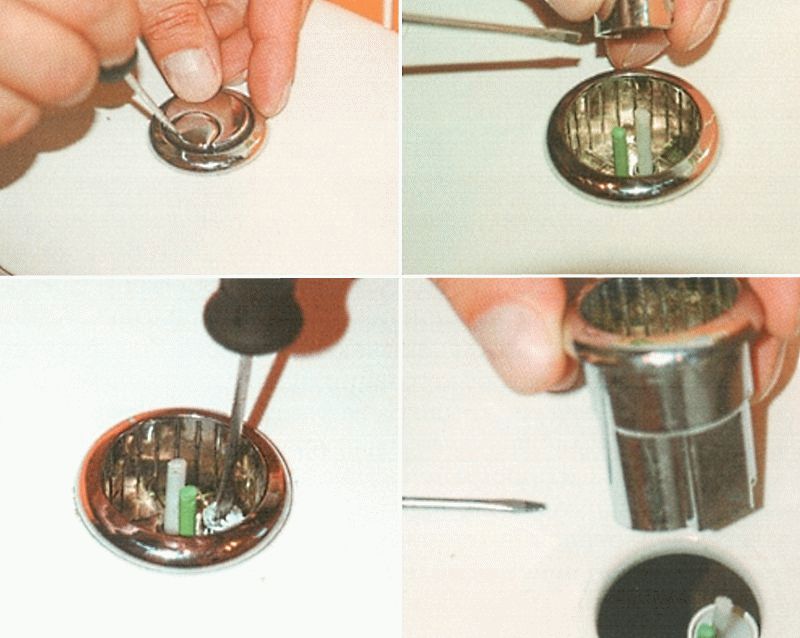
Reference! There are modifications where you first unscrew the decorative part (nickel-plated washer) and turn the lid 90º, perpendicular to the tank. Then press out the fixing brackets (inside the head).
We move the device to the place of further work.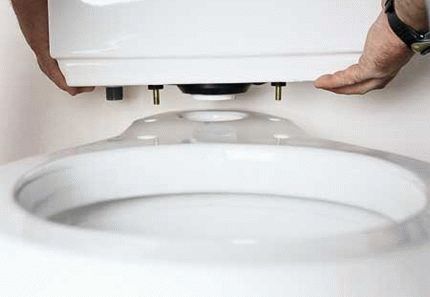
The next step is to remove the drain fittings. The component is manufactured in various designs, but in all cases the dismantling scheme does not change:
- remove the seal from the nut securing the valve;
- unscrew the nut;
- We take out the drainage system from the container.
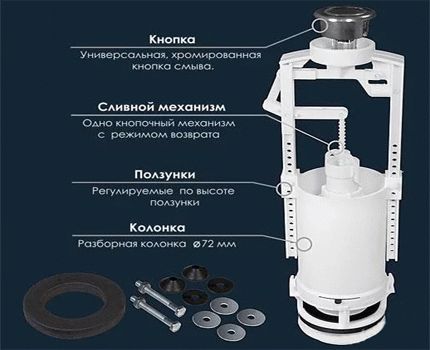
Reference! We disassemble the filling mechanism (which ensures that the tank is filled with water) in an identical manner. Fasteners can have different shapes (pentagonal, round); here it is important to choose the right tool.
Outdated models have differences in the disassembly process:
- to remove the upper part, remove the handle on the drain valve lever and unscrew the nut;
- to remove the drain valve, unscrew the screws securing it to the bottom of the tank;
- Usually the overflow tube has a separate fixation (plastic nut), we will use a wrench.
Reference! In some copies, the upper part is not fixed to the body and can be easily removed.
How to dismantle and remove the old tank if the bolts are rusty
Steel fasteners do not last long because they are susceptible to corrosion. This mounting option is found in outdated designs.
Ways to solve the problem:
- carefully moisten the bolt and nut with kerosene (an additional option is WD-40 liquid), leave the parts for 10–15 minutes until the rusty deposits are soaked and no longer interfere with work, if necessary, repeat the procedure several times;
- if the treatment does not help or there is no time to wait for the desired result, we simply cut off the fasteners using a grinder or a hacksaw.
Disassembling the tank, if there are no rusted elements, is not a problem and will not take much time. The manipulations are thought out to the smallest detail, and even a beginner can cope with this procedure. Be sure to follow the procedure to prevent accidental leaks. After all, this is one of the main plumbing devices, and its failure causes serious problems.

