Replacing wiring in floor lamps
On the one hand, a large floor lamp adds special sophistication to the interior. On the other hand, it is very functional. A floor lamp can be placed in the evening next to the chair in which you read a book. It will also provide high-quality lighting for the festive family table.
But any thing tends to break down and become outdated. If a floor lamp begins to burn out its lamps frequently, smells of burnt rubber, or even does not turn on at all even though the bulb is obviously intact, this indicates that it is time to change the internal wiring in it. In this article we will try to figure out how to change the wiring in a floor lamp.

The content of the article
Preparing for work
On a note. If you need to replace the wires, it would be a good idea to change the cartridge itself along with them - it is probably also already “tired”. It is not advisable to reuse it.
So, our floor lamp is broken and we need to replace the wires in it. Accordingly, we do not want to pay money to the electrician and will not do so. Therefore, first we need to make sure that we have:
- Screwdriver. For such work, a cross-shaped one with a small tip or a small flat one is suitable.
- Knife. It’s better to have a small one, like a lancet, to make it convenient to strip the ends of the cables.
- Pliers, wire cutters.
- Insulating tape.
If there is something from the above list, then you will have to buy it when we go to the hardware store for a cable and a new cartridge. If we don’t know the brand of the socket you need, it’s better to take with you the light bulb that screws into it. Even better dismantle the cartridge before going to the store and take it with you.The consultant will immediately select everything you need.
Before buying a cable, you need to see how thick the old core was. It is better to purchase cables with the same parameters or even with a small margin, because for some reason they have failed. Otherwise, the results of replacing the wire may be very surprising. There may be surprises in the form of burnouts and even short circuits.
Procedure for replacing wiring

Now, first of all, let’s sit down again and think about whether we have enough basic knowledge and skills in working with electrical equipment. If all this is not enough, it is better to call an electrician. Electric current does not forgive the incompetent and amateurs. If we are one hundred percent sure that our activities will help achieve the desired results with minimal sacrifices, then we begin.
Our procedure will be like this:
- First, make sure that the floor lamp is turned off and the cable is unplugged.
- Then unscrew the light bulb.
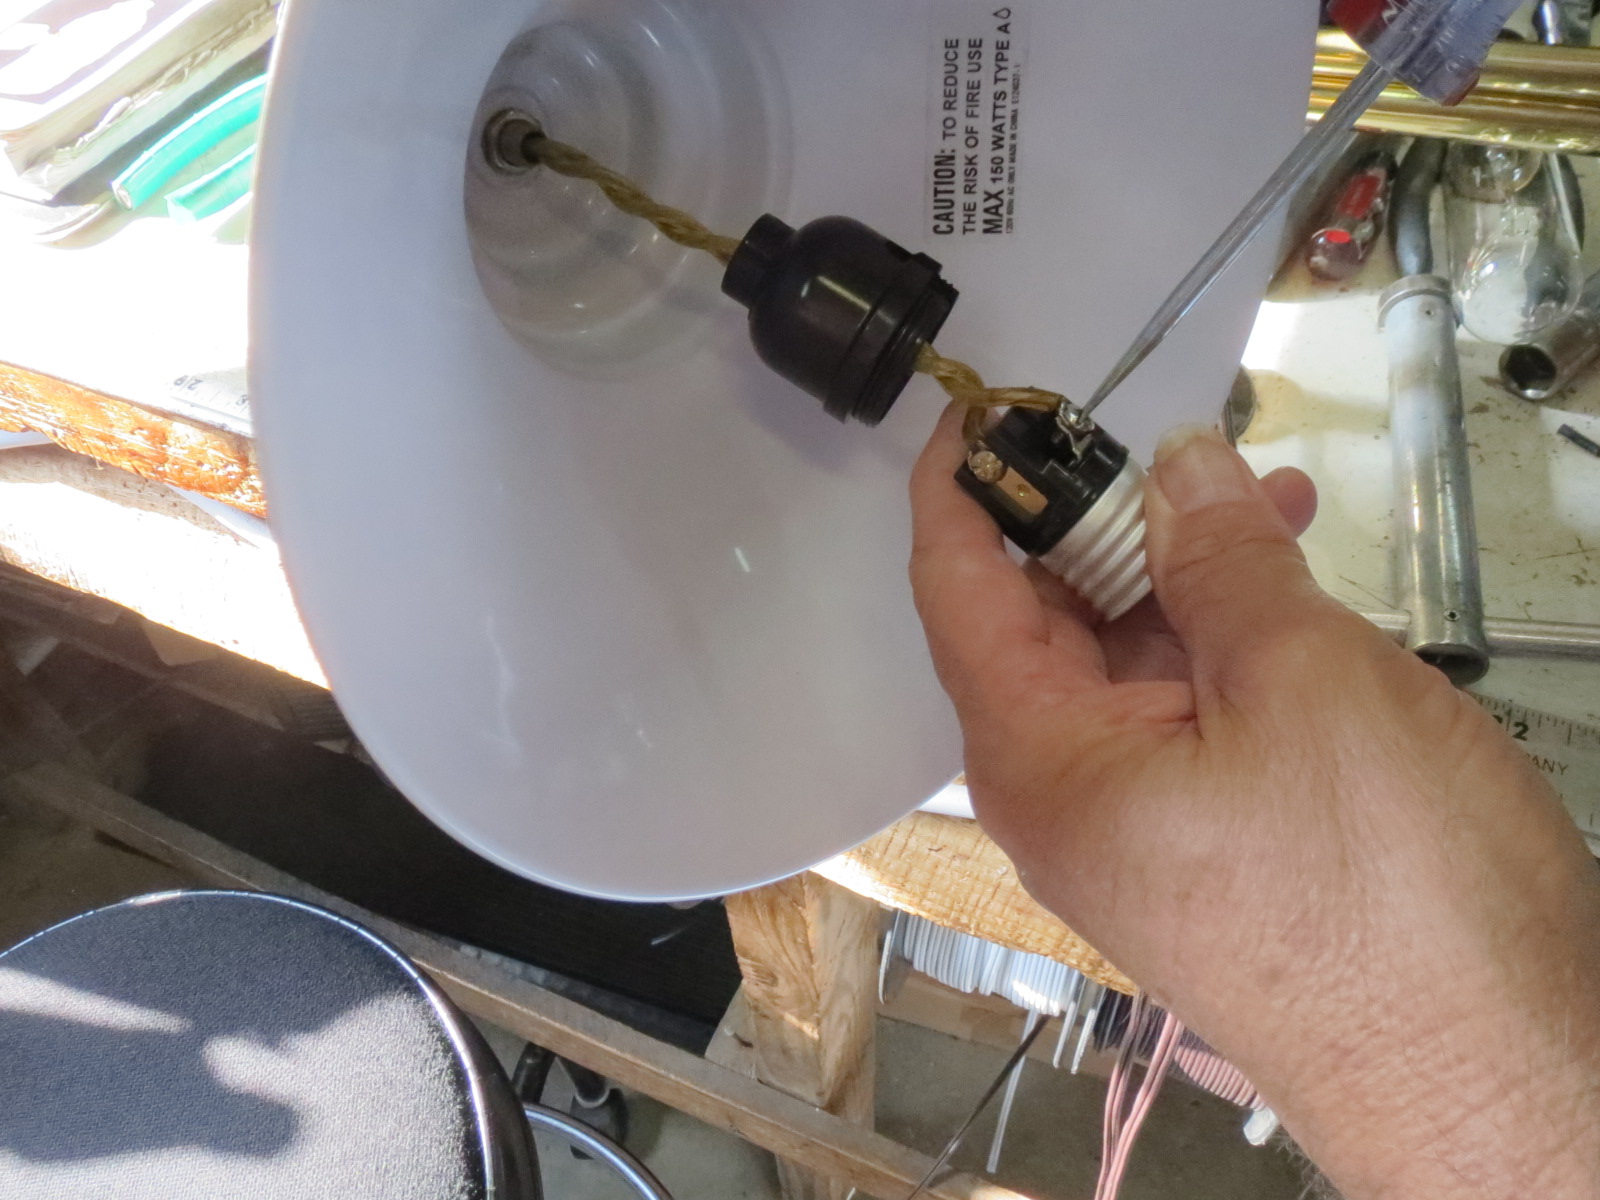
- Remove the lampshade and socket. It often happens that the cartridge does not want to unscrew, because over the years of operation it has become “stuck” to the thread. In this case, we need to take a can of VD-40 liquid, and slightly moisten the cartridge and the thread itself with it, and then rest for about 20 minutes or do other things. During this time, the miracle liquid will corrode all the scale, and the cartridge will easily unscrew. If even after treating with liquid the cartridge does not unscrew, we will have to break it with pliers, but so as not to damage the lampshade.
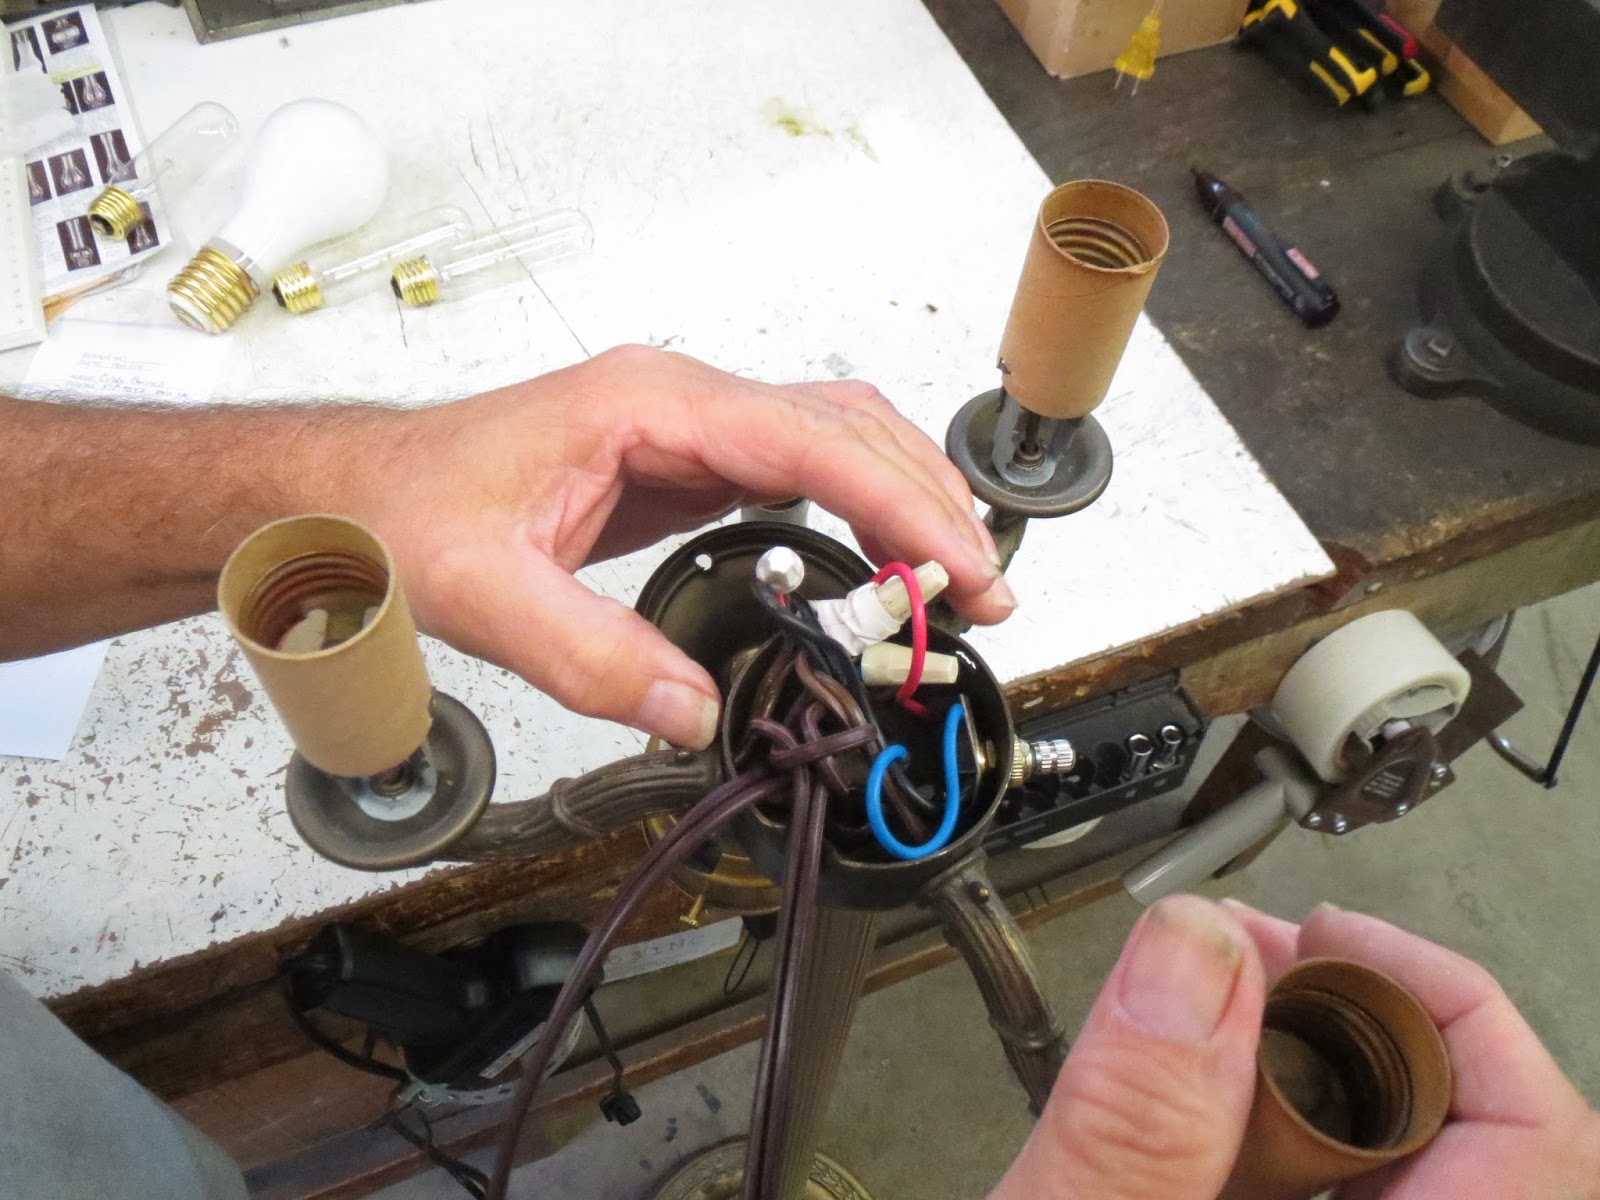
- We disassemble the floor lamp and separate the old wiring. At the same time, in order not to bother too much, we simply cut the wires with wire cutters.
- We install new wires. When connecting them to contacts, you need to remember the features of their markings. The grounding cable can be painted yellow or green, or it can be a mixed yellow-green shade.Neutral wiring is blue or light blue. But the phase can be painted in a wide range of colors - from black to turquoise. Manufacturers have a lot of sense in this regard. If suddenly it is not clear to us which cable is which, it is better to test them with a multimeter or a test screwdriver.
- We connect the wires to the socket. At the same time, do not forget: the phase wire must be connected to the central contact, and the neutral wire to the side. The grounding connection is attached to the lamp body. If there is no connector for such fastening, then we can simply not connect this cable, properly insulating it. In general, it is better to find out in advance whether the floor lamp is grounded or not. A two-core wire is cheaper than a three-core wire.
- Having taken the necessary precautions, we check whether the lamp is on. If it doesn’t light up, we eliminate the cause. Perhaps the lamp itself is initially faulty, so don’t rush to mess with the wiring.
- We assemble the floor lamp in reverse order.

That, in general, is all - the work on replacing the wire in the floor lamp is completed. The time has come for field testing, and if everything went smoothly, we enjoy the comfort.


