Do-it-yourself floor lamp from isolon
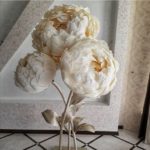
Do you dream of getting an exclusive item into your interior without shelling out much? Let's remember school labor lessons. Today in the article we will look at how to make a floor lamp from isolon with your own hands using blue electrical tape, matches and acorns.
The content of the article
What is isolon
In everyday life this material is better known as polyethylene foam (PPE). It is used for sound insulation and insulation in rooms and cars; in addition, it is used in baths and saunas as a vapor barrier. In terms of its physical properties, isolon is comparable to cork, but much cheaper and more flexible.
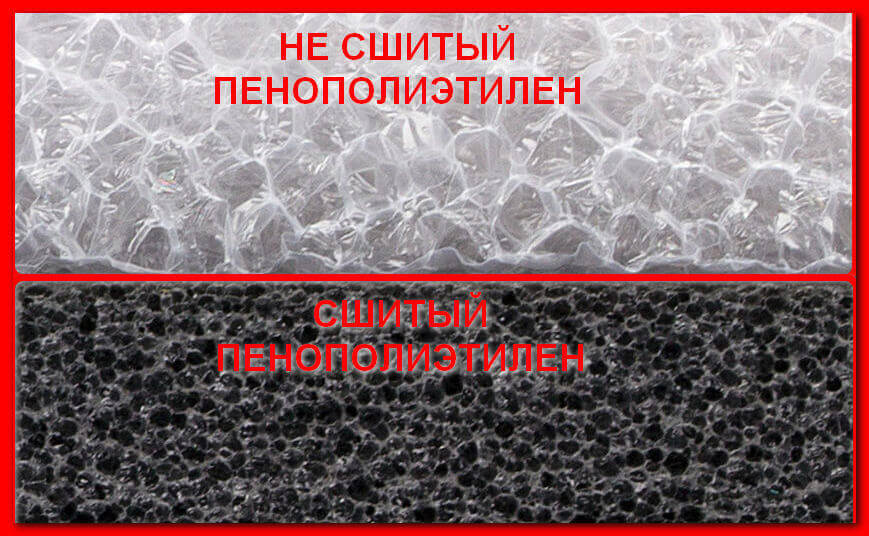
Types of isolon
Two types of PPE are produced:
- Stitched. Has a specific molecular structure. This is achieved through the introduction of a number of technological processes in production. Due to the cross-linking of the material's molecules and the presence of a mesh structure, its sound insulation, moisture resistance, strength and chemical resistance to aggressive environments increase.
- Unstitched. Its characteristic feature is the lack of connection between adjacent cells of the material. Compared to cross-linked PPE, it has very good thermal insulation properties, but is not as elastic.
Both types of material can be produced in foil version.In fact, there is no difference except for a layer of foil glued on one or both sides.
Advantages and disadvantages of the material
If you compare the pros and cons of isolon, then you need to start with positive qualities:
- good sound insulation characteristics;
- water-repellent properties;
- very good thermal insulation, especially for non-crosslinked PPE;
- relative mechanical strength along with elasticity;
- chemical resistance;
- low weight;
- possibility of cutting using ordinary scissors;
- long service life;
- comparative environmental friendliness of the material.
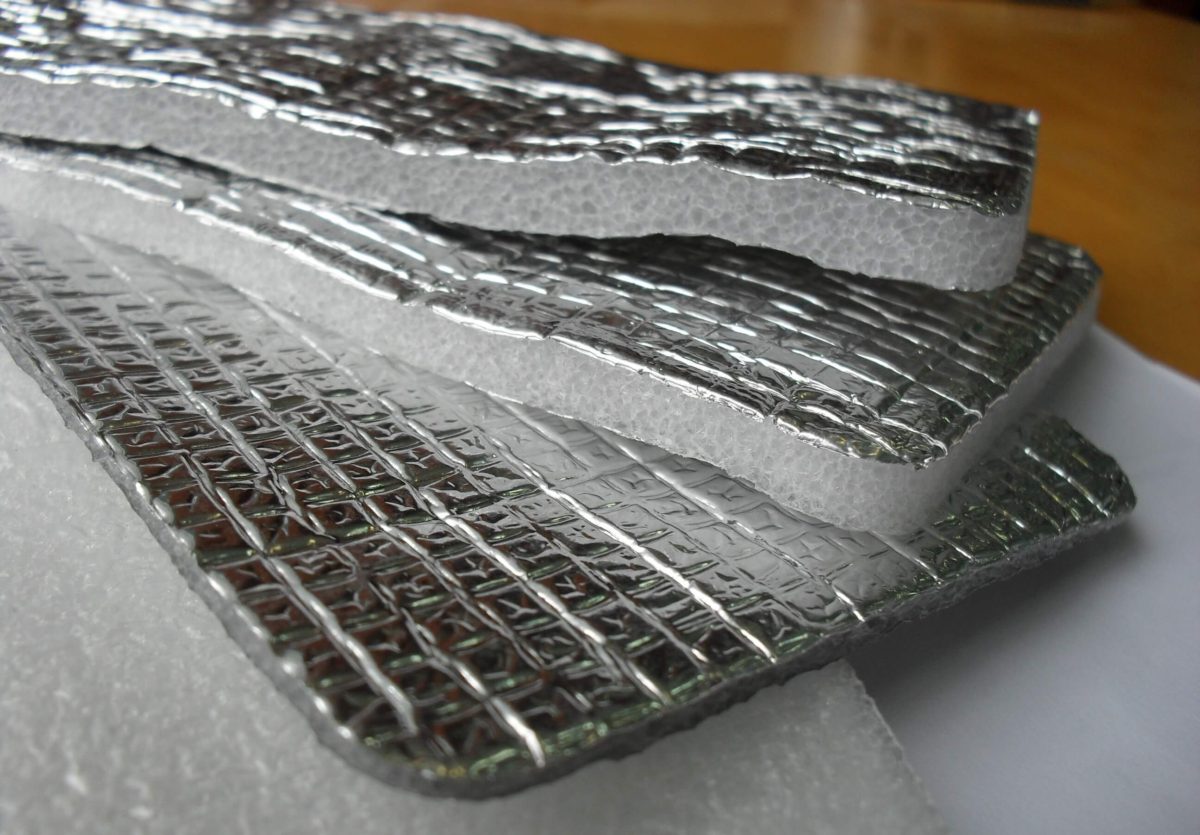
Appearance of foil isolon
Minuses There are also, but there are much fewer of them:
- quite high cost of material;
- a number of requirements for transportation and storage;
- some difficulties when installing foil material related to the selection of adhesives.
Do-it-yourself rose lamp from isolon - step-by-step manufacturing instructions
As for matches and acorns, I probably gave up. You will need a little more materials and tools than stated. In addition to preparation and actual manufacturing, the finished product will need to be painted, preferably using a spray can or an airbrush. As in any business, the process has its own nuances, which you can read about below.
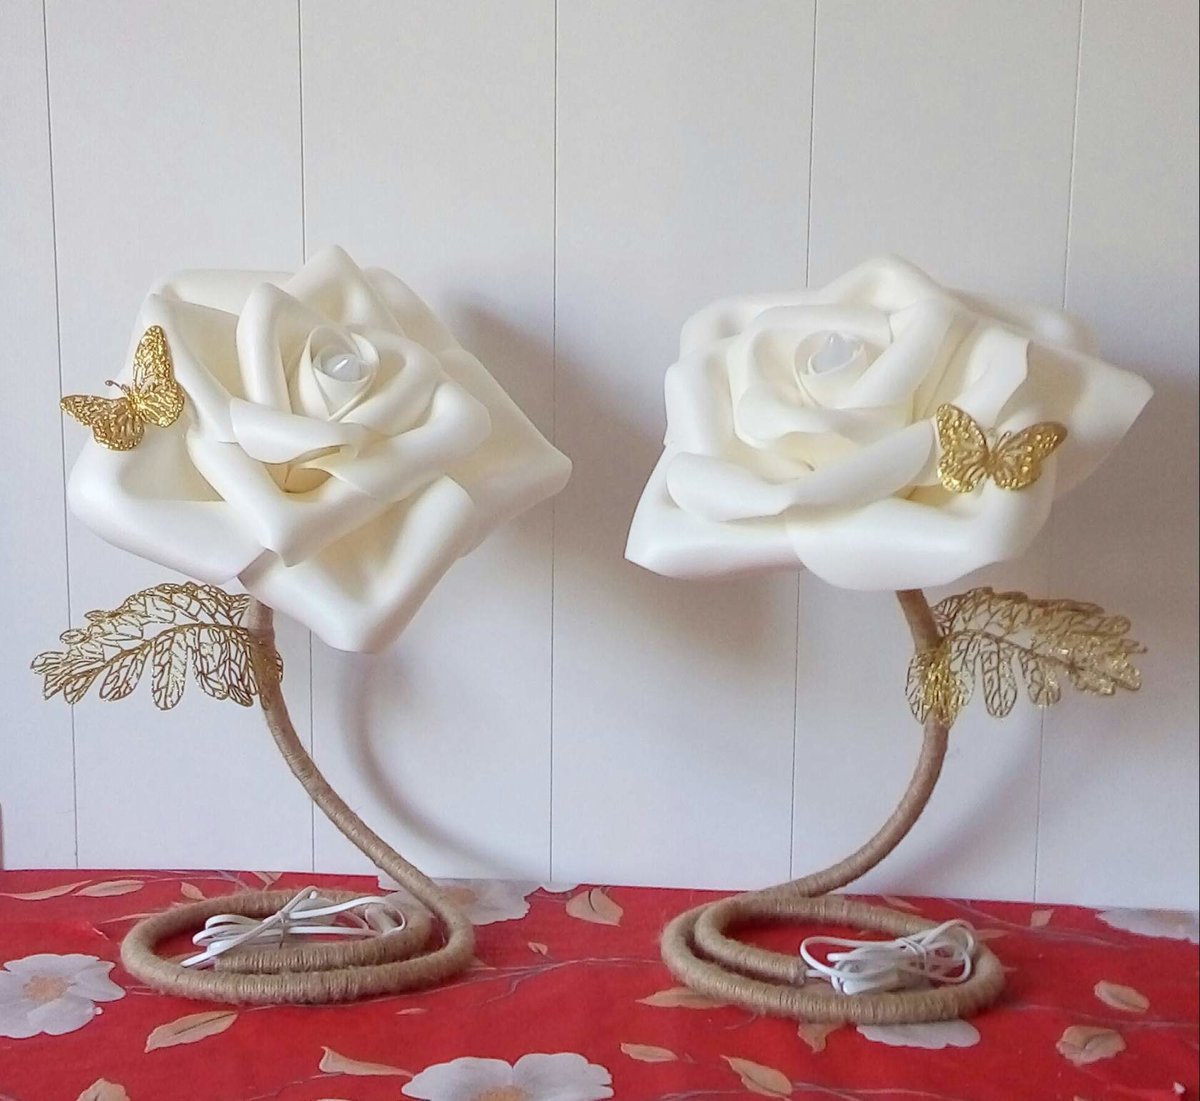
Materials and tools
In the article we will talk specifically about the rose lamp, although no one is stopping you from making a chrysanthemum, lily, titanic amorphophallus... Yes, even a cactus - as you like.
During the work you will need:
- plastic water pipe with a diameter of 16 mm and a length of about a meter and a half - this will be the “stem”;
- socket, coupling, incandescent or LED lamp with a corresponding base;
- about three meters two-core wire;
- plug, switch;
- glue gun and hair dryer;
- isolon sheets 15x15 cm - 8 pieces, 20x20 cm - 20 pieces, if you take the simplest version of the floor lamp;
- scissors and a stationery knife.
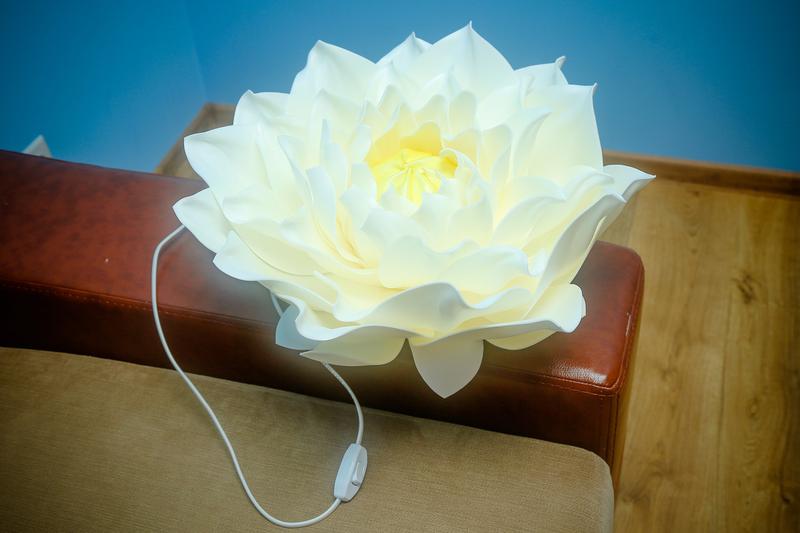
For those who are taking on such creativity for the first time, it is recommended to take isolon with a thickness of no more than 2 mm, since it is easier to give it the required shape. But be careful when heating - the sheets can melt if you overdo it.
Manufacturing process
Step by step actions are performed in the following sequence:
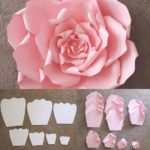
- For the first two isolon squares, a semicircle is cut out on one side, after which the remaining sheets are cut in the shape of a drop. To do this, leave one of the corners of the square, cutting off the other three in the form of a semicircle. If it is inconvenient to cut with scissors, you can use a stationery knife.
- The ring is removed from the cartridge and attached to the coupling using superglue.
- Then the cartridge is disassembled and a wire is connected to it. The insulation is removed from the ends of the wire by about 1.5-2 cm, and they are clamped into the terminals of the cartridge.
- The cartridge cover is put in place, and the wires are threaded through the coupling with a ring glued to it. Check how it is screwed to the cartridge, without unnecessary pressure, so as not to damage the ring.
- You can start covering the muff with improvised petals. To do this, apply a little glue from a gun, after which the first petal is pressed. Repeat the sequence with the second one. These are the first two sheets that were discussed at the beginning.
- Using a hair dryer, the “drops” of isolon are shaped into petals similar to those of a rose. They are attached using the same glue gun.
- To give the petal a rounded shape, you can use a suitable plastic shade.The first two rows consist of smaller petals of four, and they are placed at the same distance from each other. In this case, the petals of the second row are glued as if in a checkerboard pattern with the first.
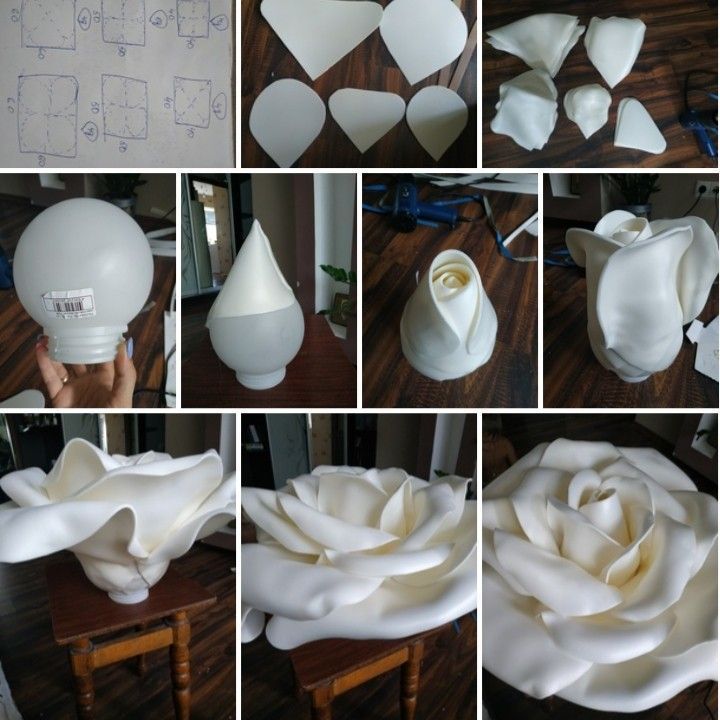
This is what it all looks like
- The next two rows are made of five larger petals, glue them in the same way as last time, alternating the arrangement.
- A plastic pipe is shaped into a spiral shape using a hair dryer. So that the structure can stand on its lower part, a flat, stable base is formed from a coil of pipe.
- The wire is passed through the coupling and pipe, after which the ring is screwed onto the cartridge. The coupling is then connected to the pipe.
- Blanks are cut into leaves measuring 20x5 cm. Then they are given the appropriate shape, making one tip pointed and the other rounded. To make it even more convincing, the leaves are made with teeth, like those of real roses.
- On the back side of the resulting rose, glue the leaves between the petals, and then use a hairdryer to give them a beautiful bend.
- If desired, leaves are formed with cuttings, which are also attached to the stem-pipe using glue.
- All that remains is to screw the light bulb into the socket, attach the switch and plug to the wire. You can check the performance of the floor lamp and be proud (or not so proud) of the result.
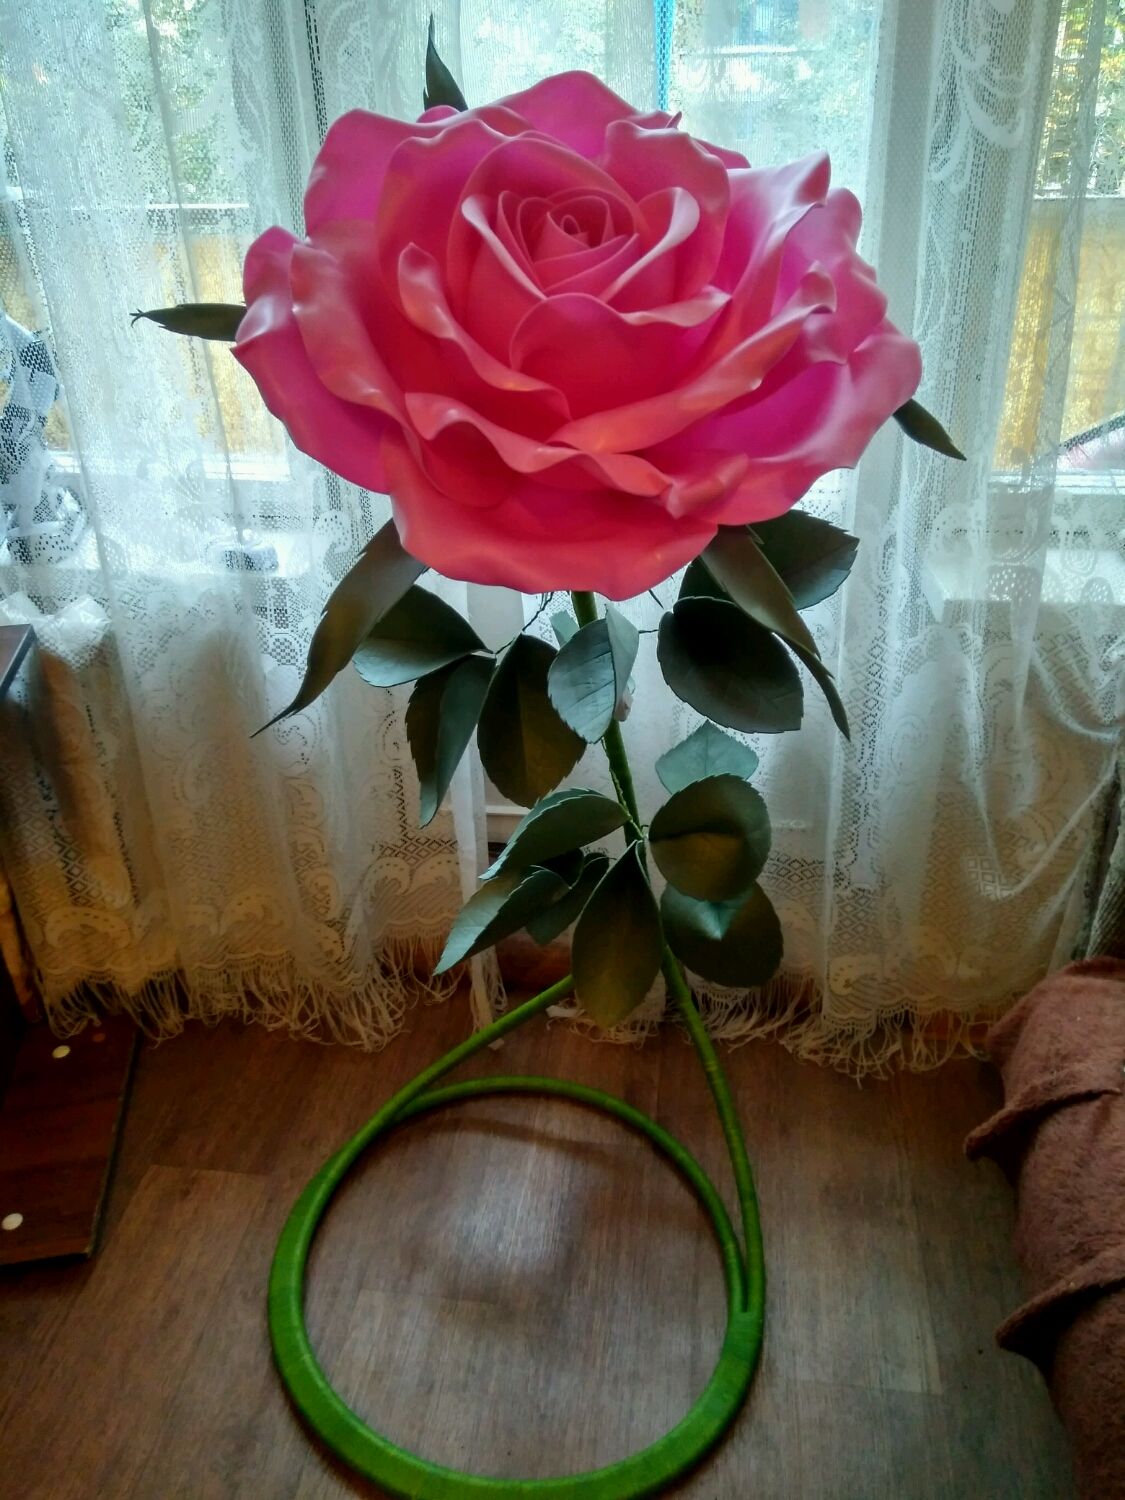
Did it work out like this?
Painting the product
You can approach the question two ways: purchase already tinted isolon sheets, selecting the desired shade, or paint them yourself. Here, again, you can do the following:

Colored isolon for crafts
- Use spray paint. Its advantage is the quick drying of the painted product and ease of use. Disadvantages: relatively high price and high paint consumption.In addition, the dye from the can tends to crumble over time.
- Acrylic paint - a very good solution, it is durable and elastic, but to apply it you will need a spray gun, since the roller produces too thick a layer, and the brush produces streaks of hairs.
- Rubber paint - almost the same as acrylic, even better. It is even stronger and more durable, the only caveat is that the surface will be matte. You can get around the problem by applying a layer of glossy varnish over the paint.
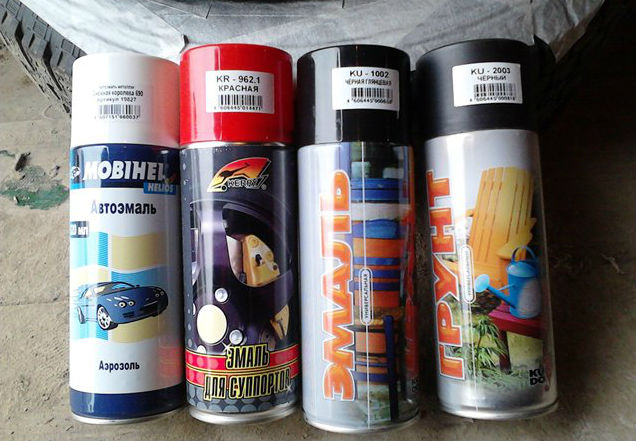
Which option to choose is a matter of economy and the ability to work with a spray gun or a spray can, depending on the taste and color - felt-tip pens are different.
Subtleties and nuances
When working, to make fewer of your own mistakes, learn from others:
- Do not overheat the material when forming the petals so that they do not melt.
- When forming a flower, you can make not two, but three, or even four different sizes of petals, at the rate of 12-15 largest, 15-20 medium, 10-15 smaller, and 5 per bud. There will be much more fuss than in the scheme described above, but the flower will turn out much more magnificent.
- Feel free to make and use cardboard templates for the petals.
- Before forming the petals, take a closer look at a real, living rose and pay attention to its shape.
- When gluing the petals, keep in mind that their tops should be higher than the level of the previous row - the bud seems to go deeper.
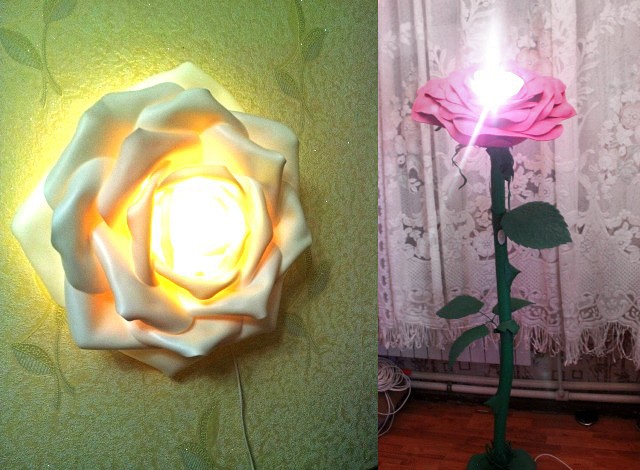
Of course, this is not all the subtleties. The remaining nuances can be captured already in the process by throwing a dozen or two failed petals into the trash.

