How to check the LED backlight of a TV
 Television production has reached a new level over the past decade. The quality of the resulting image, sound and various screen configurations allow you to achieve the effect of complete immersion in the atmosphere of the events taking place on the screen.
However, despite the fact that there are TV receivers in every home, few people understand how they work and function. In modern models, one of the key functions is played by LED backlighting, without which the video will not be displayed and playback will stop. In our article we will look at possible causes of problems and talk about repair options.
The content of the article
How to check the serviceability of the TV's LED backlight
You should understand the principle of operation in order to learn how to identify possible malfunctions. To do this, you should refer to the operating instructions or read about the device of the TV. For convenience, we offer the following troubleshooting plan if the TV malfunctions:
- First, you should rule out other causes of failure. Check the network connection, the operation of the remote control and the integrity of the case.
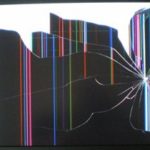
- If there is no image when you turn on the TV using the remote control, try illuminating the screen with a flashlight from the outside.
- When a picture appears under the influence of a flashlight, there is no doubt that the reason lies precisely in the backlight, without which the image is absent.
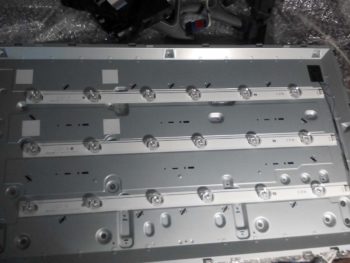
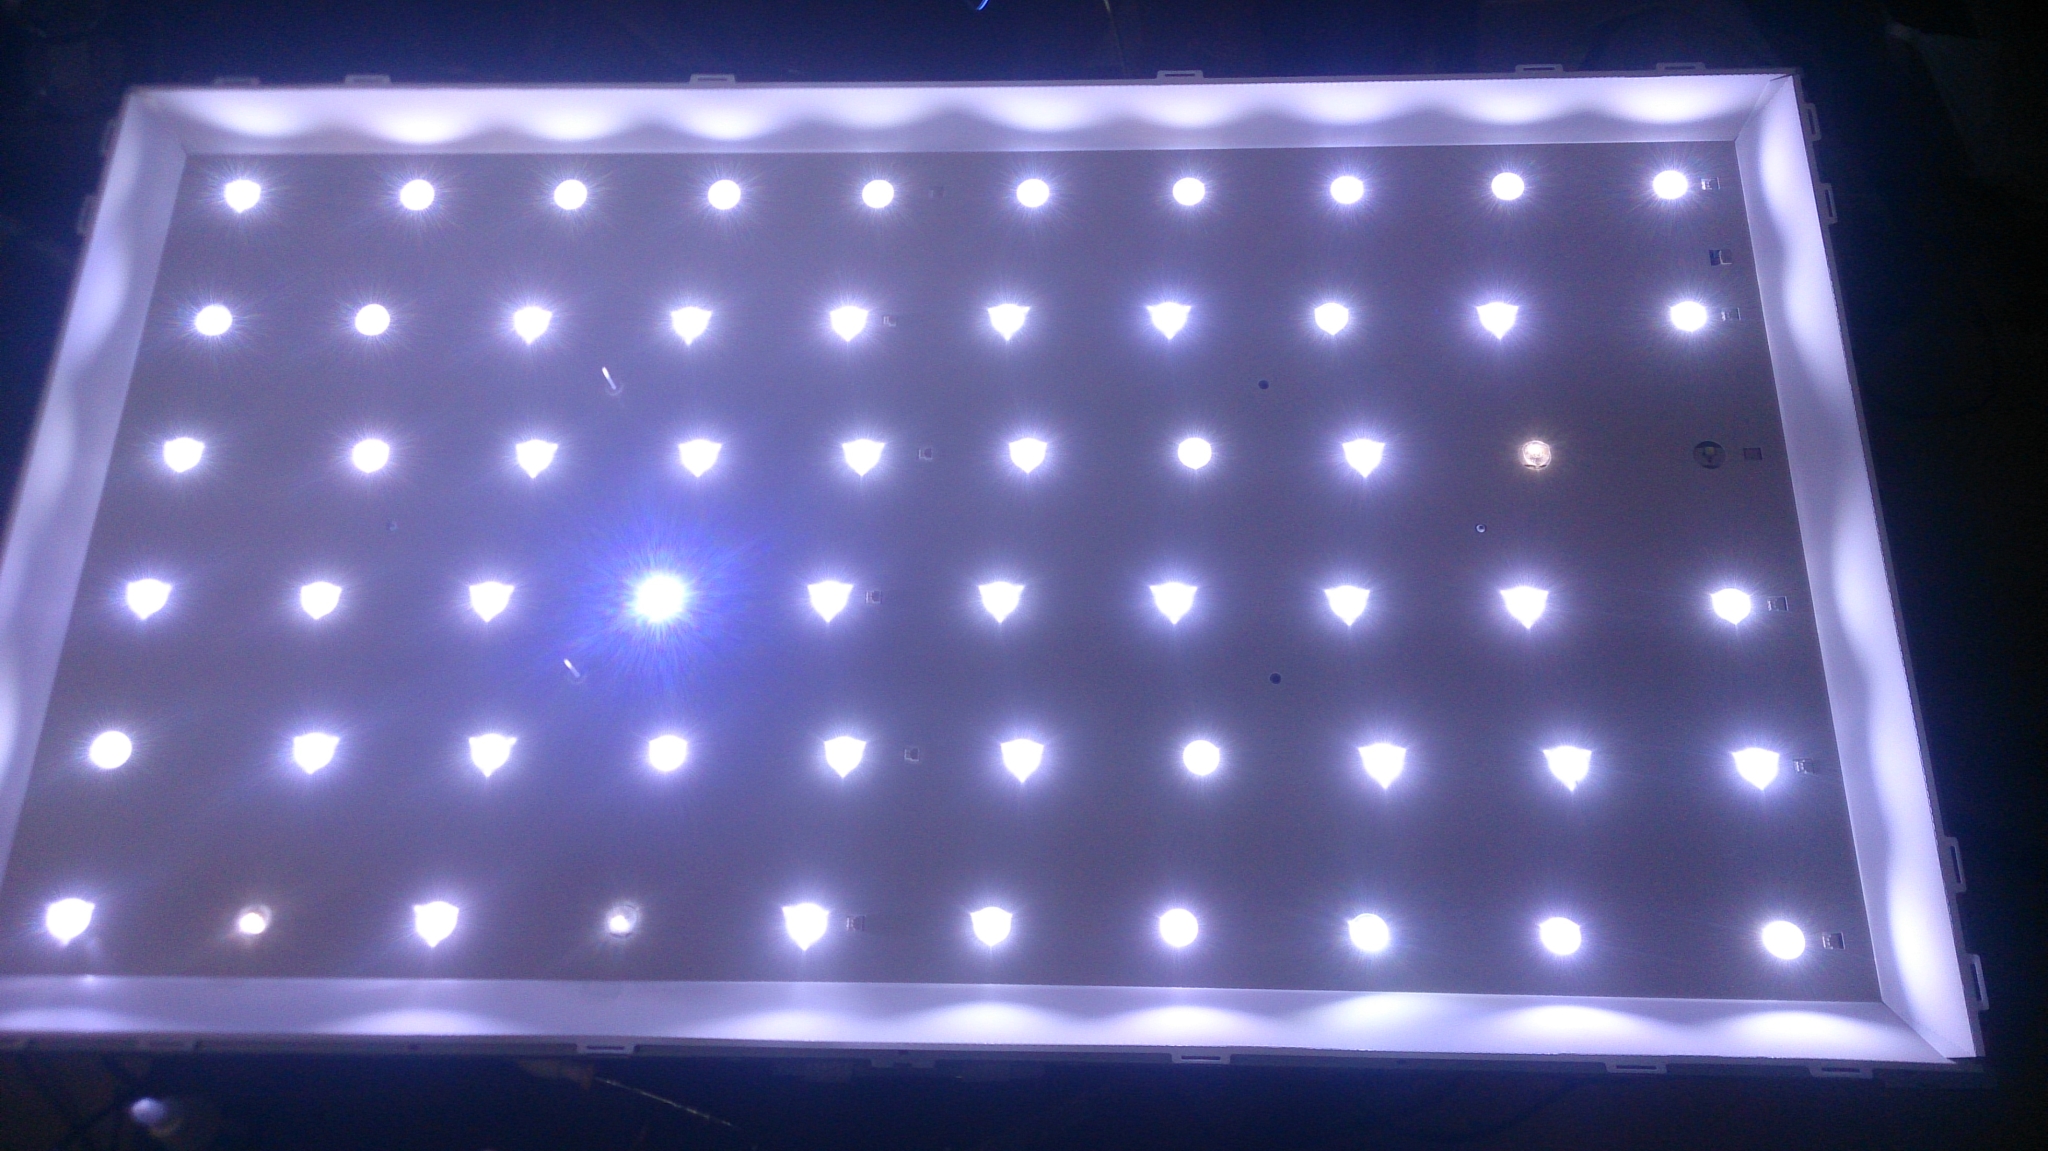
Most likely, the source of the malfunction was burnt-out LEDs. Usually they are attached in rows on special strips. For an accurate determination, you should remove the cover from the screen and disassemble its back panel.
IMPORTANT! Perform all actions carefully so as not to damage the parts. If you do not have experience, then it is better not to take risks.
Disassembling the device
If you decide to disassemble the structure yourself, then you should carry out all the actions according to plan and not rush. Disassembly is not particularly difficult, but you should pay close attention to this process:
- Unscrew the rear cover retaining fasteners on all sides one by one.
- After this, slowly remove the lid. If you can’t do this, it means you haven’t unscrewed all the bolts. Carefully inspect the part, remove the fasteners completely.
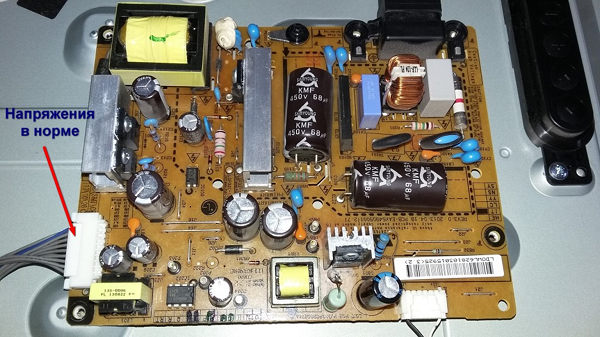
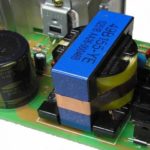
- Once you have access to the boards and chips, you need to check the output voltage. At values of 100 V, we can talk about a malfunction of the illuminating part.
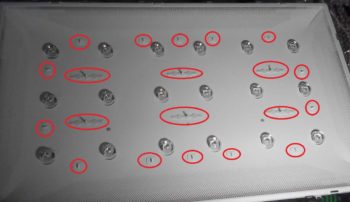
- In order to get directly to the LEDs, you must first remove the matrix, consisting of three main boards.
Subsequent disassembly of boards and microcircuits should be entrusted to a specialist, since there are many small parts in this area, damage to which can lead to serious problems and screen breakage. The main stages of the work will consist of gradually removing the T-con board, disconnecting the metal protection and decoders (especially painstaking manipulation), and detaching the front screen bar.
IMPORTANT! Prepare in advance the work area and a table for laying all the parts. You only need to work with clean hands or gloves so as not to contaminate the matrices and decoders.
Troubleshooting
Once you gain access, you can begin to find the source of the problem. To do this, remove the plastic circuit and release the LED backlight. Depending on the model and year of manufacture, each TV will have its own peculiarity in the arrangement of diodes. Their common drawback is serial connection. That is, if even one element burns out, the entire circuit stops working. That's why the image on the screen disappears.
The testing principle is based on calculating the voltage and identifying the faulty element:
- if the driver breaks down, the voltage does not reach the circuit;
- if a light bulb burns out, then voltage flows, but with an open circuit there is no effect;
- It will be easiest to identify a breakdown when there is burnout and a characteristic black spot from the flash;
- if there is no stain and the source cannot be visually identified, the test will need to be carried out sequentially for each element of the system.
Replacing LEDs
If a burnt-out LED is detected, it must be replaced with a new element in order to restore normal operation of the circuit. It is quite difficult to find replacement parts. Individual strips with light bulbs are not delivered to stores, and only individual parts can be purchased on the market. Most likely you will have to work with already used and repaired elements.
- First remove the damaged parts. They are usually attached with double-sided tape. It can be melted using hot air from a hair dryer.
- Separate the part and remove all burnt out LEDs.
- Replace using purchased items. You may have to cut off one of the edges of the part, since non-original elements may be slightly larger than the original socket.
- Apply solder - also using a hair dryer.
- Install the lenses over the original strip.
- Check the operation of the entire circuit.
- If operation is normal, carefully reassemble the entire structure in reverse order.
To replace it, it would be better to contact a workshop or carry out repairs under warranty. Working on your own can lead to even bigger problems.

How to check for a burnt out LED? This is the problem.