DIY New Year's chest
 With the onset of winter, many people get into a New Year's mood. Streets, shop windows, and shops are already decorated everywhere. Charged with this mood, you want to bring a feeling of celebration into your home. In addition to the elegant Christmas tree, I would like to add some other unusual holiday decor to my home. For example, you can make a New Year's chest for Santa Claus.
The content of the article
How to make a New Year's chest yourself
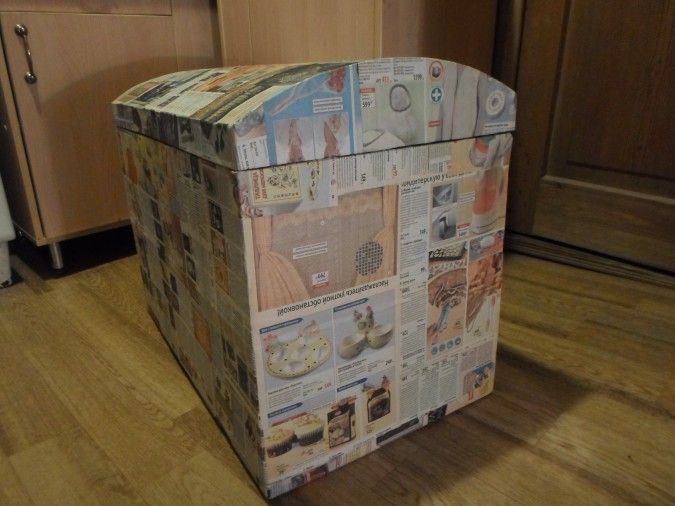
The blank for the chest should be cut out from a sheet of cardboard and then glued along the edges. Or take a ready-made box of a suitable size. To give the box the shape of a chest, you need to adjust its lid.
- To do this, you need to cut out the sides in the shape of a semicircle from cardboard (you must cut out indentations along the edges for gluing).
- Then you need to glue the semicircles onto the lid on both sides.
- Take a sheet of cardboard and glue it on top to the lid and sides. Thus, you should get a half-cylinder. To create the desired shape, it is convenient to use masking tape.
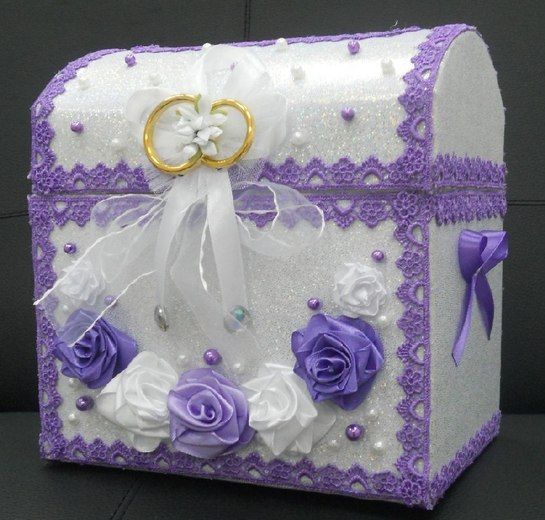
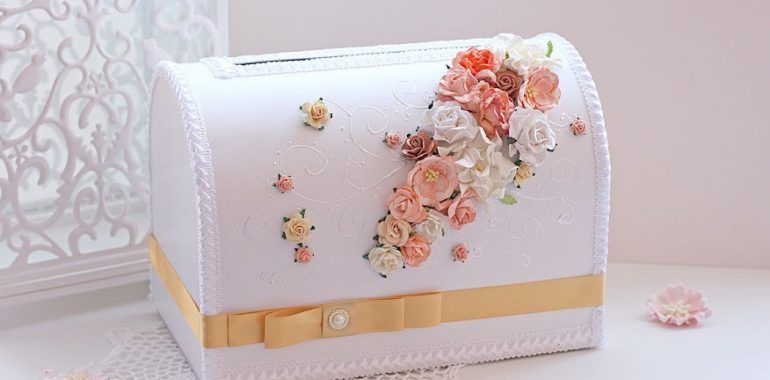
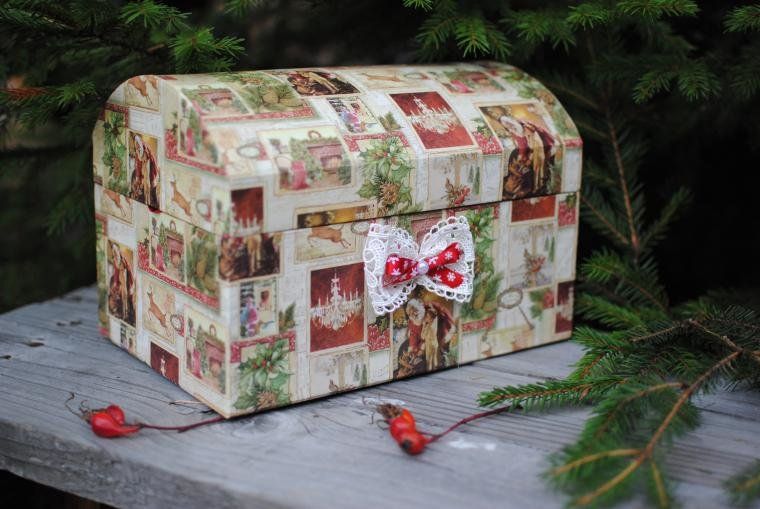
- After the chest is ready, it should be decorated. To do this, you can use decoupage, fabric, self-adhesive paper or paint.
Original ideas for a New Year's chest
Why do you even need such a chest? It could be just a New Year's decor item, a surprise gift, or just original gift packaging. The composition can also be placed on a festive table.
Attention! There are a lot of options for decoration: the main thing is to use your imagination and create. Such a cute accessory will definitely attract the attention of both household members and guests.
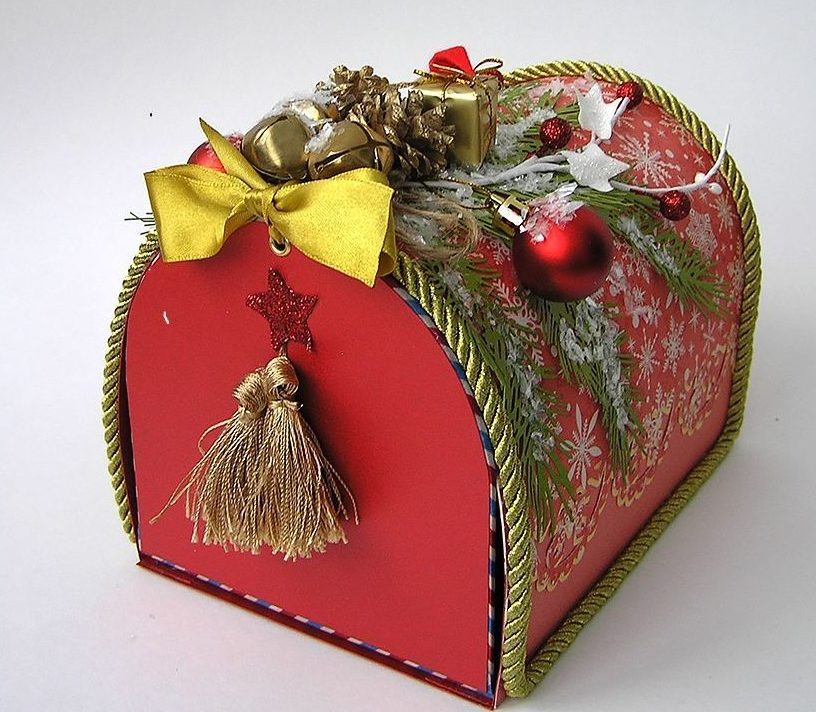
DIY New Year's chest: step by step
What you will need:
- Decorated box or ready-made chest;
- artificial or natural spruce branches;
- floral sponge;
- cones;
- glue gun;
- decorations: balls, ribbons;
- structural paste and tools for its application.
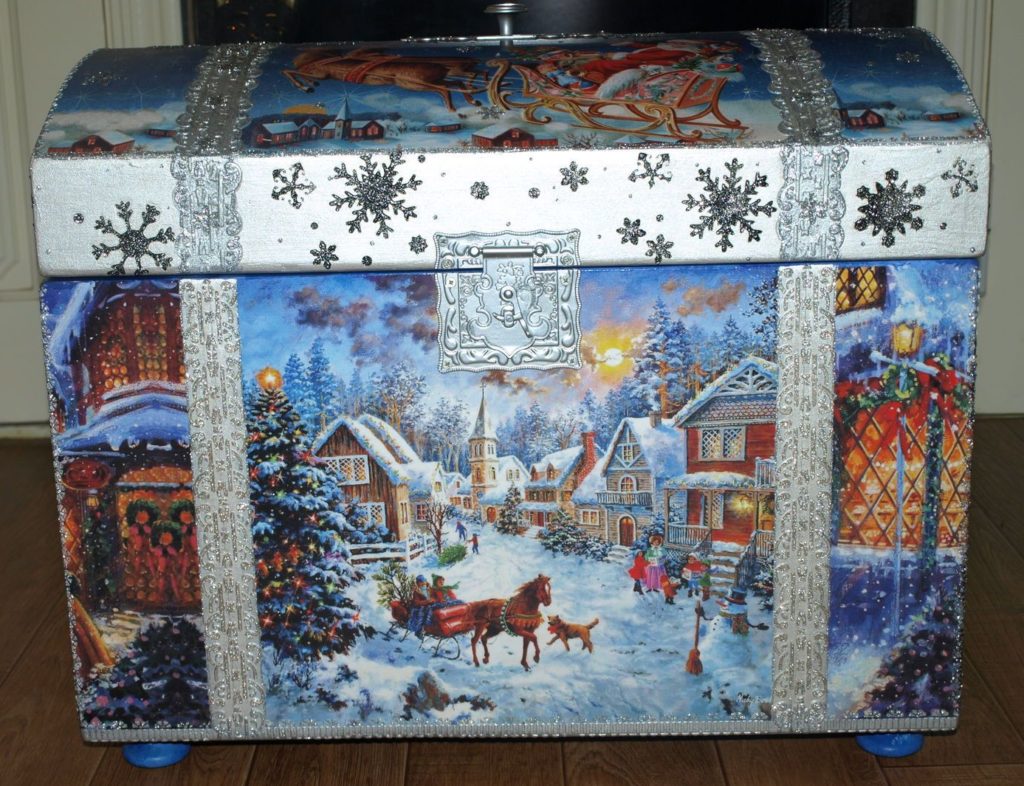
Making a chest is not difficult for anyone, so you can involve children in this activity. It will be very interesting for them.
- First of all, you need to process the cones. There may be parasites inside the scales; in addition, the surface should be degreased. To do this, they should be washed in water, using any cleaning agent. Then you need to dry the buds properly.
- A structural paste is applied to the cones, this will give them a natural snowy look. The paste should be applied along the edges of the scales, without pushing inside. If a purchased mixture is not available, you can use colored semolina.
- Place a floral sponge on the bottom of the chest and trim it if necessary. If live spruce branches are used, the sponge should be wetted and a film or plastic bag should be placed on the bottom of the chest.
- Stick one branch at a time into the sponge, distributing it evenly over the entire area. Ideally, the sponge should not be visible.
- Glue snow-covered cones, beads, berries or something similar onto the branches of the spruce tree.
- Tie a decorative ribbon to the bottom of the chest.
- You can also use LED candles for decoration by inserting them inside the chest. It is dangerous to use real candles in such a design, especially if the chest is made of cardboard.
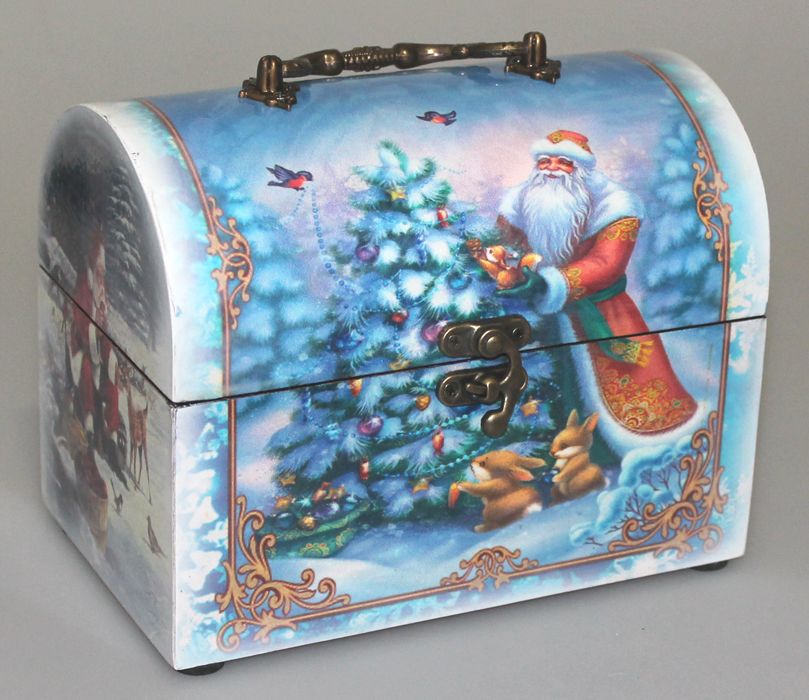
If you plan to give such a chest as a gift, you can put candy or some more significant surprise inside. Only the person to whom this gift is intended must be warned about this.

