DIY bench-chest
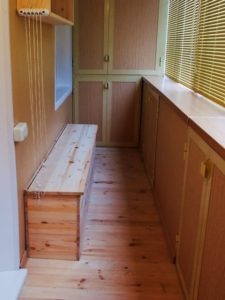
Multifunctional furniture is always in demand. Its main advantage is the rational use of space in your home. One of these interior elements is a bench-chest. As a place to relax and store things, it will find its use in a nursery, on a balcony or in a hallway.
The content of the article
What you need to create a chest shop with your own hands
 1. Edged board. Initially, a do-it-yourself chest-bench was made from natural wood. There is no need to change traditions - now all kinds of wood are presented in stores. There is an alternative in the form of chipboard, laminate, plywood;
Important! Carefully approach the issue of choosing building materials, because the durability of your product, ease of use and its estimated cost will depend on it.
2. Wooden block. Depending on the materials you have chosen, we determine the type of product construction: frame and frameless. For durable boards and chipboards, a frameless design is suitable. A frame of slats or timber will have to be made to strengthen thin materials such as plywood and laminate (their thickness must be at least 16 mm);
3. Piano loop. Piano hinges will allow you to easily create a folding top in the bench, which will serve as a seat. If the lid is long, several hinges may be needed;
4. Self-tapping screws. With their help we will assemble our bench. The length of the fastener depends on the thickness of the board.To ensure the reliability of the frame, choose self-tapping screws approximately 25–30 mm longer than the board.
5. Furniture upholstery and foam rubber. Will be needed if you are making a soft seat on a bench;
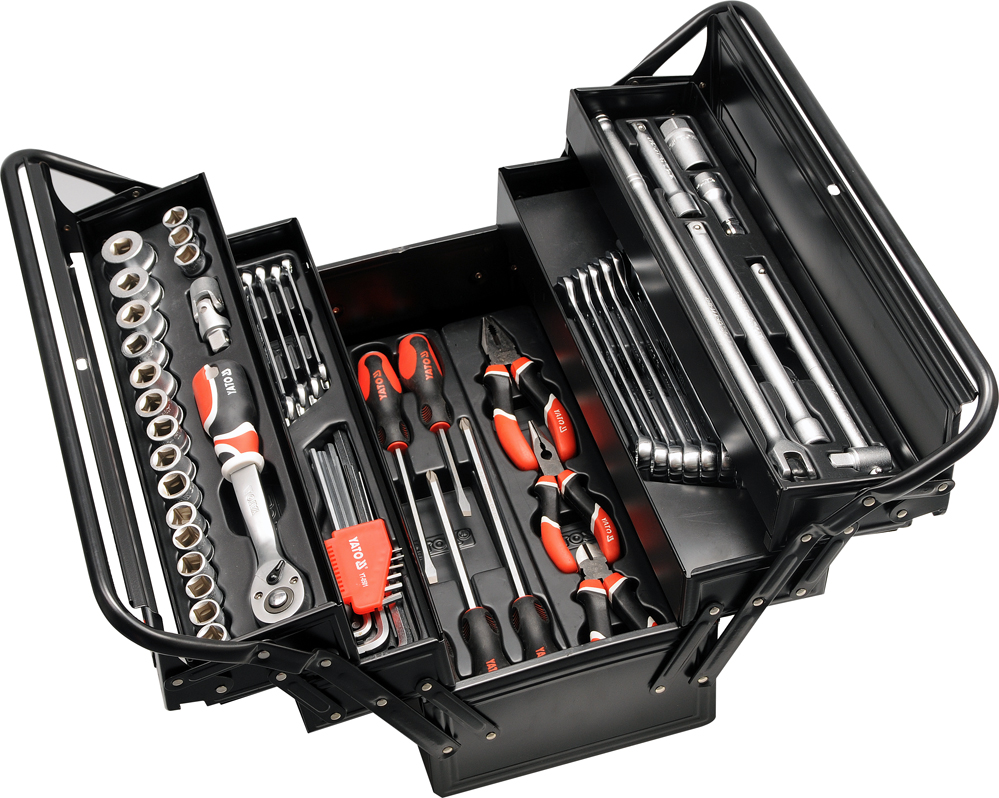
6. Assembly tool kit:
- tools for cutting wood: jigsaw (the advantage is that it can round edges and make curved parts), hand saw, circular saws (popularly called parquet saws, they cut only in a straight line);
- screwdriver for screwing in self-tapping screws;
- A sander will come in handy if the board is not finished. You can use sandpaper for cleaning, although it will take longer;
- To take measurements, you will need a tape measure, a ruler, a carpenter's square and a pencil.
Advice! The board can be sanded in advance so as not to waste time on this work later.
Product assembly stages
 Preparatory work for creating a bench-chest with your own hands:
- take measurements of the place where the bench will presumably be located in order to understand how much space you have;
- decide on the size. For comfortable sitting, a product 60 cm in height and from 40 to 70 cm in width is suitable;
- sketch out a sketch of the product, a schematic image will be enough, this will help to visualize the final result and facilitate further work.
Assembly process:
- cutting all necessary elements. We cut 4 bars for the frame (they will be in the inner corners of the chest) and a board for the entire product;
- assembly of side walls. Two bars are placed on the surface, after which boards are screwed on top;
- fastening the front and rear walls. Please note that the front board should hide the block and the end of the side board;
- bottom fastening. Two bars are attached inside the lower part, and transverse boards are nailed to them;
- installation of supports. The legs will allow the board not to absorb moisture;
- assembling the lid of the chest. It is assembled using two boards from the inside. You can add a diagonal brace to strengthen the seat;
- We attach the piano hinge to the end side of the lid.
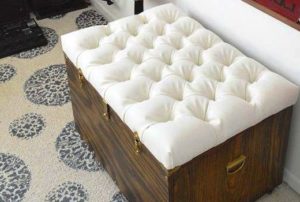
At the end of the work, it would be wiser to cover the chest with stain to extend the life of your product. If desired, you can make upholstery or sew several pillows, decorate with painted patterns or burn out an ornament.
In a word, a chest bench can become a useful item in your home, providing a place for relaxation and storage. And by making this item with your own hands, you will also receive a unique designer item.


