DIY chest decor
 Hidden away in the attic or closet of every home are many antiques that our relatives used. This includes the chest - a bright representative of the furniture of yesteryear, in which personal belongings were stored and dowries were stored. With a little craftsmanship and creativity, restoring a chest can breathe new life into it.
The content of the article
General repair and decoration steps
Everyone has a different approach to repairing and decorating antique chests. Some process only the front part, preserving the original ornament, while others completely change the style and design of the product. There are several general rules that will help you carry out work on decorating antique furniture:
- The vast majority of antique furniture is made of wood. Over a long period of use, the material begins to dry out. To extend the service life of the product, it is necessary to disassemble its components and place them in a bath of warm water. The moisture will saturate the wood, making it much stronger.
- Old paint must be removed with care. In the last century, chests were treated with special solutions that were absorbed into the top layer of wood. To work, you will need a plane, with which you can completely remove the top layer.
- Many chests are decorated with decorative elements made of iron. It is not recommended to remove them. During the removal process, you can damage the coils themselves or the wooden surface of the furniture.
IMPORTANT! Please note that each type of wood requires a certain amount of time to soak in moisture.
How to save an old painting
Many chests in the old days were decorated with patterns and ornaments for a brighter and more attractive appearance. If the painting is intact, the bright pattern can be renewed and left on the surface of the chest.
Materials:
- solvent for removing old coating;
- brushes for applying the composition;
- putty knife;
- protective impregnation;
- paints;
- brushes for applying a new pattern;
- varnish
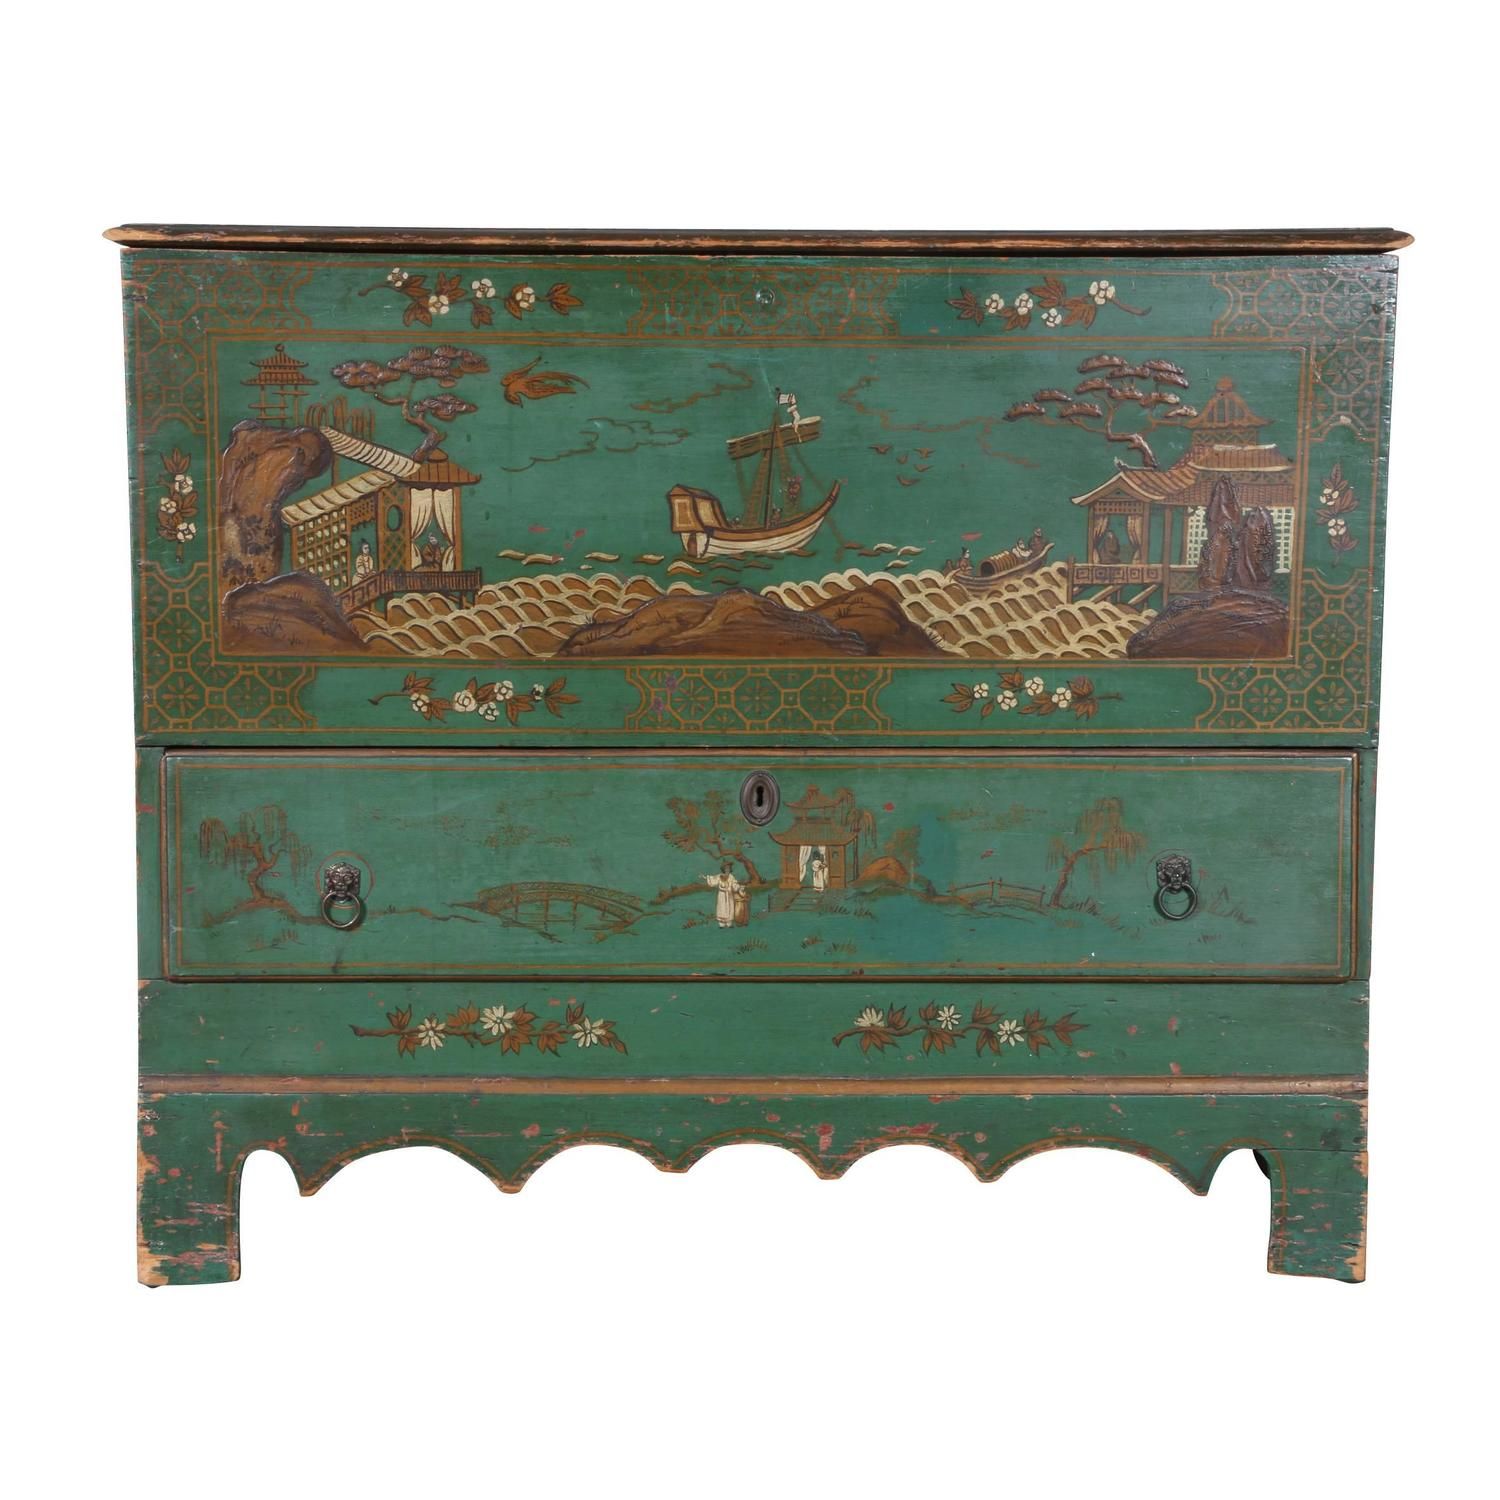
Using a brush, apply the solvent to the surface of the chest. After application, the product must be left for some time for complete impregnation. In most cases, it takes several hours, depending on the composition. When the old varnish begins to bulge, remove it with a spatula. After removal, the surface should be thoroughly wiped with an unnecessary rag or a clean soft brush. Then we apply protective impregnation and draw in the peeling details of the painting. After drying, cover the chest with a new layer of protective varnish.
REFERENCE! The choice of cleaning agent depends on the number of layers of varnish. For one, a regular solvent will do. For several layers, you should use special powder products.
Antique decoupage: master class
This decoration method is one of the most popular. Decorating in vintage style takes quite a long time, so you should be patient to work.
Work process:
- Using sandpaper, the surface of the chest is thoroughly cleaned until a smooth surface is formed. Cover with acrylic primer and leave until completely dry.
- We apply paint to the walls. The color scheme depends on personal preference. Corners and joints can be sealed with masking tape so that they are a different shade.
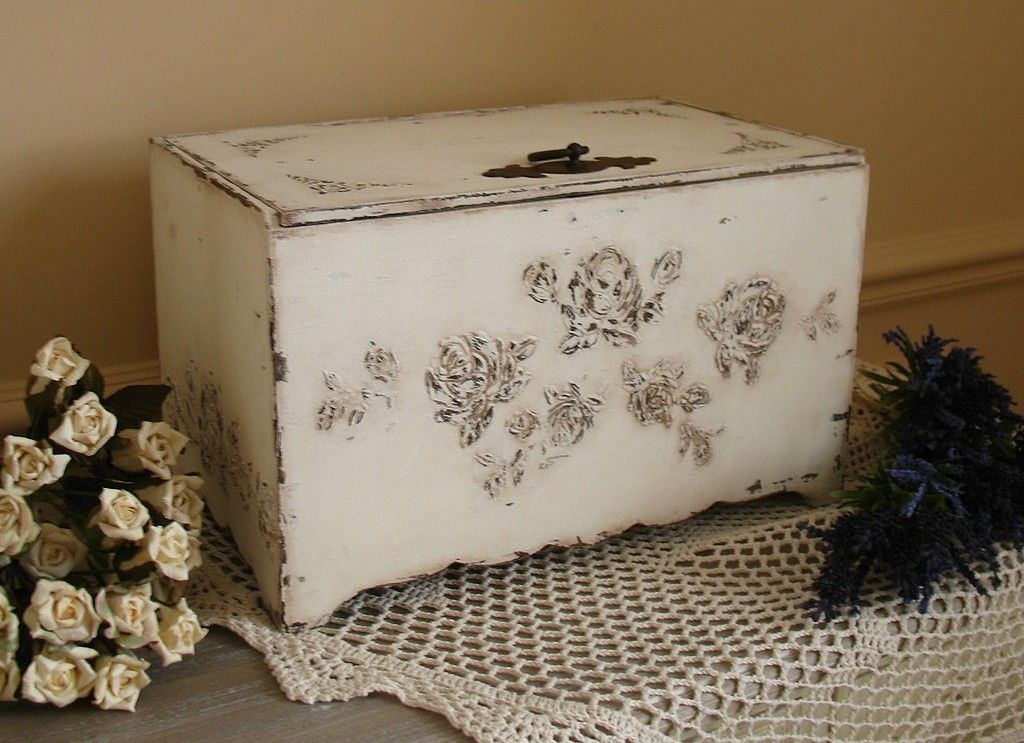
- After drying, a layer of craquelure varnish is applied to the paint. When it dries, it produces the necessary cracks, gaps and visual damage.
- Using stencils, we apply the selected designs to the walls of the chest. Here you can use acrylic paints.
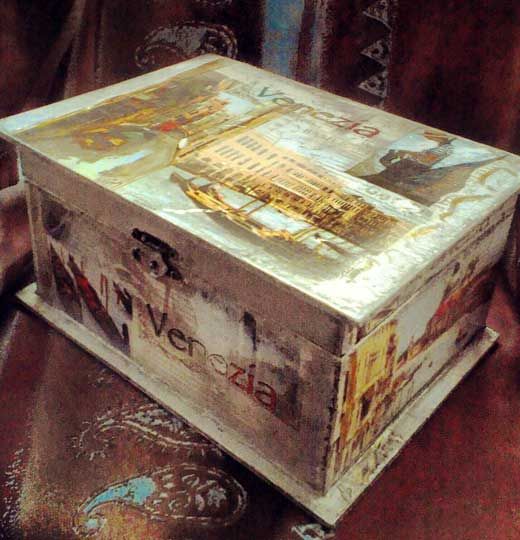
After thorough drying, the chest is ready for use.
English decoupage
Furniture decorated in the English decoupage style is distinguished by its special chic, elegance and attractiveness.
The process is similar to the method described above. The surface is carefully treated with sandpaper and then coated with a primer. The primer will help correct all the chips and cracks that exist on the surface. After drying, it is re-treated with sandpaper and primer. After thorough drying, you can apply the design to the surface. Acrylic paints are used for this. The top layer can be coated with a thin layer of varnish for reliable fixation.
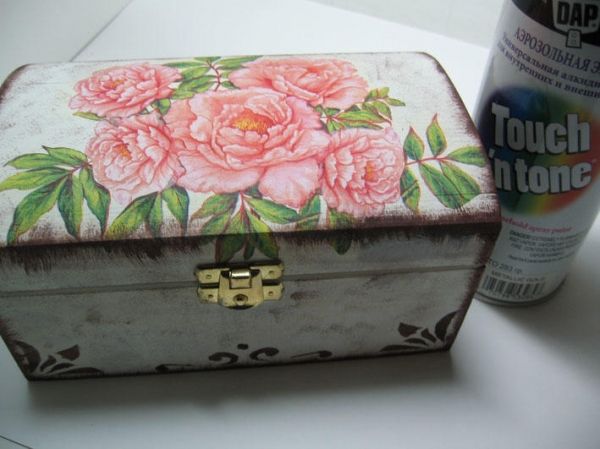
REFERENCE! English style involves a large number of delicate tones and pastel colors. Roses predominate in the decoration.
How to stylishly decorate a chest: photo
Modern interior designers actively use antique pieces of furniture, decorating them in a fashionable way. The most popular trends in interior style are minimalism and loft.
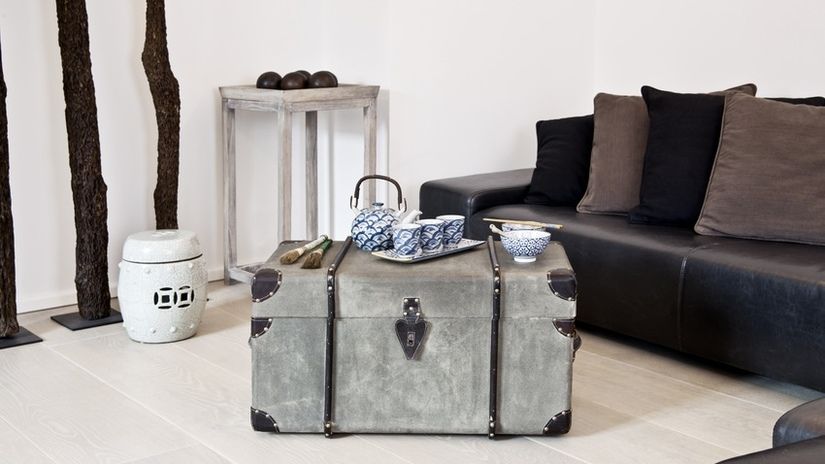
To decorate in a minimalist style, you need to sand and prime the surface of the chest.After complete drying, cover the corners, joints and handles with paint (for example, brown). When the paint has dried, the surface is sealed with masking tape. The chest itself is covered with a thick layer of paint of a different shade. After drying, remove the tapes from the closed surface. The minimalist style chest is ready. The product can be used as a coffee table or a table for storing souvenirs in the living room.
ATTENTION! Select shades in accordance with the color scheme of the room in which the piece of furniture will be placed.
Decoration using volumetric technique
Design using volumetric technique is one of the most creative and unusual methods. After painting and complete drying, you need to select stencils and shade for application. To work, you will need a special paste and a palette knife - a spatula for applying primer. Place the stencil on the wall surface. Using a palette knife, apply the paste in thick strokes. The larger the layer, the more voluminous the drawing will be. After application, remove the stencil. Drying time depends on the material used for painting. The chest, decorated using three-dimensional techniques, is ready.
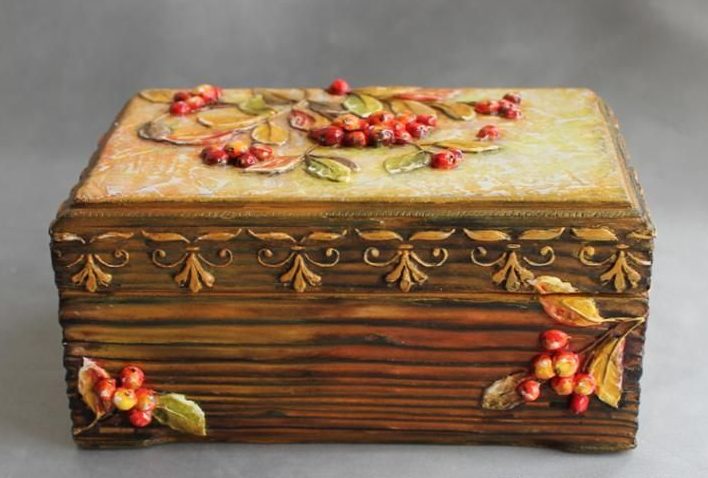
Many owners needlessly throw away antique pieces of furniture. By following simple tips, you can transform an old chest with additional decor. This piece of furniture will decorate any home.


