DIY gun safe
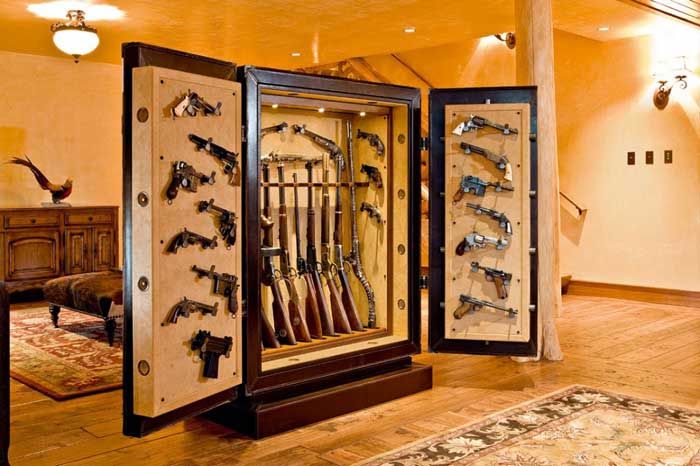
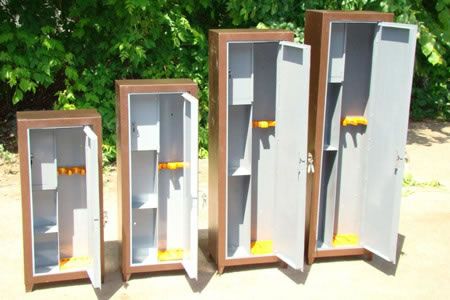
A safe for weapons is a mandatory component of the rules for storing weapons, regulated by Russian legislation. Without a report verifying its availability and compliance with certain criteria, you will not even be able to obtain a license to purchase a gun. Despite the many safes on the market, many outdoor enthusiasts prefer to make their own. The reasons are different - dissatisfaction with the dimensions of the products, their layout, high cost, etc. In such cases DIY gun safe - the only way out, below are photos of such structures.
The content of the article
Why do you need a gun safe?
The answer to this question worries many people, especially owners of tiny apartments in which there is nowhere to turn around. Perhaps there are other legal ways to store weapons? The answer to this question is given by the Federal Law on Weapons No. 150-FZ, as updated as of December 31, 2014, which states that the central element of storage is a safe. For this reason, those who are just planning to purchase a gun will have to present the safe to the local police officer, and experienced hunters will have to undergo a meticulous inspection.
What are the requirements for a gun safe?
The product is defined by law as a metal box or cabinet, which must be fireproof and securely locked.As for the wall thickness, this value is also stated - at least 3 mm. The structure must also be equipped with 2 locks and installed in a place inaccessible to unauthorized people. However, if you need a safe solely for storing weapons, then the thickness of its walls is allowed to be 2 mm, but if it also contains ammunition - at least 3 mm. The location in the room is also clearly defined - the minimum distance from the heating radiators should be 1 m, from the front door - 1.5 m, windows - 0.5 m.
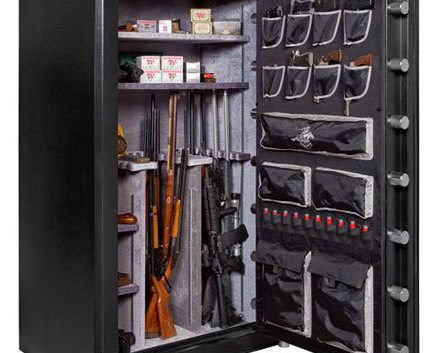
IMPORTANT. It is also necessary to take into account the requirements for reliable fastening of the safe to the walls or floor, which should be carried out in three places in order to completely exclude the possibility of its removal.
Step-by-step instructions for making a hunting safe
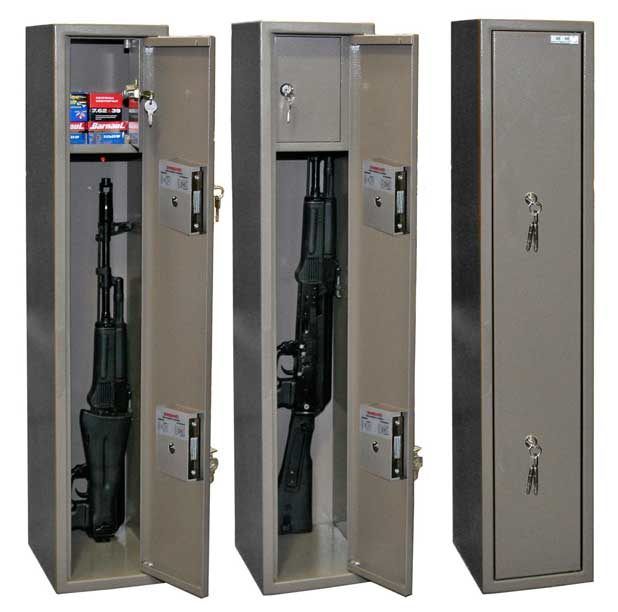
If, when visiting a store, you were unable to find a safe to your liking, then you should make it yourself; fortunately, it is not very difficult. It makes sense to make a design with built-in ammo storage, even if this is not necessary - it may come later.
What materials will be needed?
The first thing to start with is the preparation of sheet metal, the thickness of which is at least 3 mm. In addition, you will need:
- Metal corner 2.5 mm.
- 4 loops. It is not recommended to take less, since the door may deform under its own weight.
- Bolts with nuts.
- 2 locks.
- Tape measure, screwdriver
- Welding machine.
- Bulgarian.
It will not be possible to complete the work without a welding machine, so you must have at least minimal skills in working with it. If they are absent, then you will not be able to do without an assistant.
Drawings and dimensions
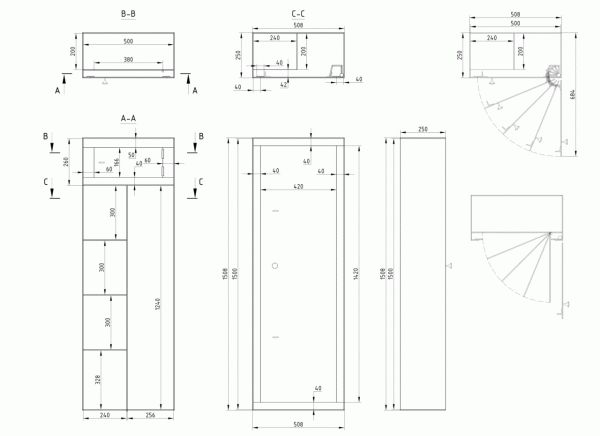
The dimensions depend entirely on the gun - for assembled weapons you will need a safe, the height of which is 10 cm more, plus an additional 30 cm for the compartment with ammunition. Due to the fact that some models cannot be disassembled, and many hunters prefer to store them assembled, the recommended dimensions are as follows:
- Product height – from 130 cm + 30 cm for the compartment with cartridges.
- Depth – at least 50 cm. This value is enough to store a gun equipped with an optical sight.
- The width is calculated based on the fact that 1 weapon will require 30 cm. In addition, 15–20 cm for small accessory shelves will be useful.
Having decided on the dimensions, it is necessary to make a drawing of the product indicating all dimensions and places of fastening of hinges and locks. This will make your work much easier in the future.
Making a frame
First of all, you should cut the sheets of metal, as a result of which you should have: a back, top, bottom and 2 side walls, a door, several shelves, a vertical partition, a small and large frame, a small door for a compartment with ammunition. After this, you can begin assembling the frame, for which you will mainly need a welding machine.
NOTE. When making a safe, welding points must be located inside the safe with a maximum distance of 10 cm.
Assembling a safe
Assembly begins by fixing the back wall. To do this, the frame is laid on it and welded. After this, the side, top and bottom walls are welded. Holes for locks are made in the future door, and it is attached to the structure with hinges pre-welded to the frame.The ammunition box is assembled separately and fixed with bolts (minimum 4), holes for which are drilled in the back wall. It is not recommended to make holes in the sides as this may weaken the safe. To fix the shelves, corners are welded on the sides. The shelves themselves can be made of chipboard, wood or durable plywood.
ADVICE. To prevent scratches from appearing on the gun during storage, you can cover the inner surface with soft cloth, leatherette, or felt.
The final step is to fasten the finished structure to the floor using screws or anchor bolts. During the assembly process, experts advise:
- strengthen the front frame panel using a metal corner;
- Due to the significant weight of the door, it is recommended to equip it with stiffening ribs, which will give it strength and also prevent attempts to remove it from the hinges.
There are no restrictions in making a safe - it all depends on the size of the weapon, its quantity, as well as the free space in your home. In addition, the legislation does not indicate that products must be industrially produced. If you approach the issue seriously and responsibly, then the inspectors will not have any complaints about the safe, and your weapon will always be completely safe.
