How to make a safe
 Everyone has jewelry and important things that others don't need to know about. Since the beginning of time, people have learned to store, hide and protect their prey from ruin and robbery. In the process of evolution and technological progress, humanity has been actively developing more and more new ways to store and protect its property. At the moment, the best development is the safe. This is a unique device that can save money or valuable items and prevent them from being stolen.
Now there are different models. The most modern ones are equipped with an electronic biometric data recognition system. Depending on the value of the things that need to be hidden, the level of protection also changes. But sometimes it happens that a safe in stores costs more than the items themselves stored in it. In this case, you should think about independently developing a design that would become a reliable storage for your jewelry and would be inexpensive. We suggest you make your own safe.
The content of the article
Requirements for the safe
Such devices are designed to perform specific tasks, so there are certain requirements for their design. First of all, safes are used to ensure the safety of property. Therefore, special drawings and materials are needed to create them.
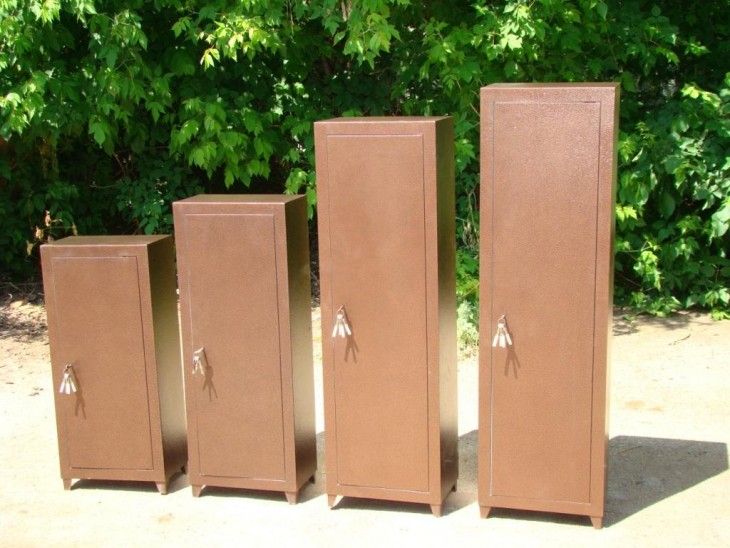
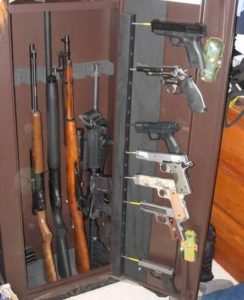
Storing weapons in safes is not only a whim of the owner, but also a mandatory condition in accordance with the law. These safes are the most versatile and can easily be made independently. In this article we will describe several ways to create and install storage structures and share step-by-step manufacturing instructions.
REFERENCE! A special license is required to store weapons.
In any case, devices of this kind must have a number of mandatory parameters and characteristics.
Basically any such design should be:
- Resistant to adverse environmental factors (despite the fact that the safe is located in the house).
- Comply with all requirements and installation rules specified in the articles of the law.
- Have a castle.
- Have sufficient capacity - in the case of weapons, at least 30 cm in width per unit.
Depending on the model, the requirements may be adjusted and you need to focus on what you need. It is quite easy to find the model you are interested in in the store, but they are often unreasonably expensive. Therefore, we will teach you how to develop a drawing and construct such a cabinet with a secret at home.
Sizing and drawing
The first and most important step will be to determine the dimensions of the safe. To do this, you need to carefully choose the location and installation method of the future product. It is very important that the room meets all basic requirements and is reliably hidden from prying eyes. There are several basic techniques for camouflage.
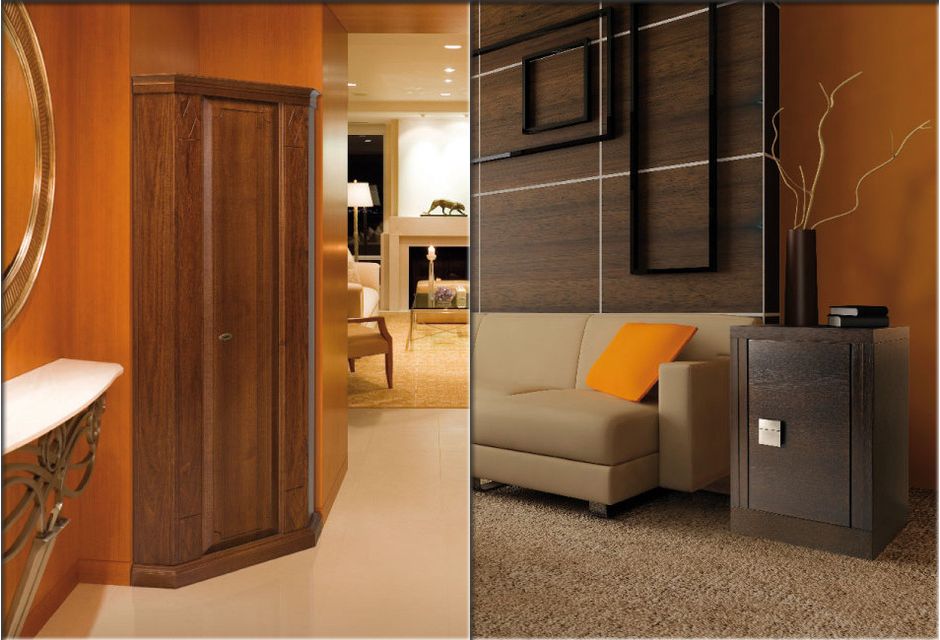
The most reliable and convenient option would be to embed the box into a furniture set or wall. To do this, you will need to take measurements from the furniture and add a special extension to the structure.
IMPORTANT! With this method, it is important to consider that the future structure must have a distance between the internal and external walls of 1–2 cm and stand strictly perpendicular to the floor surface.
Another simplest option is camouflage using a decorative film that imitates the color of wood.
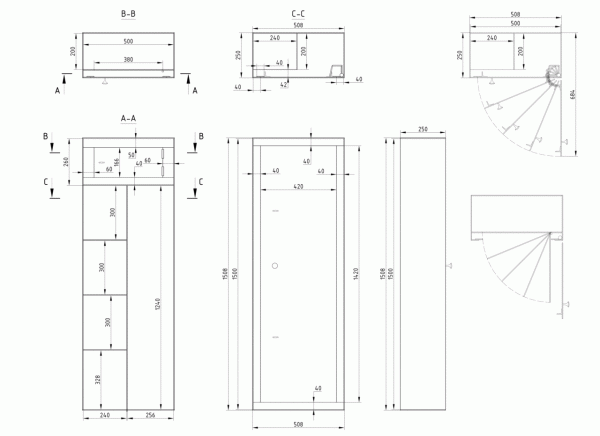
The cabinet can be made to any length and shape according to individual measurements. It can be large or small, depending on its purpose. The elements that make up the product must be displayed in the diagram:
- Frame of the future box.
- Five walls that are inserted into the frame strictly according to size without gaps or cracks.
- Door.
- Place for attaching hinges and lock.
- Cabinet legs.
ATTENTION! The larger the scale of the drawing, the more detailed you can show all the important details. It is advisable to make a diagram in several projections, assembled and disassembled.
The entire structure is a metal box with stiffening ribs, sheathed on the inside with sheets of iron. Additional elements are a lock, hinges with fastenings and legs.
How to make a safe with your own hands
Once you have decided on the choice of location and drawn the final plan of the finished product, you can begin to manufacture it. The following materials and tools will be required for the work:
- Corner for creating a frame. The total length is obtained by adding the lengths of all sides of the box. It is better to take it with a reserve, since the process of welding and fastening may require a little more material.
- Sheet iron with an optimal thickness of 3–5 mm.
- Depending on the height of the future product, 2-3 hinges for the door will be required.
- Shelf fastenings.
- Legs.
- Welding machine.
- Grinder for metal.
- Level.
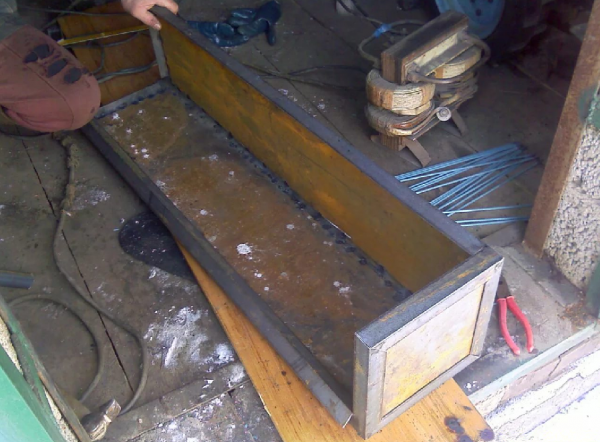
The procedure is quite simple and almost anyone can do it.As you work, periodically check the plan to avoid errors in the design:
- Using a grinder, we saw off the sheet metal and corners to size.
- We weld the corners together to create the base. It should be a hollow box.
- We weld the walls from the inside. There should be no gaps between the parts!
- We attach hinges to the door, and then attach it to the main body.
- Adding legs to the safe. We perform all actions under control of the angle of inclination using a level. This is important because an incorrectly placed cabinet will not be able to close properly and such a product will be useless.
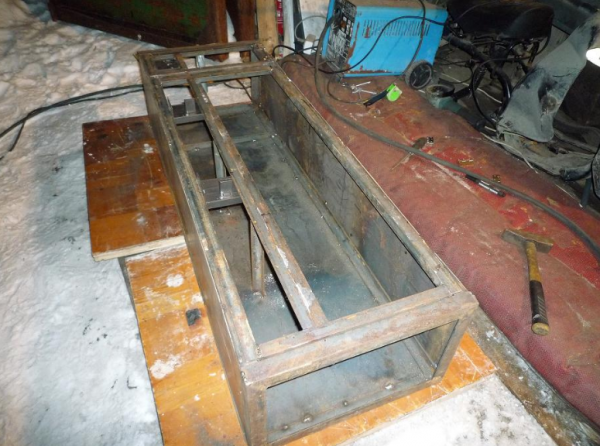
IMPORTANT! Perform all work observing safety precautions and use personal protective equipment.
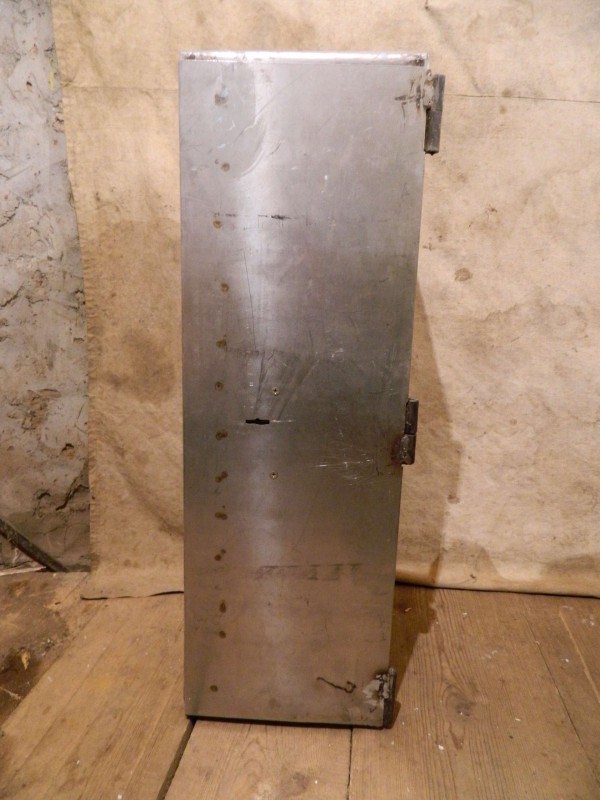
The safe is almost ready, all that remains is to make the main detail. It is recommended to use a regular padlock or combination lock as a lock. These options are easy to install, inexpensive and quite reliable. Place the safe in a pre-selected location and place it strictly vertically. Now everything is ready, you can put away your personal belongings and not worry about them. Now they are reliably protected.

