Electric trimmer repair: easy to disassemble and assemble with your own hands
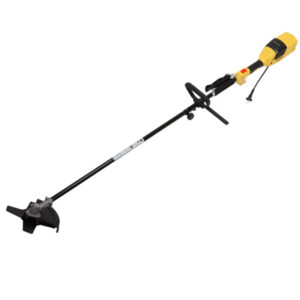
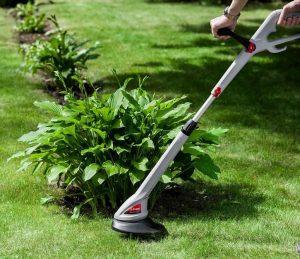
Electric trimmer, design and principle of operation. Trimmer is a device equipped with an electric or gasoline engine for cutting vegetation, a manual electric scythe/lawn mower.
The content of the article
Electric trimmer design
- Main body where the engine is located
- Reel and protective cover
- Rod/pipe connecting all elements of the electric trimmer
- Switch button, shoulder strap mount
The principle of operation of a trimmer with a gasoline engine
Gasoline with a portion of oil is poured into the container. Pull the cord and the engine starts. It burns fuel and rotates its internal shaft. The power button connects the inner shaft to the flexible shaft inside the hollow tube. The latter transmits the rotational force from the engine to the working part (coil). A plastic line is inserted into the reel. Rotating, they mow the grass.
The principle of operation of a trimmer with an electric motor
Gasoline and electric trimmers work on a similar principle. Only you don’t need to fill the electric trimmer with gasoline and oil - you just need to insert the plug into a socket or charge the battery if it’s an electric trimmer with a built-in battery.
The main breakdowns of an electric trimmer, how to fix them. The main breakdowns of an electric trimmer include:
- Motor fault
- Power button doesn't work
- Bearings have failed
- Coil failure
Do not operate the device in the rain - water may enter the housing, causing a short circuit. To keep electric trimmer breakdowns to a minimum, it is recommended to do a complete disassembly, cleaning and maintenance once a month with frequent use, and once every six months with infrequent use.
Power button, wiring. If you press the power button, but the electric scythe does not react at all, then the problem is in the wiring - the electrical cable has broken. The on/off button is broken.
To fix this, you need to disassemble the electric trimmer handle. To do this, disconnect the trimmer handle from the main structure, unscrew the corresponding screws (for each model they are located in different places). Next you need to disassemble the handle itself. It consists of two plastic parts that are held together with screws along the entire surface. To disassemble it, you also need to unscrew the screws.
The first thing after disassembling the handle is to check the electrical cable for a break. Often this can be determined by eye - the insulation is damaged, the wire has come off. Additionally, it is recommended to walk along the entire wiring with a multimeter to measure the resistance. Do not forget to check the power button itself - if there is no resistance on it, then it must be completely replaced.
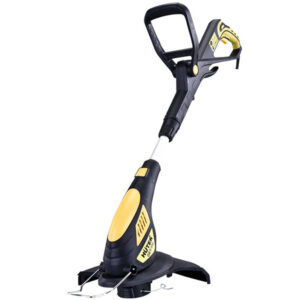
Disassembling and checking the electric trimmer motor. If you think that the breakdown is in the electric motor, or you checked the cables and they turned out to be intact, then begin disassembling and diagnosing the motor.
First, as with the wiring, you need to unscrew the bolts/screws that connect the plastic elements of the case. Next, you need to check the most common cause of improper operation of the electric motor - the brush assembly. Worn brushes must be completely replaced. Next you need to check the collector.If the brush assembly and commutator are working properly, then you need to work on the motor winding, rotor, and stator. For this:
- Remove the motor housing from the streamer.
- Visually inspect the electric motor and wiring for breaks.
- Take a multimeter in standard mode and check the resistance of the commutator plates. The readings should fluctuate within ±5% of normal.
- Set the multimeter to 1 MΩ measurement mode. Install one of the probes on the collector plate, the second on the rotor ground. If the rotor and commutator are working properly, the resistance should be high (the exact readings depend on the model).
- Using the same multimeter, check the resistance of the stator winding.
- Finally, check the engine housing for holes.
- If the problem is in the wiring, it is necessary to replace the damaged section of the wire. If there is no resistance in the stator/rotor winding, it is recommended to contact service. If you don't have the engine equipment or knowledge, tampering will cause more damage.

