Do-it-yourself wood chipper from a washing machine
There is always a lot of organic waste at the dacha or in the garden: weeds pulled out from the beds, branches remaining after sanitary pruning of trees, grapevines, tops from vegetable crops. Of course, all this can be simply burned, or it can be crushed and put to good use. Ground branches and grass are an excellent base for compost and material for mulching the soil.
A shredder significantly facilitates and speeds up the process of processing organic matter - it is a device powered by a gasoline or electric motor, which drives knives or gears that crush the branches. The principle of its operation resembles a chopper in a regular food processor - they loaded the vegetable waste into the receiving tank, turned on the machine, and the knives chopped it up.
Buying a garden shredder in a store is a little expensive, but you can make one from improvised materials. For example, from an old washing machine.
The content of the article
Basic parts of a do-it-yourself shredder
The basis of the garden shredder from the washing machine is the motor. The engine must be quite powerful - at least 180 W in order to produce at least 1200-1300 rpm. The more powerful the engine, the thicker the knots the unit can process.
It is better to use an electric motor from old models of washing machines, rather than from modern machines. They are often “tied” to electronic control, so they cannot always be connected and started directly.
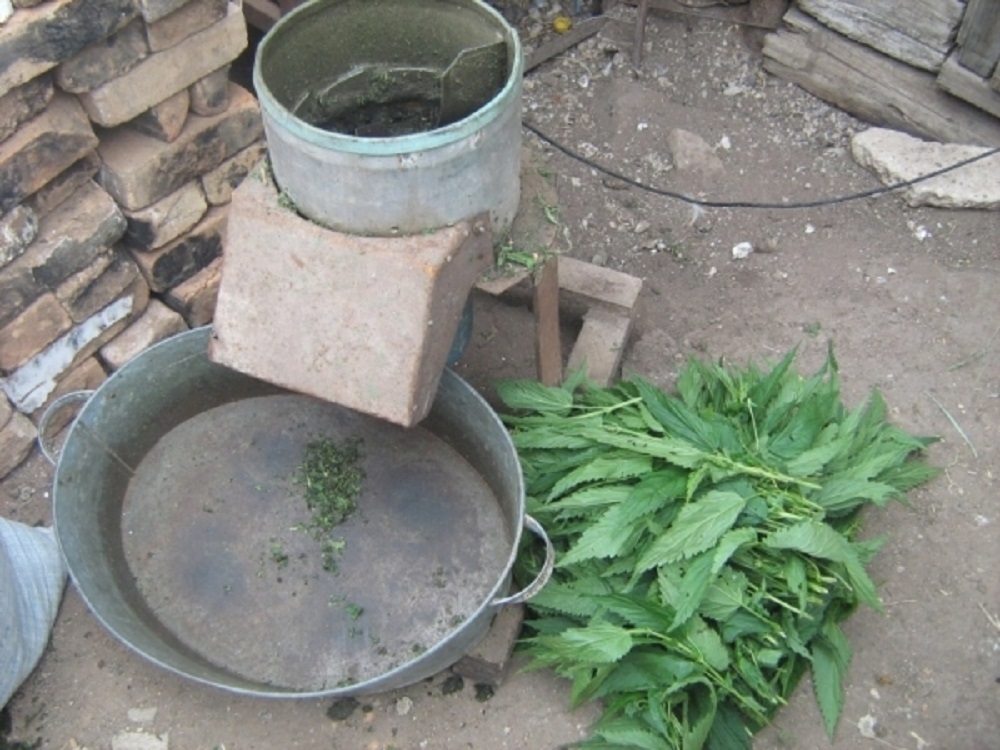
The second no less important element is the receiving tank into which the branches will be loaded. The container must not only be spacious, but also durable so that a stone or some other foreign object that accidentally gets in with the grass does not damage it.
The inner tub from a washing machine is a very good option. It fits both in shape and size. An external tank from antediluvian washing machines made in the USSR is not the best choice: they were stamped from thin, low-grade metal. Such a container will have to be additionally sheathed with iron sheets.
If all that is left of the washing machine is the motor, then a large galvanized thick-walled bucket or metal barrel, which can be shortened with a grinder if its volume is too large, is suitable as a container.
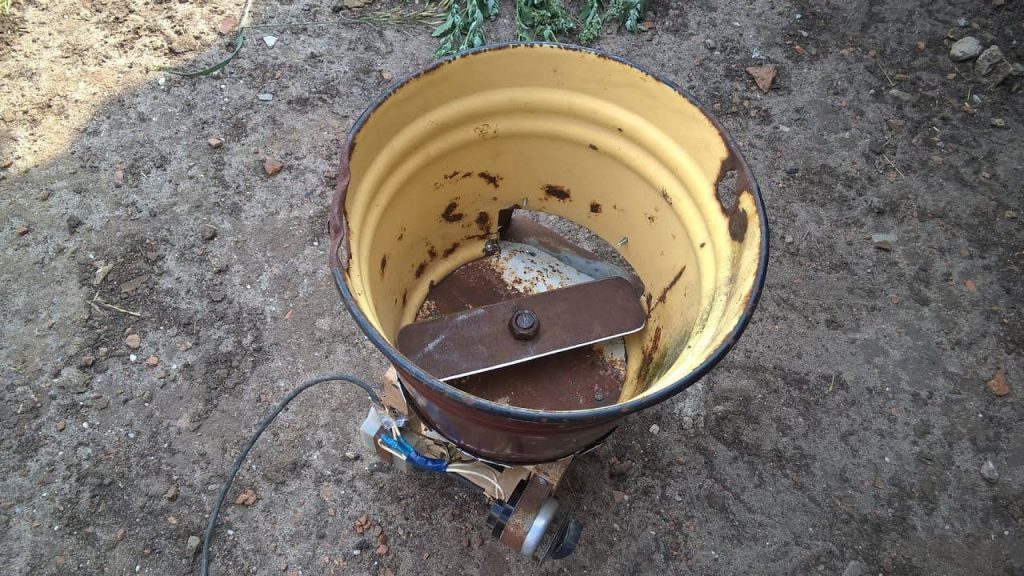
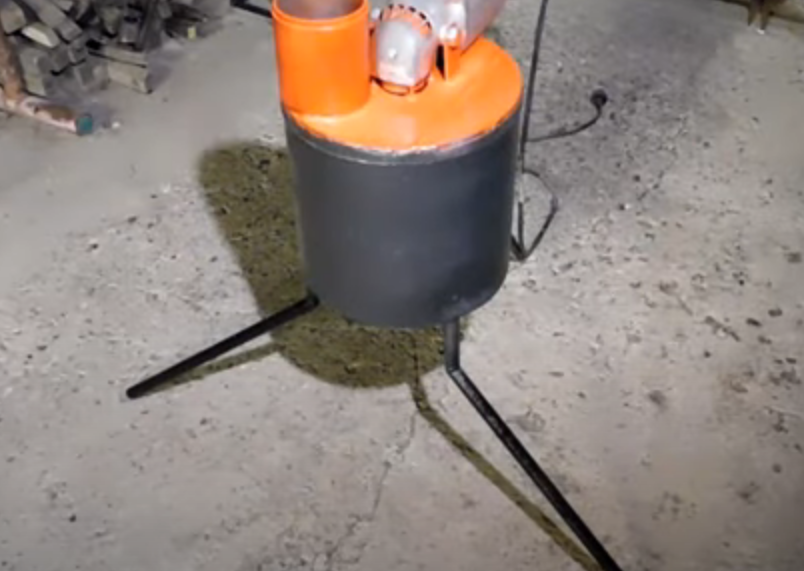
To prevent the scattering of wood chips, it is better to weld a lid to the tank. And the hole from which the chopped branches will spill out must be covered from above with a box. This is necessary to ensure safety during operation. Small particles, under the influence of centrifugal force, fly out from under the knives at high speed. They can injure a person standing nearby.
The third element is knives. Here the flight of imagination is limitless. You can simply use sharpened strips of metal, a lawn mower disc, or circular saws. It is permissible to install one knife or several. It all depends on the volume of the tank and the power of the engine.
The knives must be of such length or diameter that they do not touch the walls of the receiving container.
The fourth and last important component of the washing machine grinder is the stand or frame on which the device will be supported.
To make it easier to transport the shredder around the site, it is better to weld or screw the wheels to the frame.
Assembling a shredder from a washing machine
If the entire washing machine is available, then first thing you need to do is remove the engine from it. It's worth having a couple of screwdrivers on hand to pry out the engine if necessary. Also prepare a spray with silicone lubricant or WD-40 to make it easier to disassemble those parts that have become stuck. Please note that on older machines (with inverter and activator motors) you need to block the rotor.
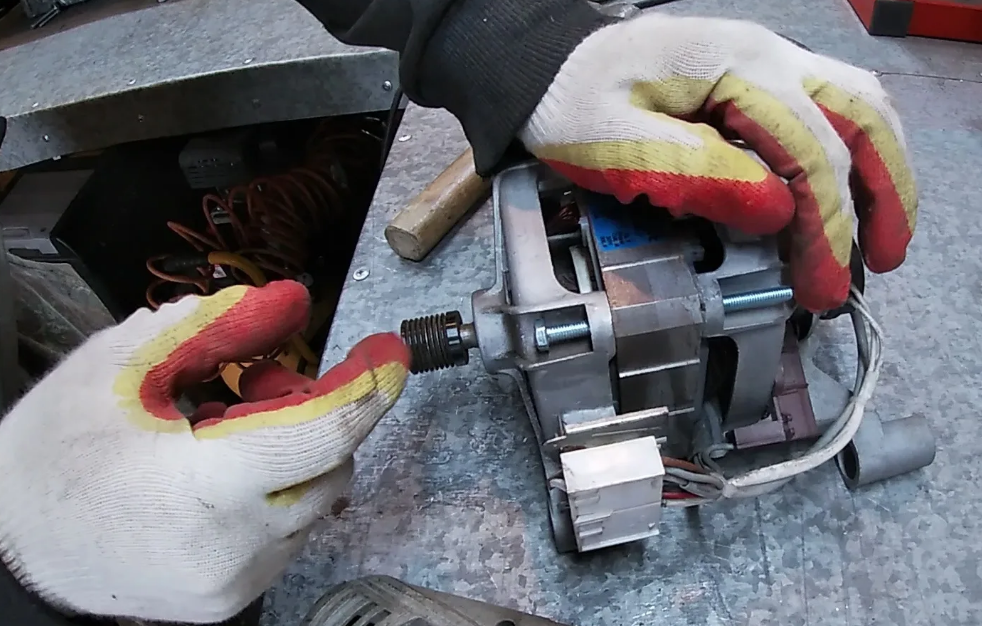
The second step is preparing the tank. It is necessary to make a hole in the bottom through which the engine shaft will be installed. If the design of the motor allows it, then it is best to weld it to the container vertically from the bottom or fix it with bolts. But first you just need to bait it. This is necessary in order to find out at what height of the sleeve to attach the knife and in what place to cut a hole to remove chopped grass and branches.
The next step is to install the knives. It is most practical to place the blade about 5–6 centimeters from the bottom. It is convenient to attach them to a bushing (a type of fixing element, with a thread on one side and holes for fastening on the other), mounted on the motor shaft.
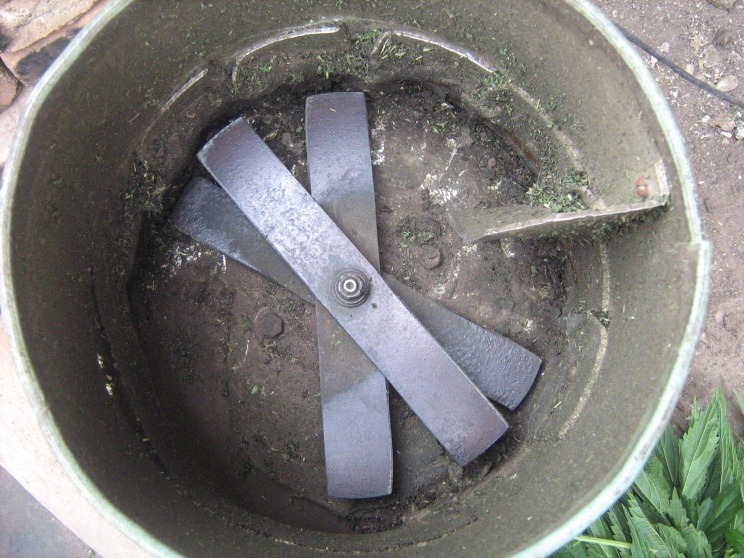
After installing the cutting elements It is necessary to make a hole to remove chopped branches from the tank. Its lower edge should be slightly below the level where the knives are installed. Select sizes based on the dimensions of the tank. However, it should be taken into account that chips will be difficult to remove from a narrow gap.
Bolt the protective box over the hole. It can be cut from anything: from scrap sheet iron, from galvanized steel, from a piece of unnecessary gutter.
Check the integrity of the motor winding with a tester. If everything is in order, then assemble the circuit - connect the cable and plug to it. If your electrician skills allow, you can attach an on/off button.
Install the shredder assembled from the washing machine onto the frame. It can be welded from scraps of angle, channel or thin metal pipes. It is more practical when wheels are welded to the frame for transportation.
That's all - the garden shredder (grass cutter, shredder - whatever you want to call it) is ready for use. Using this device, assembled in a couple of hours with your own hands from scrap trash, you can fertilize your garden or mulch the tree trunks in your garden with crushed plant waste.
An option for creating a homemade grass cutter based on an engine from a washing machine in the video.

