How to seal a plastic sprayer tank
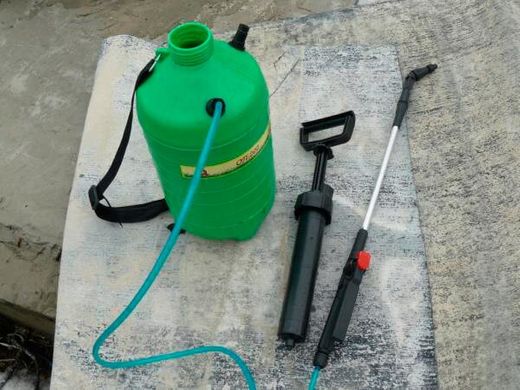
Damage to the plastic tank of the sprayer can result from a fall or accidental mechanical impact. It is not difficult to carry out urgent tank repairs. This manipulation will allow you to use the device for some time.
The content of the article
Features of repairing a plastic tank
Typically, the first thing that comes to mind is to solve the problem by using a plastic container repair kit. If you want the tank to serve for some more time, this method will not be effective.
All such products are in most cases made from either polypropylene (PP) or polyethylene (PE). These materials have an extremely low adhesion rate, that is, they are resistant to chemical agents. It will not be possible to seal them using regular glue: the patch simply will not stick.
Repairing damage to a sprayer tank using temperature
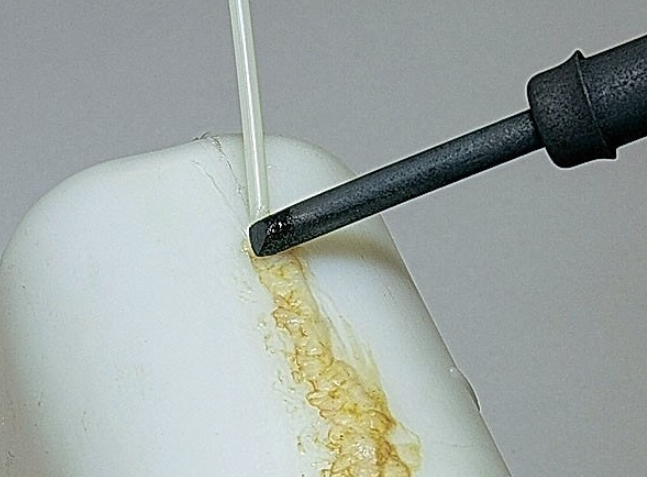
Need to find stainless steel mesh, prepare a soldering iron (100 W), scissors.
The process looks like this:
- The required piece of mesh is cut off.
- It is fixed at the defect site to a depth corresponding to the thickness of the mesh.
- A piece of stainless steel is aligned along the seam and immediately soldered with a soldering iron. This must be done while holding the free side with a knife.The latter serves as a heat exchanger - its use is important so that the mesh does not stick out.
- The same manipulations are repeated on the back side of the container.
If everything is done correctly, the result is a perfectly sealed, reinforced and, most importantly, strong seam.

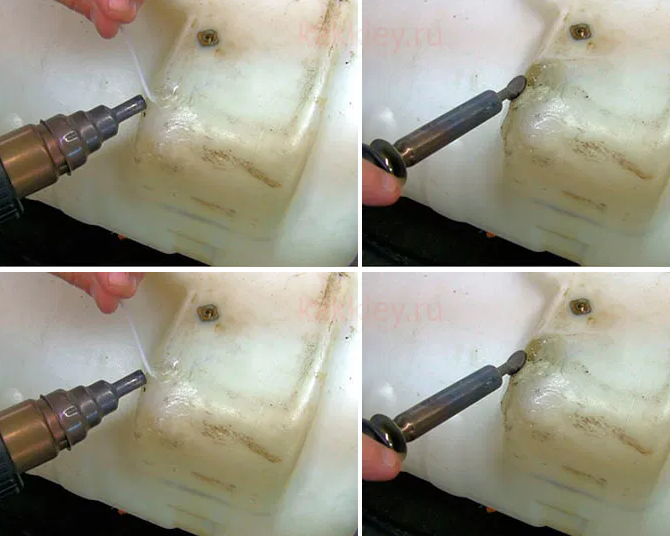
Another option for temperature exposure is using a hair dryer and a plastic patch. To work, you need to take care of the availability protective gloves.
Procedure:
- Contaminants are removed from the damaged area.
- Heating begins with a hairdryer (1600 W), first at low power - this is necessary so as not to burn the surface in the area with the defect.
- The prepared patch is heated on the side adjacent to the crack. This process requires higher power.
- The patch is applied to the damaged area and continues to heat up at even higher power. It is important to act carefully so as not to overheat.
- The fixed patch is smoothed out.
- After cooling, water is poured into the tank to check the quality of work.

It is recommended to use soldering irons with a wooden handle. If the latter is polymer, then there is a risk that it will melt. When work is carried out using a hair dryer, it is desirable that it has a set of attachments and a smooth temperature control system. This will allow you to choose from several modes the one you need to work with different types of plastic.
Video: repair using a soldering iron and mesh
Application of epoxy glue
Suitable products are “Contact”, “General Purpos Permapoxy PERMATEX”, “General Purpos Permapoxy PERMATEX”. You can find them at any hardware store, or order them online.
This method is suitable if the damage is not too extensive.
Work order:
- glue is cut in the required amount;
- knead with clean hands to obtain a homogeneous mass;
- a cone is molded from it and inserted into the resulting hole on the tank;
- securely fixed for 2–3 minutes.
You need to wait two hours. After this time, the container will be ready for use.


