How to make a light on a walk-behind tractor
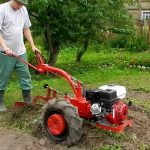
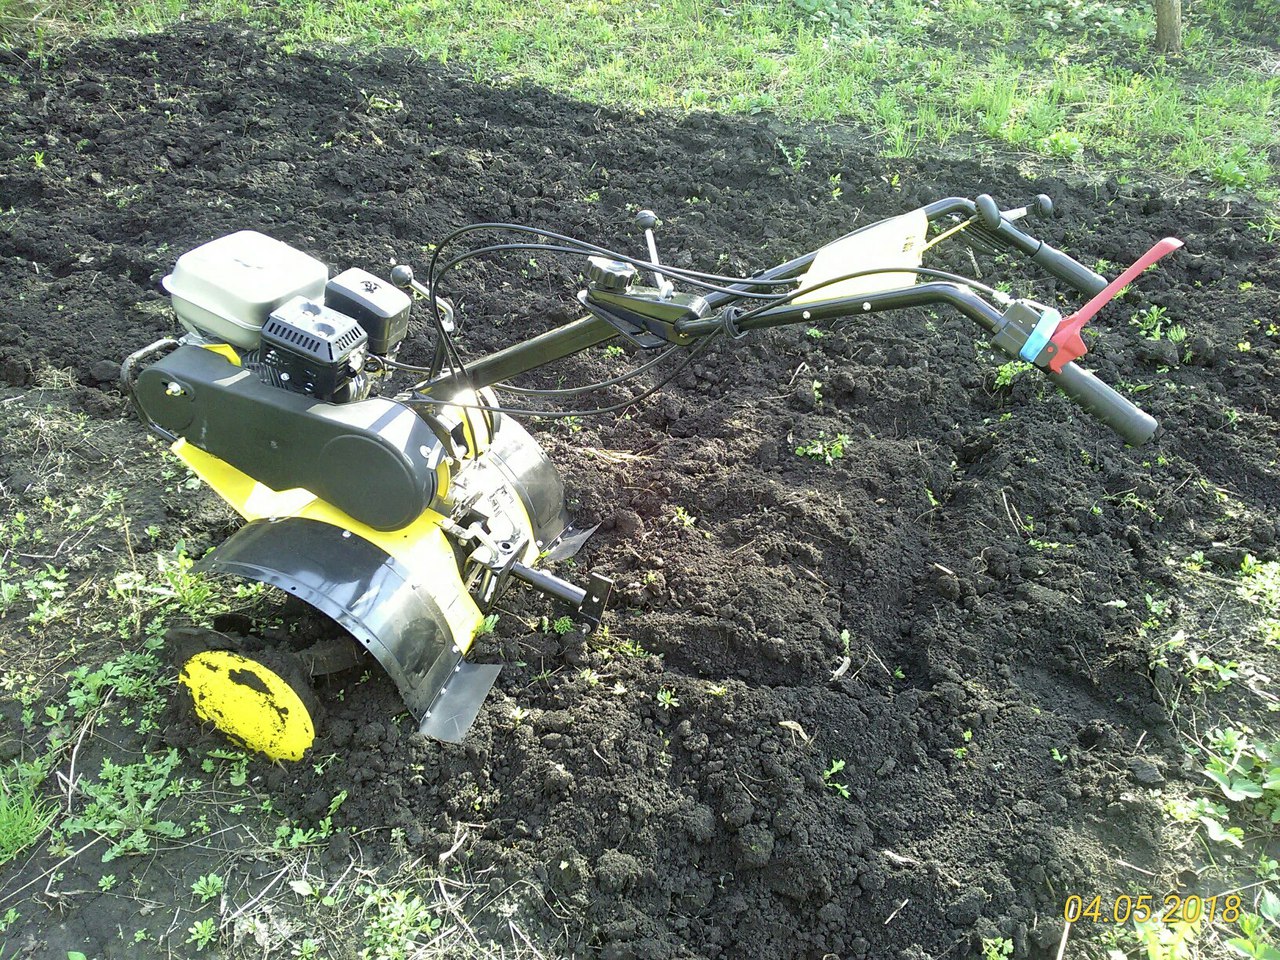
Modern walk-behind tractors are designed to work during daylight hours, so most models are supplied without headlights. This applies to both foreign and domestic technology. Most farmers working with walk-behind tractors do not have the opportunity to illuminate the road at night, so they would not refuse to connect this small part to their unit.
Models with pre-installed headlights are also available on the market, but often they do not have good lighting quality. Many owners of walk-behind tractors decide to install their own headlights on the device. We'll tell you what ways there are to connect light to a walk-behind tractor.
The content of the article
How to make a light for a walk-behind tractor - upgrading the headlight
The lighting system for the walk-behind tractor can be purchased at a garden equipment store or made independently. Homemade headlights can be adjusted for light intensity and operating power.
Some walk-behind tractors that are not equipped with headlights have matching sets of lights that can be purchased separately. Such kits are produced by the same manufacturer, so they are ready for connection to a specific system. It is necessary to think through all stages of installation.
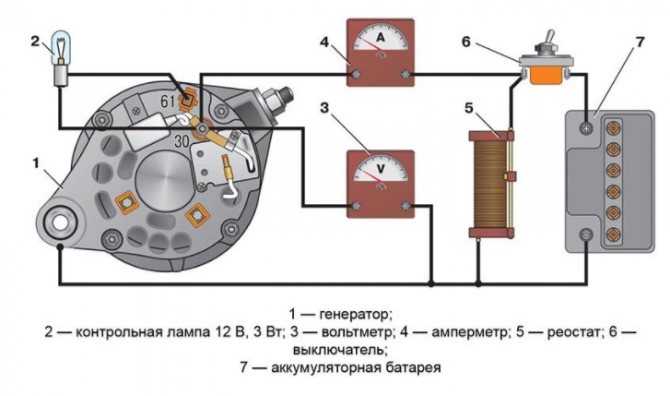
The electrical circuit of a lighting device consists of an electrical power source, a switch (a button that breaks and turns on the circuit) and an electrical lamp socket to which the wiring is connected.To power lighting equipment, an electric generator, battery or ignition system is used.
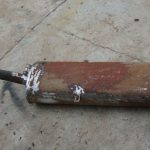
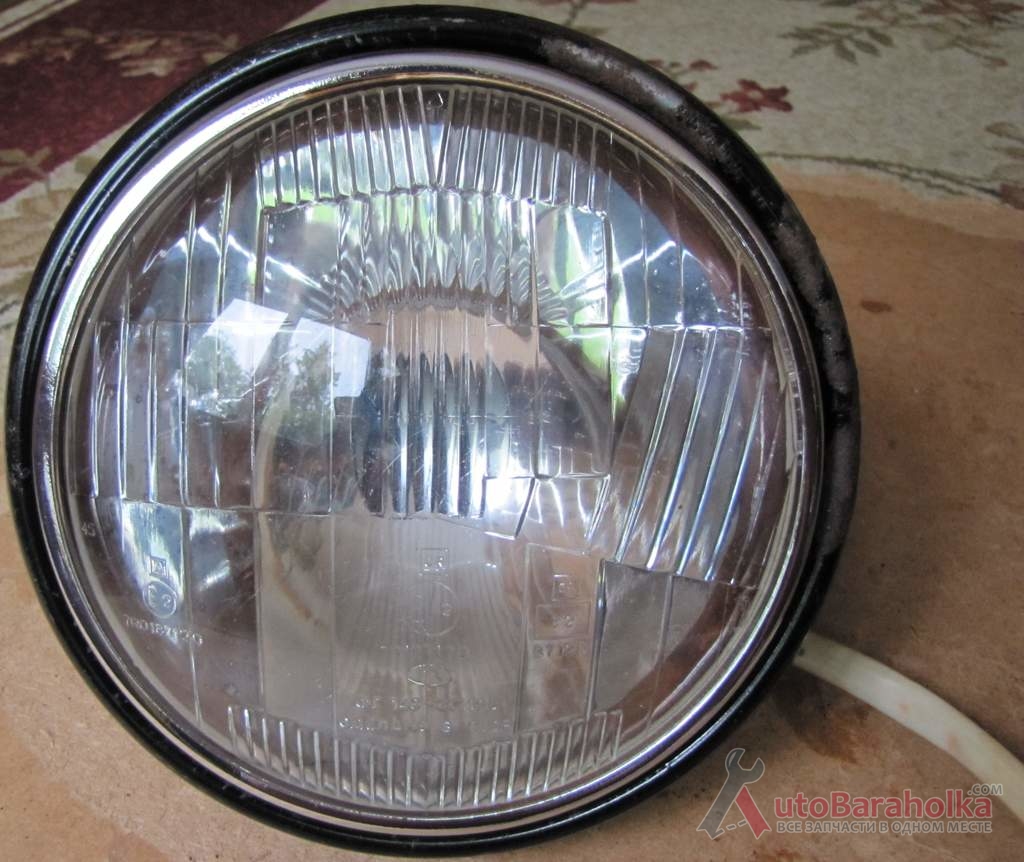
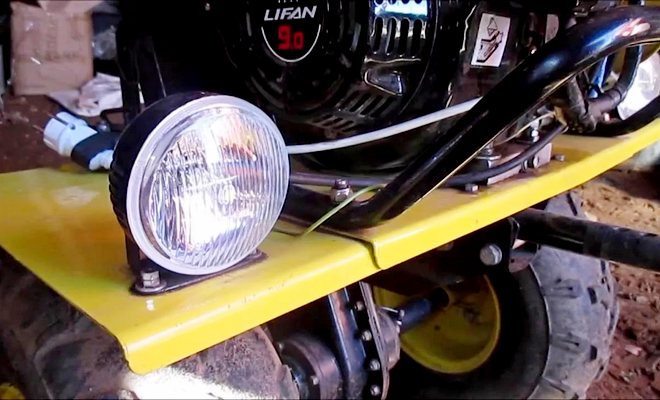
As a blank, you should take an old car headlight. Elements left over from a Soviet-era car are suitable.
Stages of work:
- We remove the glass shell and protective elements from the lanterns, which are held on by plastic fasteners.
- We create a plaster cast of the body of the future headlight. To do this, take liquid plaster and pour it inside the old part with the outer glass removed, evenly distributing it over the base. We are waiting for the material to dry naturally. After this, we take out the finished hardened cast, being careful not to damage it.
- We apply fiberglass to the plaster headlight. The coating is applied in three layers. We lay epoxy resin between them.
- Leave the workpiece in a hermetically sealed container at room temperature. After drying, sand the product until the irregularities disappear.
- We make 10 slats and use them as a platform for the material.
- We place fiberglass on the slats, cover it with a protective layer against dust and place the platform in an oven heated to 200°C. We periodically check the material for readiness, opening the oven from time to time.
- If you can see that it has become deformed, you can pull it out and apply it to the plaster headlight. We place the fiberglass-coated headlight in a vacuum container and wait for the surface to dry completely.
- After hardening, we grind the product using sandpaper and treat it with a solvent. At the end, we place a halogen lamp or LED strip inside.
Do-it-yourself ways to connect light
Before full use of headlights, it is necessary to check their suitability for work.You also need to make sure that there are no short circuits within the system.
With generator
Most walk-behind tractor models are equipped with an electric generator. This device has a high level of power, which is enough to operate the unit’s engine and lighting equipment. To connect the headlights to the generator on the walk-behind tractor, you need to perform the following steps:
- We connect the wiring from the headlight to the electric generator.
- One of the wires should be connected to the light button. We install it in any convenient place for the driver. For example, the switch is often located near the steering wheel.
- We connect the wires coming from the generator and the switch to the flashlight. We check the work.
- We install the headlight on the body of the walk-behind tractor. To avoid moisture getting on it, to protect it from mechanical damage and short circuits, we use corrugation as a protective coating.
A powerful electric generator will provide intense and distant light. A generator with low power will blink periodically when loads are created on the walk-behind tractor. If this happens, it is worth replacing the generator with a spare part from the tractor.
Without generator
In this case, to install the lighting you will need an LED strip and a 12-volt battery. Instead of purchasing a new battery device, you can remove it from the old unit. The battery should be placed between the motor and gearbox:
- We make a stand for the battery and attach it to the frame of the walk-behind tractor. To do this, we use a welding machine and an iron corner.
- We install the battery on the inside of the device and tighten it with bolts.
- We connect the wires to the switch. We seal the joints and wrap them with insulating tape.
The light from the headlights is quite bright, but the battery lasts no more than two hours without interruption.This is a significant disadvantage for those who are used to working full time.
The owner of a walk-behind tractor can connect light to it without using either a generator or a battery. Bicycle headlights are suitable for this.

This solution is technically simple and inexpensive:
- no wires required;
- quick fastening and removal;
- possibility of fixing on the steering part;
- own charger;
- operation in any weather;
- minimum costs.
One flashlight should be used for distant lighting, the second for near lighting.
From ignition
Connecting headlights via an ignition coil is the easiest way to create lighting. The system does not require an electric generator or battery to operate. But if the motor is turned off, it will not allow the lamp powered by the coil to light up. To make a light that operates from the ignition, you need to connect one end of the headlight wire to the winding system of the walk-behind tractor, and the other to the switch.
The instructions will allow you to quickly make light on your equipment, even with zero knowledge of electricity. The above methods for creating lighting are applicable to all models of walk-behind tractors from any manufacturer.