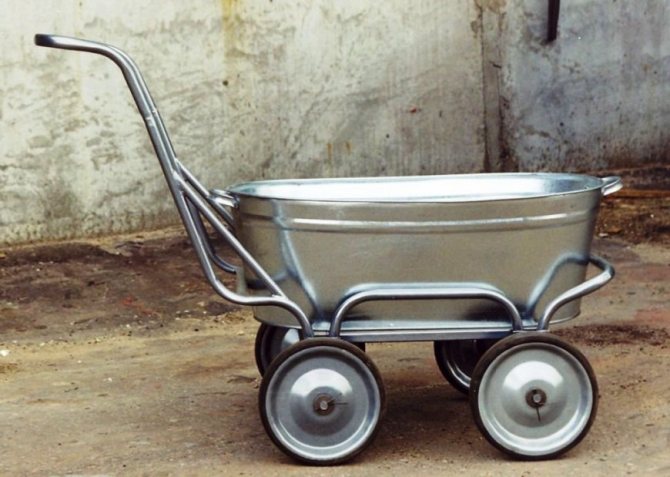
Do-it-yourself 2-wheel garden cart
A wheelbarrow is necessary on the farm. When working in a garden or vegetable garden, you need to put in much less physical effort if you transport all the heavy loads in a simple device on wheels. In addition, time wastage is reduced.
Of course, it’s easier to purchase such an “assistant” by choosing from the models offered in the store. Then you don’t need to learn how to properly make it yourself. Plus homemade products - the size, cross-country ability and load-carrying capacity are selected individually.
The content of the article
Features of making a wheelbarrow, choosing the number of wheels
Let's look at the general points of how to make a homemade wheelbarrow. It is better to make it not very small - it is optimal to stay at a medium size. U large device there is also a minus - it will be difficult to move, because the wheels will sink into the ground when overloaded. Medium dimensions can be called ideal. When choosing the size of a car, you should focus on your own needs. However, in most cases, a transport device of 100*60*50 cm is satisfactory in all respects - length, width and height, respectively.
A wheelbarrow of this size can easily pass through a garage or barn door; it can simply be moved between bushes and trees in the garden or other objects on the site. An additional benefit is that these sizes place a consistent load on the wheels that they can withstand.
Another important parameter that needs to be determined before production is the number of wheels. The single-wheeled version is incredibly maneuverable, but such a device will not be able to move large loads due to its low stability.
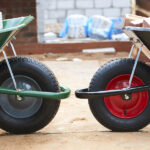
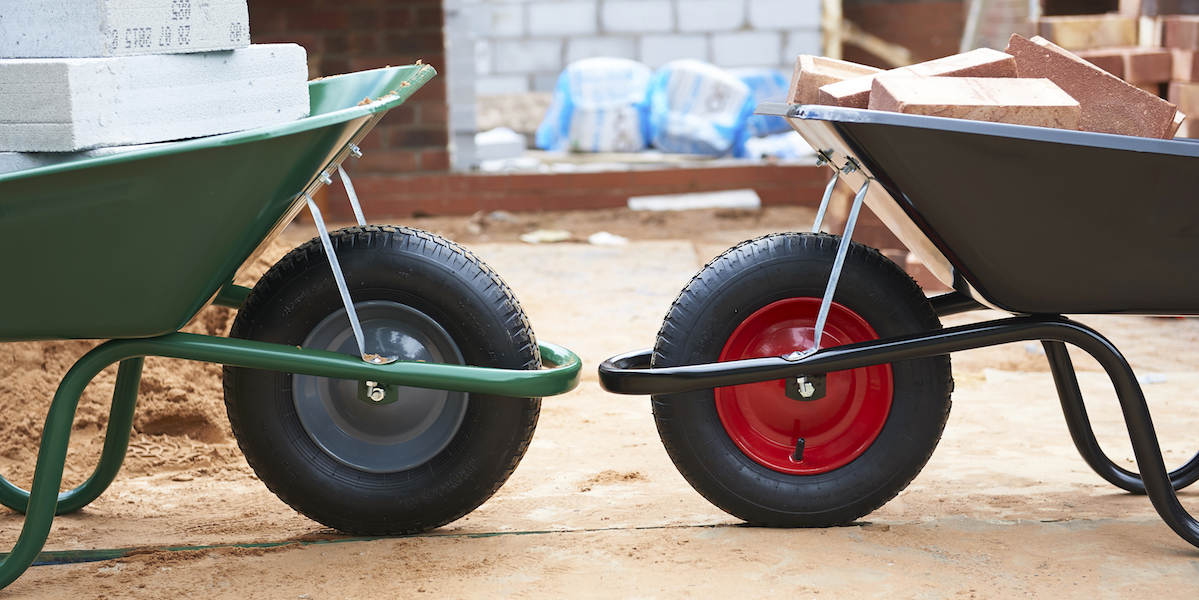
Two-wheeled - the best choice, which is suitable for transporting a wide variety of cargo: from autumn leaves to bags of cement. Controlling such devices requires less effort.
Well, a little about the material. The easiest way to work is with steel. Wood can only be used for some individual parts. And for the frame itself, the base (bottom), as well as the frame for the wheels, only metal is optimal.
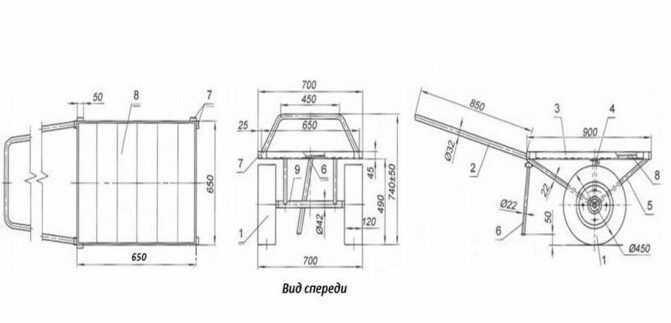
Manufacturing process
Making homemade goods starts with the frame. It is welded from a profile pipe according to the dimensions indicated in the drawing or according to those that are preferable for each individual person. It is recommended to equip the frame along the long part with several jumpers. This is necessary so that there are additional stiffening ribs across the wheelbarrow - one or two will be enough.
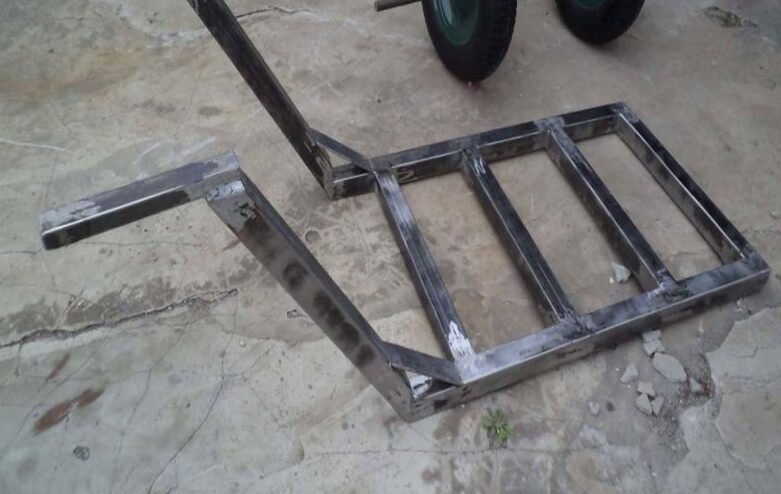
The next stage is the construction of vertical racks. They are welded at the corners of the frame made, on each side. On top of them, on the outside, metal walls are attached. It is better not to use corrugated sheeting, as it is too thin and more susceptible to wear. The best option is a steel sheet 2–3 mm thick.
The same sheet is suitable for the base. It is cut out and placed inside. Then it is bolted to the frame.
Why not use welding? The benefit of fastening elements is that they provide easy dismantling and replacement of the bottom. The base is the part most susceptible to wear.Cutting and welding it is not very convenient, so using bolts is the best option.
A thin-walled pipe is suitable for a handle. With such a detail the car will be less heavy.
Now it’s time to build the wheelbase. Then it will need to be connected to the frame and the car is ready.
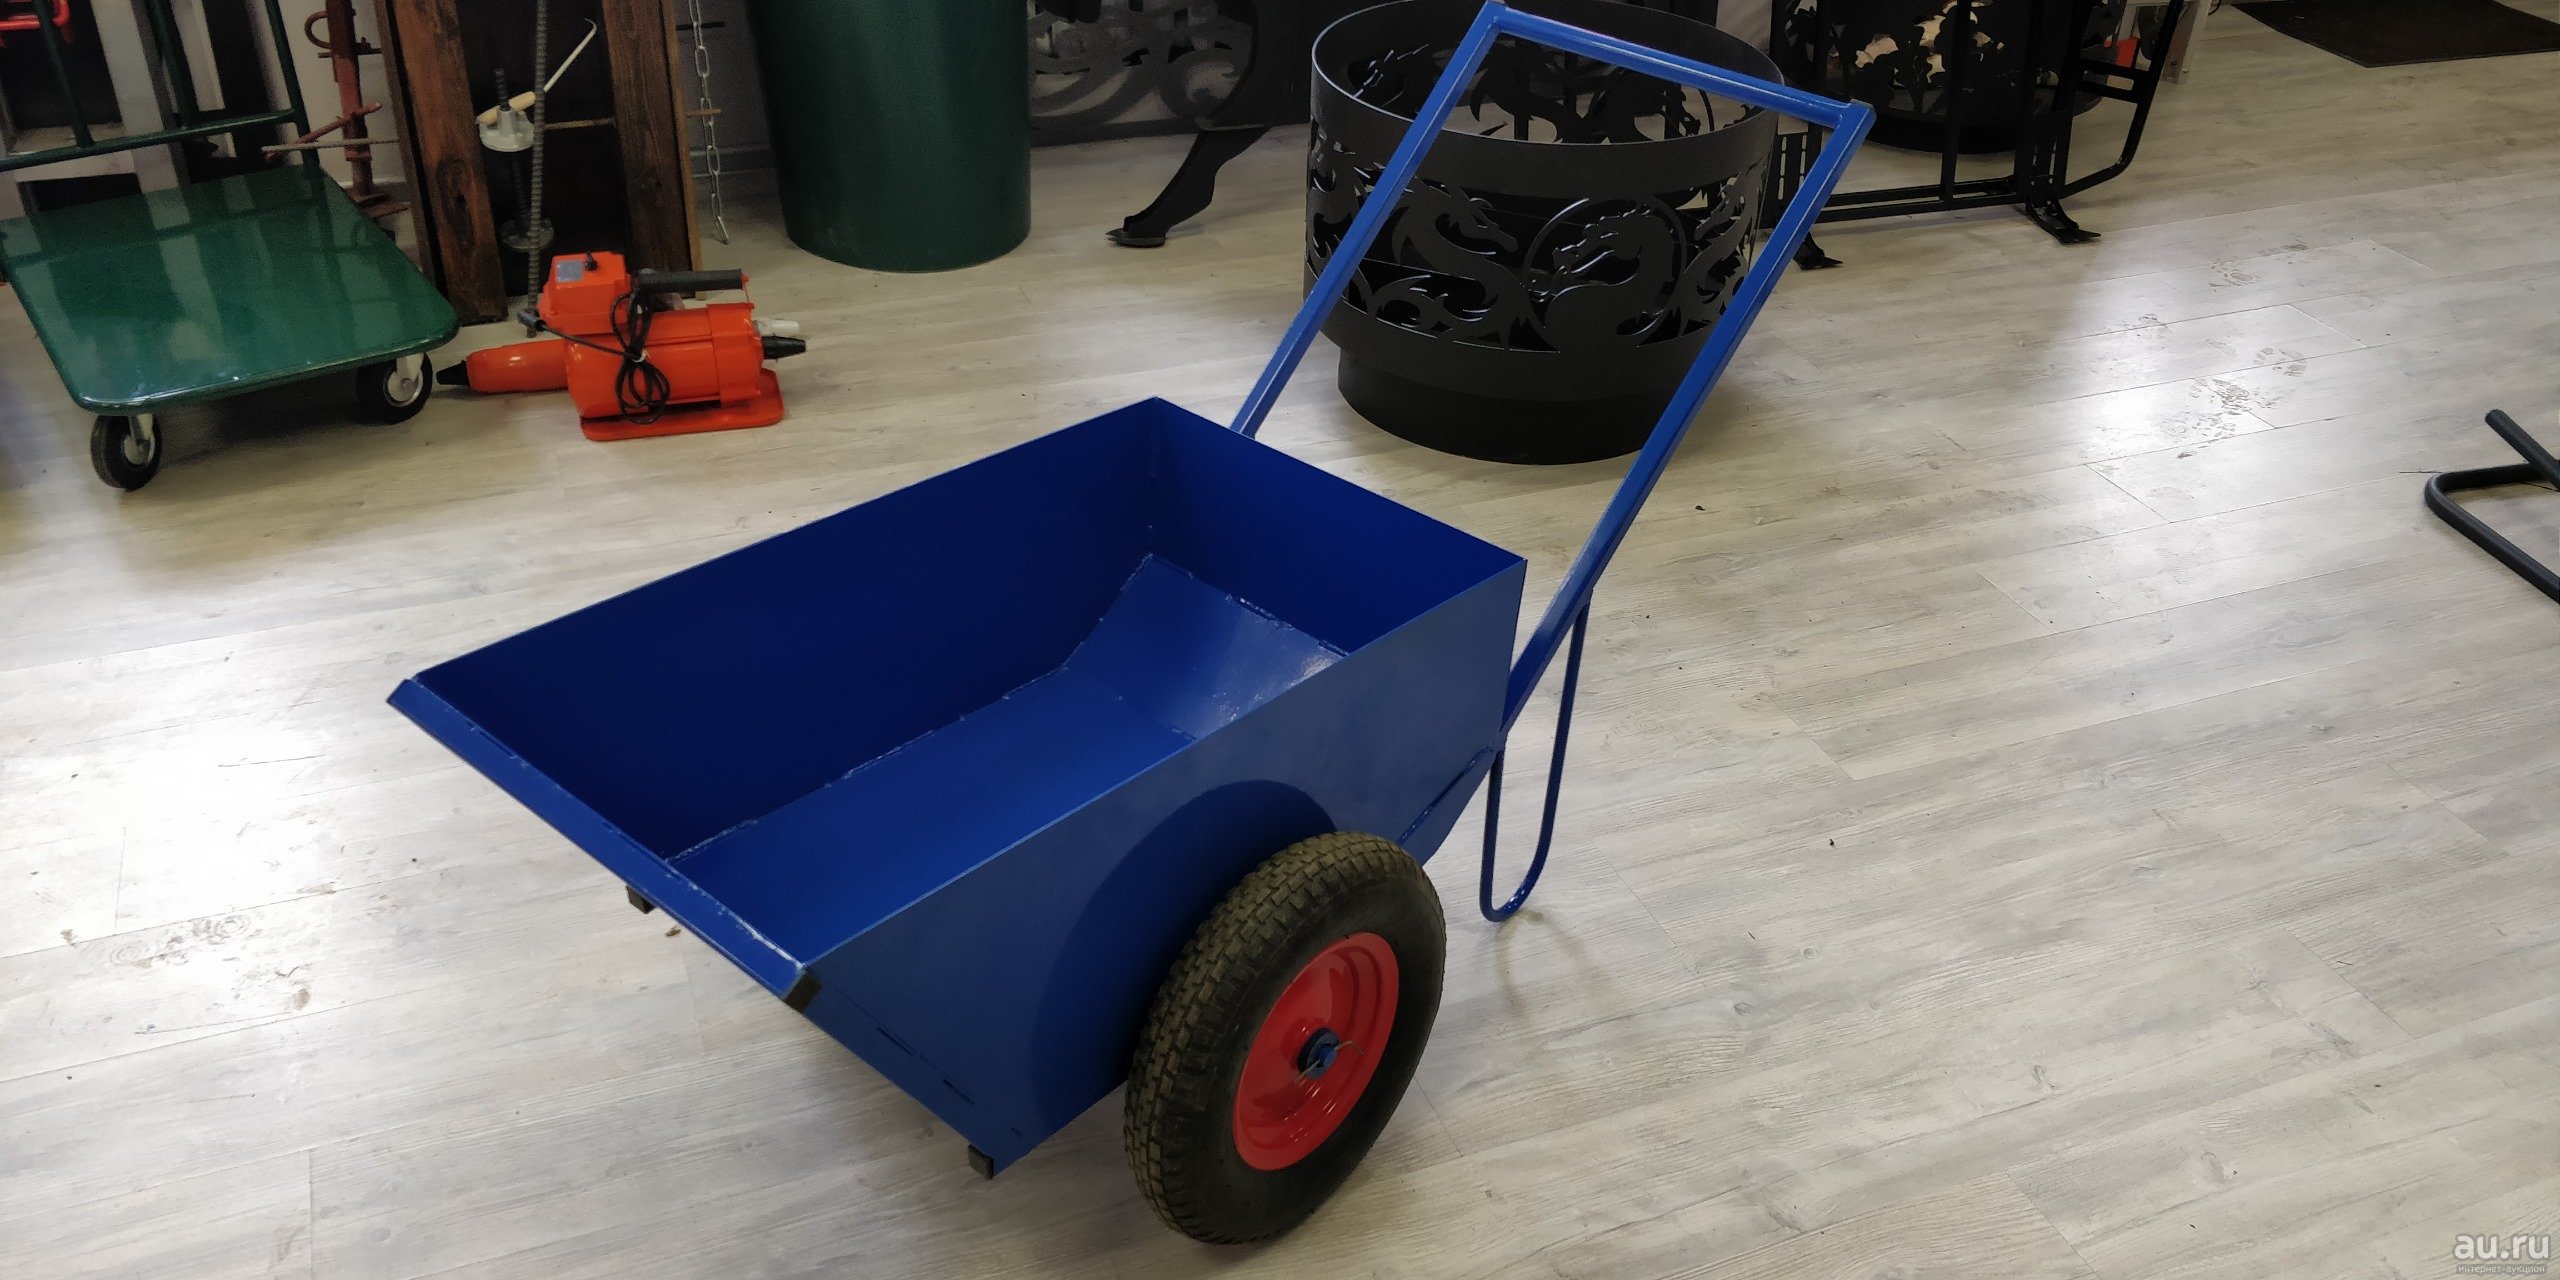
The base for a homemade trolley is constructed from a profile pipe:
- two pieces of pipe are cut - the width of each part = the size of the base + the distance for fixing the wheels;
- the pieces are welded together with short jumpers (15-20 cm) - it is necessary to build a narrow rectangle;
- round pieces of pipe are welded onto the narrow sides of the rectangle, strictly in the center - they are needed to accommodate the wheels;
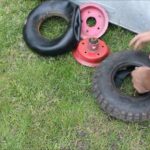
- The final stage is the installation of wheels, which can be used ready-made or assembled yourself.
To assemble the latter, you should select a locking part and bearings. You also need studs and nuts for fastening.
The finished wheel base is installed on the transport device exactly in the middle. That's it - the homemade car is ready. You can use a convenient device.

