How to water from a barrel with a hose without a pump
High-quality watering is the key to a good harvest. However, not all cultures are comfortable with a “cold shower” with a hose, and running back and forth with a watering can may be useful in terms of weight loss, but it is tiring. Thanks to popular ingenuity, various methods of watering with a hose from a barrel have been invented - without a pump and with warm water.
The content of the article
Watering from a barrel with a hose - siphon method
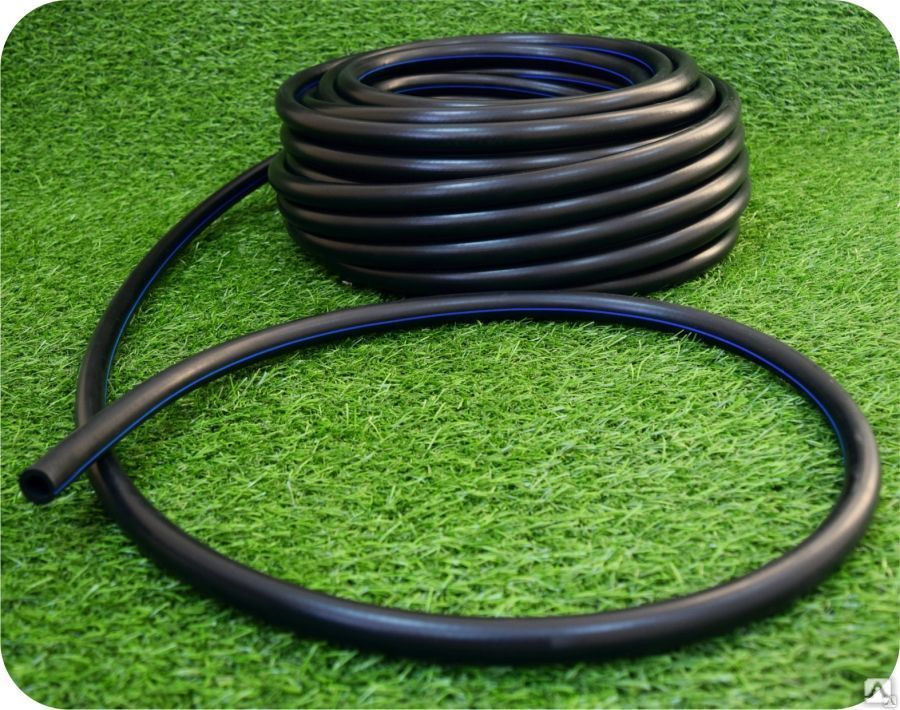
The simplest method that does not require anything other than directly hoses — you need a long watering and a small section of about three meters, — and barrels. Further:
- a piece of hose is rolled into rings and placed at the bottom of the container - a small tip remains in the hand, and the rest should lie under water and not float up;
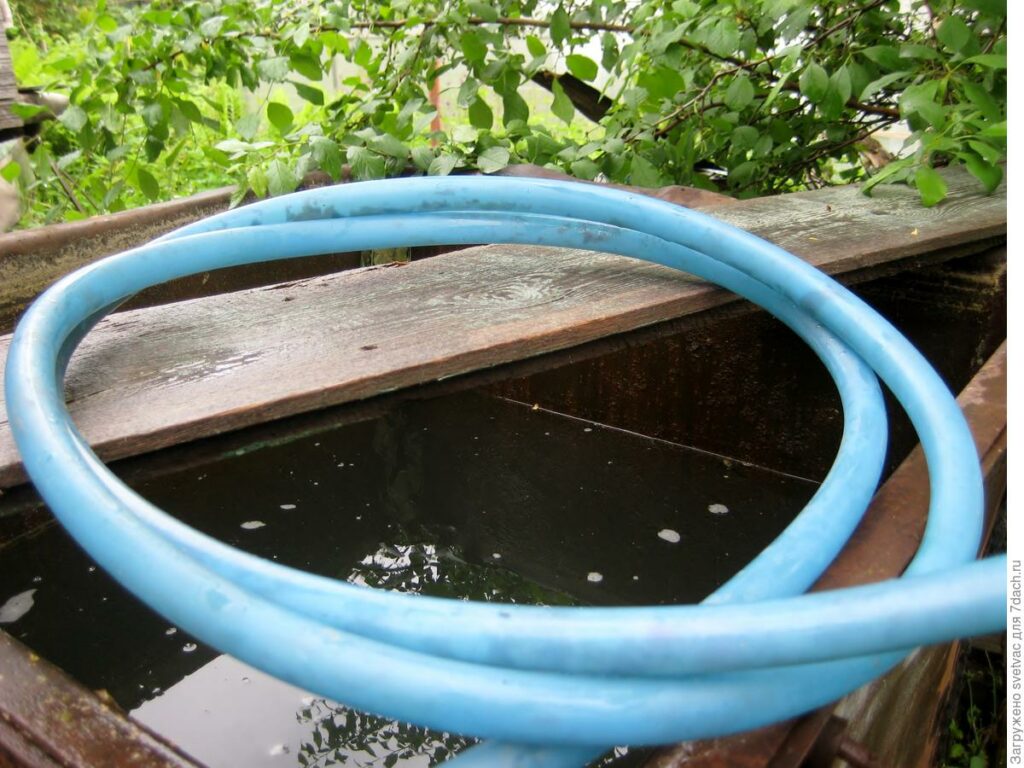
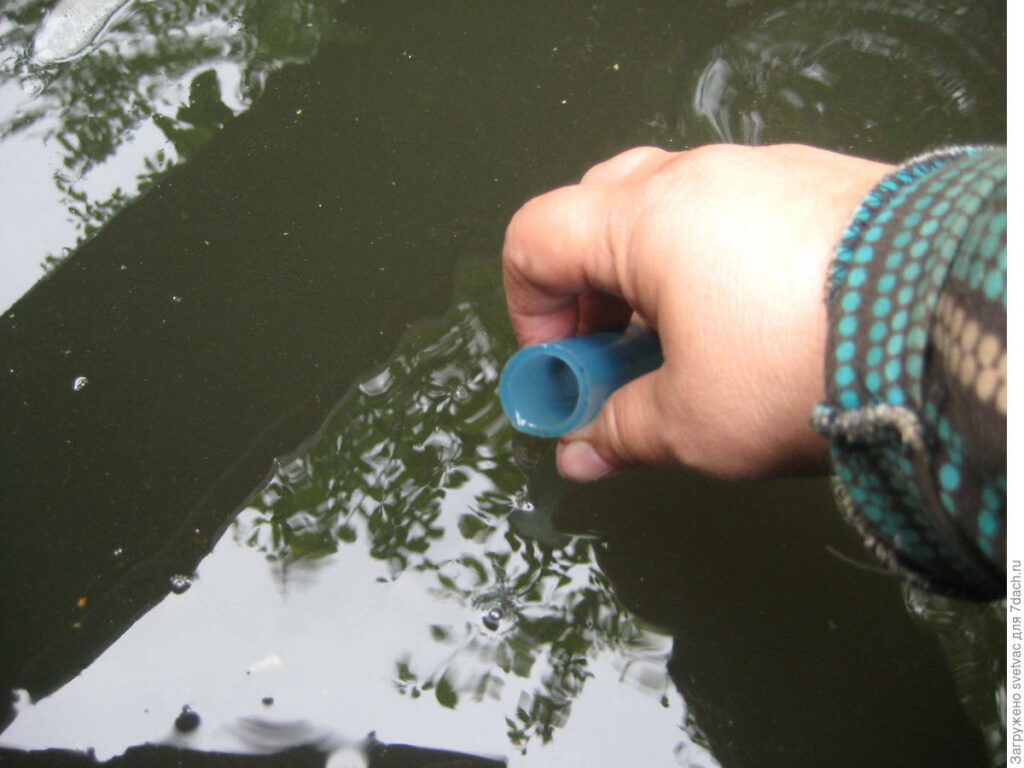
- After waiting for a thin stream of water to appear, we clamp the hole;
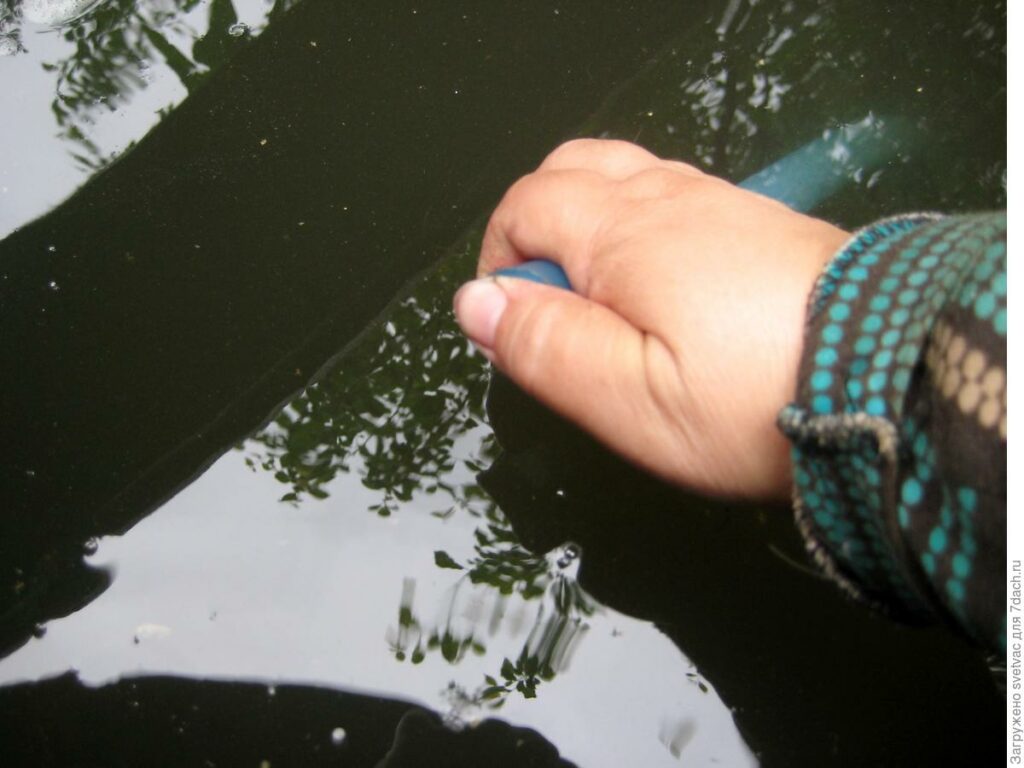
- then we take out the hose and free the hole - a full stream appears;
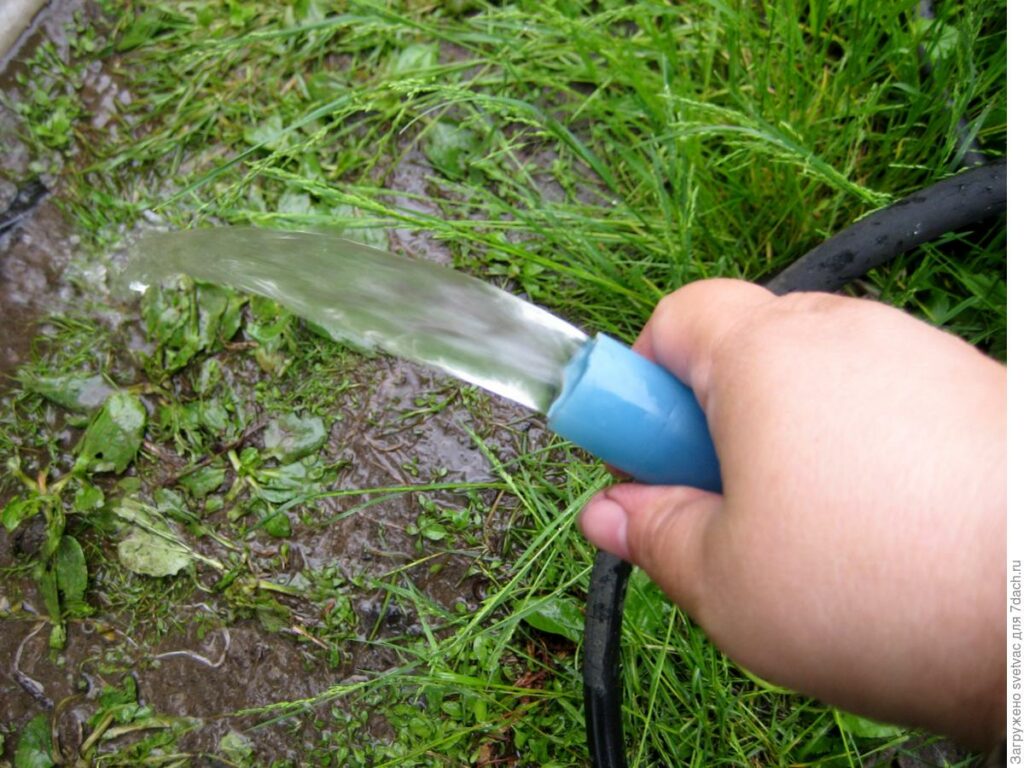
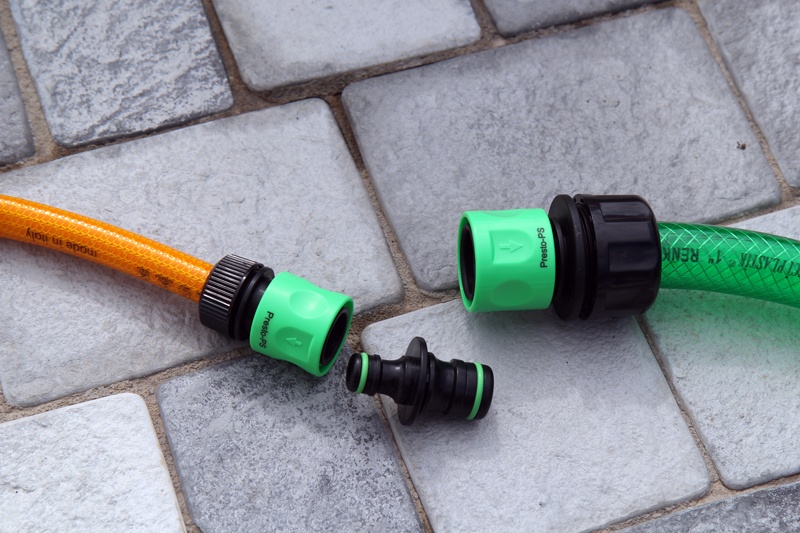
- connect the section to the watering hose.
All is ready!
Can be put hose in planting or move with it around the site.
To reduce the pressure, you should raise the irrigation product 60–70 cm from the ground. To stop the water supply, the hose must be above its level in the container.
Watering from a barrel by gravity
Everyone who considers himself a thrifty owner adheres to the principle of economy. Watering a garden requires a lot of water and time. What if you use rainwater and the gravity method? You need a barrel, a minimum set of tools:
- screwdriver;
- saw;
- pencil;
- roulette.
And materials:
- wooden blocks;
- polymer pipes;
- a pipe designed to collect rainwater;
- fastening elements - self-tapping screws, nuts, screws;
- silicone sealant;
- ball valve 5 cm.
First of all, select a flat place to place the container. If the soil is soft, you can install a wooden base. The further sequence of actions looks like this:
- a stand is made, with the help of which the barrel can be raised - the bars are taken and something like a stool is knocked together;
- a small hole is made in the bottom of the container - its diameter depends on the fitting that will be used;
- a little higher you need to cut another hole of the same size;
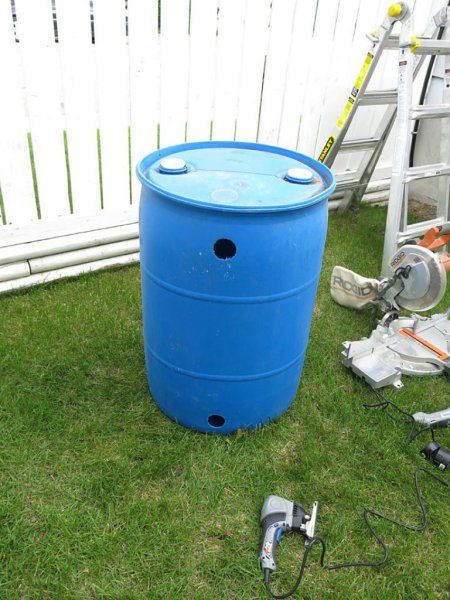
- The fittings are fastened using glue - the place of fixation is additionally treated with sealant;
- a drain tap is mounted to the bottom;
- the holes at the top and bottom are connected through a polypropylene pipe - this way the container will not overfill in any weather conditions;
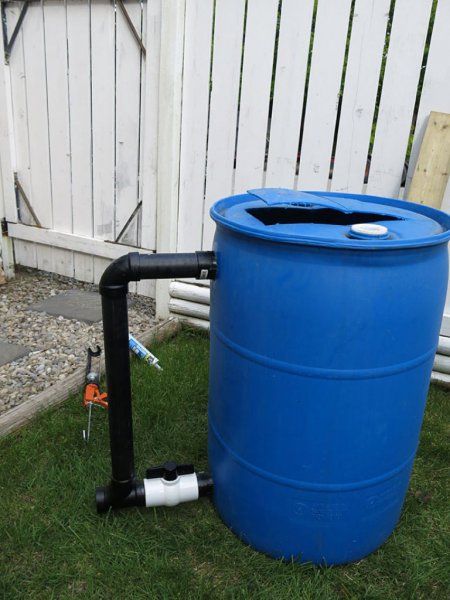
- a pipe is provided to collect water - it is fixed to the top of the container (during operation you will need to ensure that it does not become dirty);
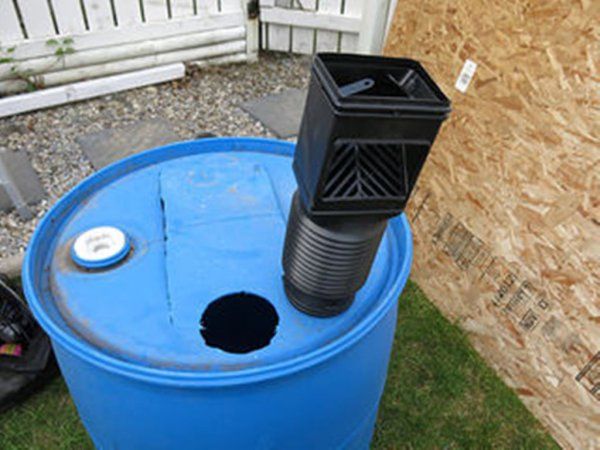
- Now the hoses are connected - for uniform watering, punctures are made in them in several places.
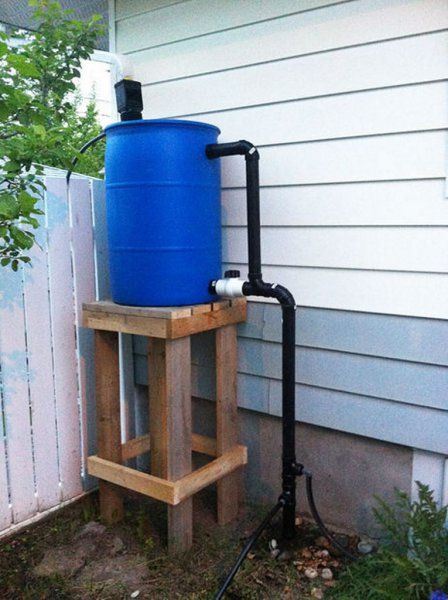
The design is collapsible, and therefore it can be easily unscrewed for cleaning and before starting cold weather.

