How to sharpen pruning shears
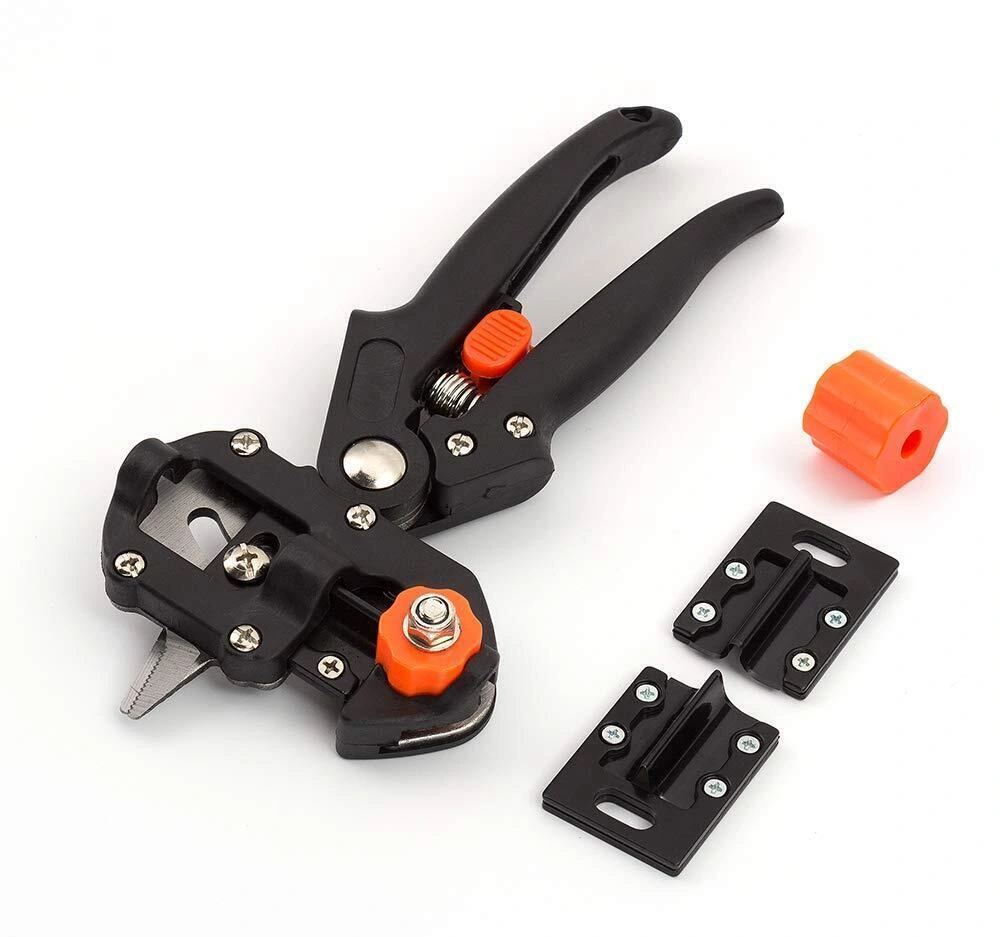
Secateurs A must for any gardener. Tool knives tend to become dull, which leads to a decrease in operating efficiency. You can sharpen them yourself. Let's figure out how to do this correctly.
The content of the article
What you need to sharpen pruning shears at home
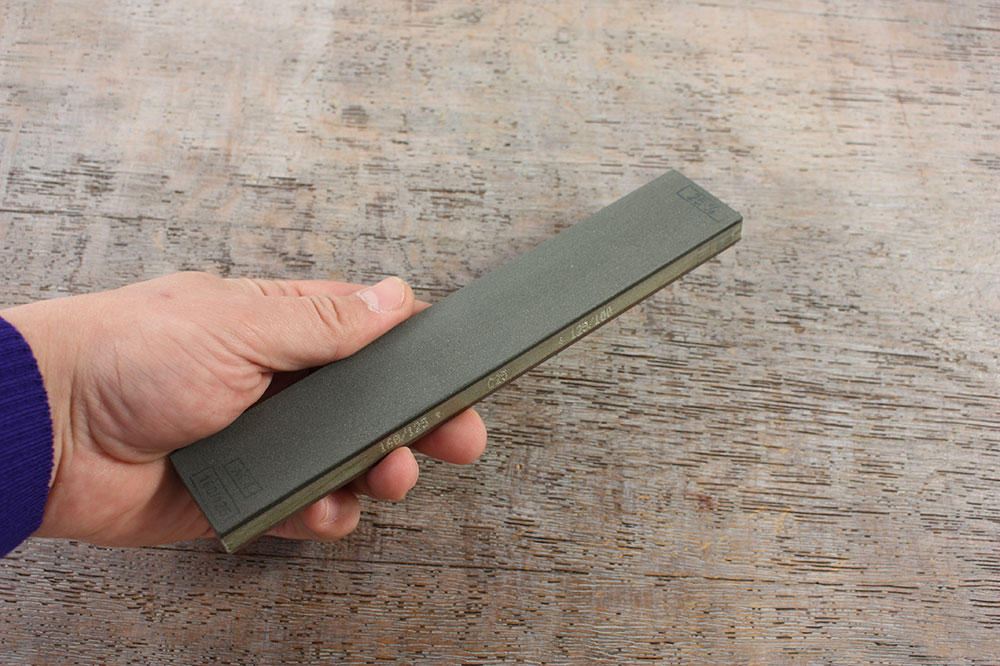
First, prepare the necessary tools for sharpening. You will need several bars with different grain sizes. The first should be coarse grain, the second fine grain.
There are 2 in 1 bars, in which the surface on each side has a different grain. You can also use sandpaper instead of this tool. The main thing is that it is on a fabric basis. Additionally, you will need lubricant, pliers and a screwdriver.
Cleaning pruners before sharpening
Before sharpening, you need to clean the tool. To do this, it needs to be disassembled. It's easy to do. Just unscrew a few screws. Remove the bolt holding the knives together and separate the parts from each other. Some models of pruning shears have additional screws - these do not need to be touched. Only the bolts holding the knives together are removed.
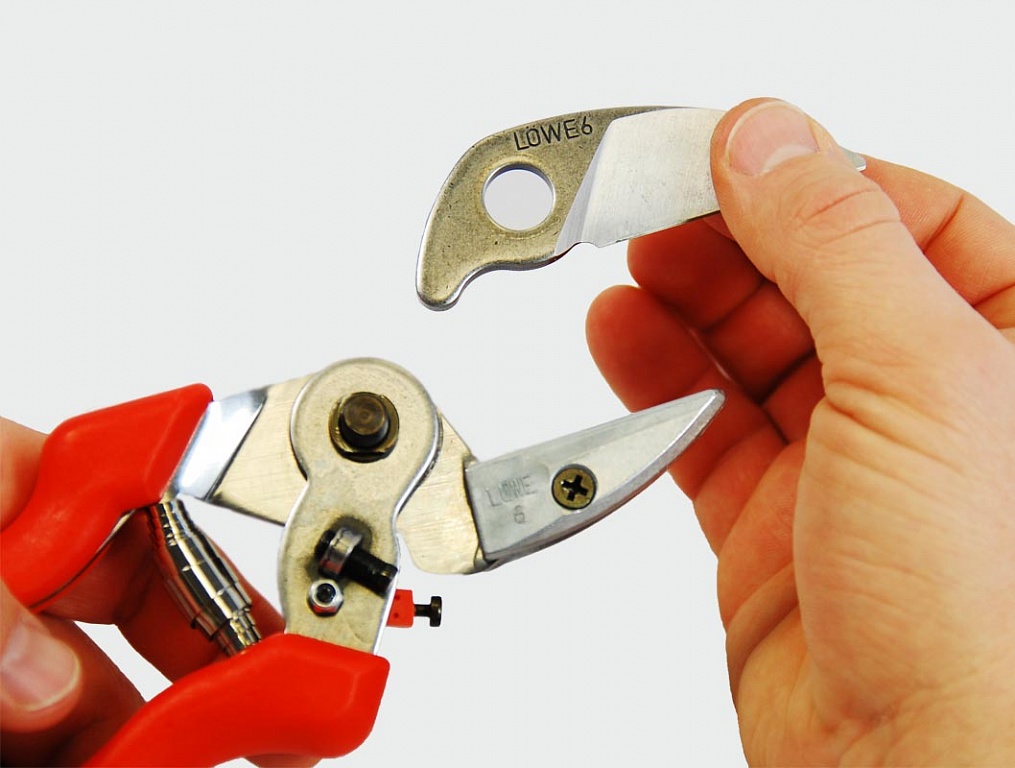
It is recommended to disassemble the pruning shears on a towel, and then place the parts in a mug or on a plate. This will prevent you from losing them. You should also count them to make sure when assembling that no parts are lost.
Start cleaning. The parts are dipped into a warm soapy solution.Clean the elements with a stiff brush. Particular attention should be paid to hard-to-reach areas. Sandpaper works well for rust and stubborn stains. You can also use a solvent. Once all stains have been removed, the parts are rinsed in clean water. Then they need to be wiped with a dry cloth.
It is not recommended to sharpen dirty tools. This will not give a good result and it will not work effectively.
How to sharpen pruning shears
Once all the parts are cleaned, you can start sharpening. The process depends on the pruner model. Flat tools have a beveled edge of the blade that protrudes above the surface. Such models are processed on both sides, similar to the processing of conventional knives.
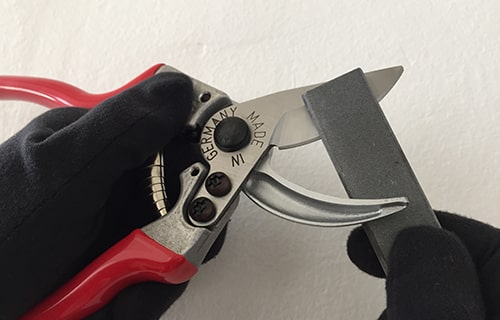
If the pruner has only one cutting blade, then it is necessary to sharpen it carefully so as not to damage the sharpening angle. The block is installed parallel to the beveled surface. They need to move away from themselves and only in one direction.
Start with a coarse sharpening, then proceed to a finer one. When the work is completed, the surface is cleared of chips, the knives are inspected and sanded.
All that remains is to assemble the pruning shears and check it. The blades should move without much effort and not cling to each other. The knives fit tightly, there are no gaps.
It is convenient to use paper for checking. The tool should cut the sheet easily. If this does not happen, sharpening was carried out incorrectly.
General recommendations
For long-term service of the pruning shears, it is necessary to regularly care for it and monitor the condition of the blades. Before the winter season, it is recommended to lubricate the tool with grease. The pruning shears are left for storage wrapped in oiled cloth.
How often to sharpen depends on the frequency of use of the tool. If it is used for more than four hours every week, then the procedure is carried out at least three times per season. It is recommended to monitor the quality of the pruning shears. If he starts chewing branches, then it's time to sharpen him.
The procedure is quite simple. You can easily do it with your own hands. The main thing is that the tool is made of good steel and plastic. Low-quality models may not withstand sharpening and become unusable.

