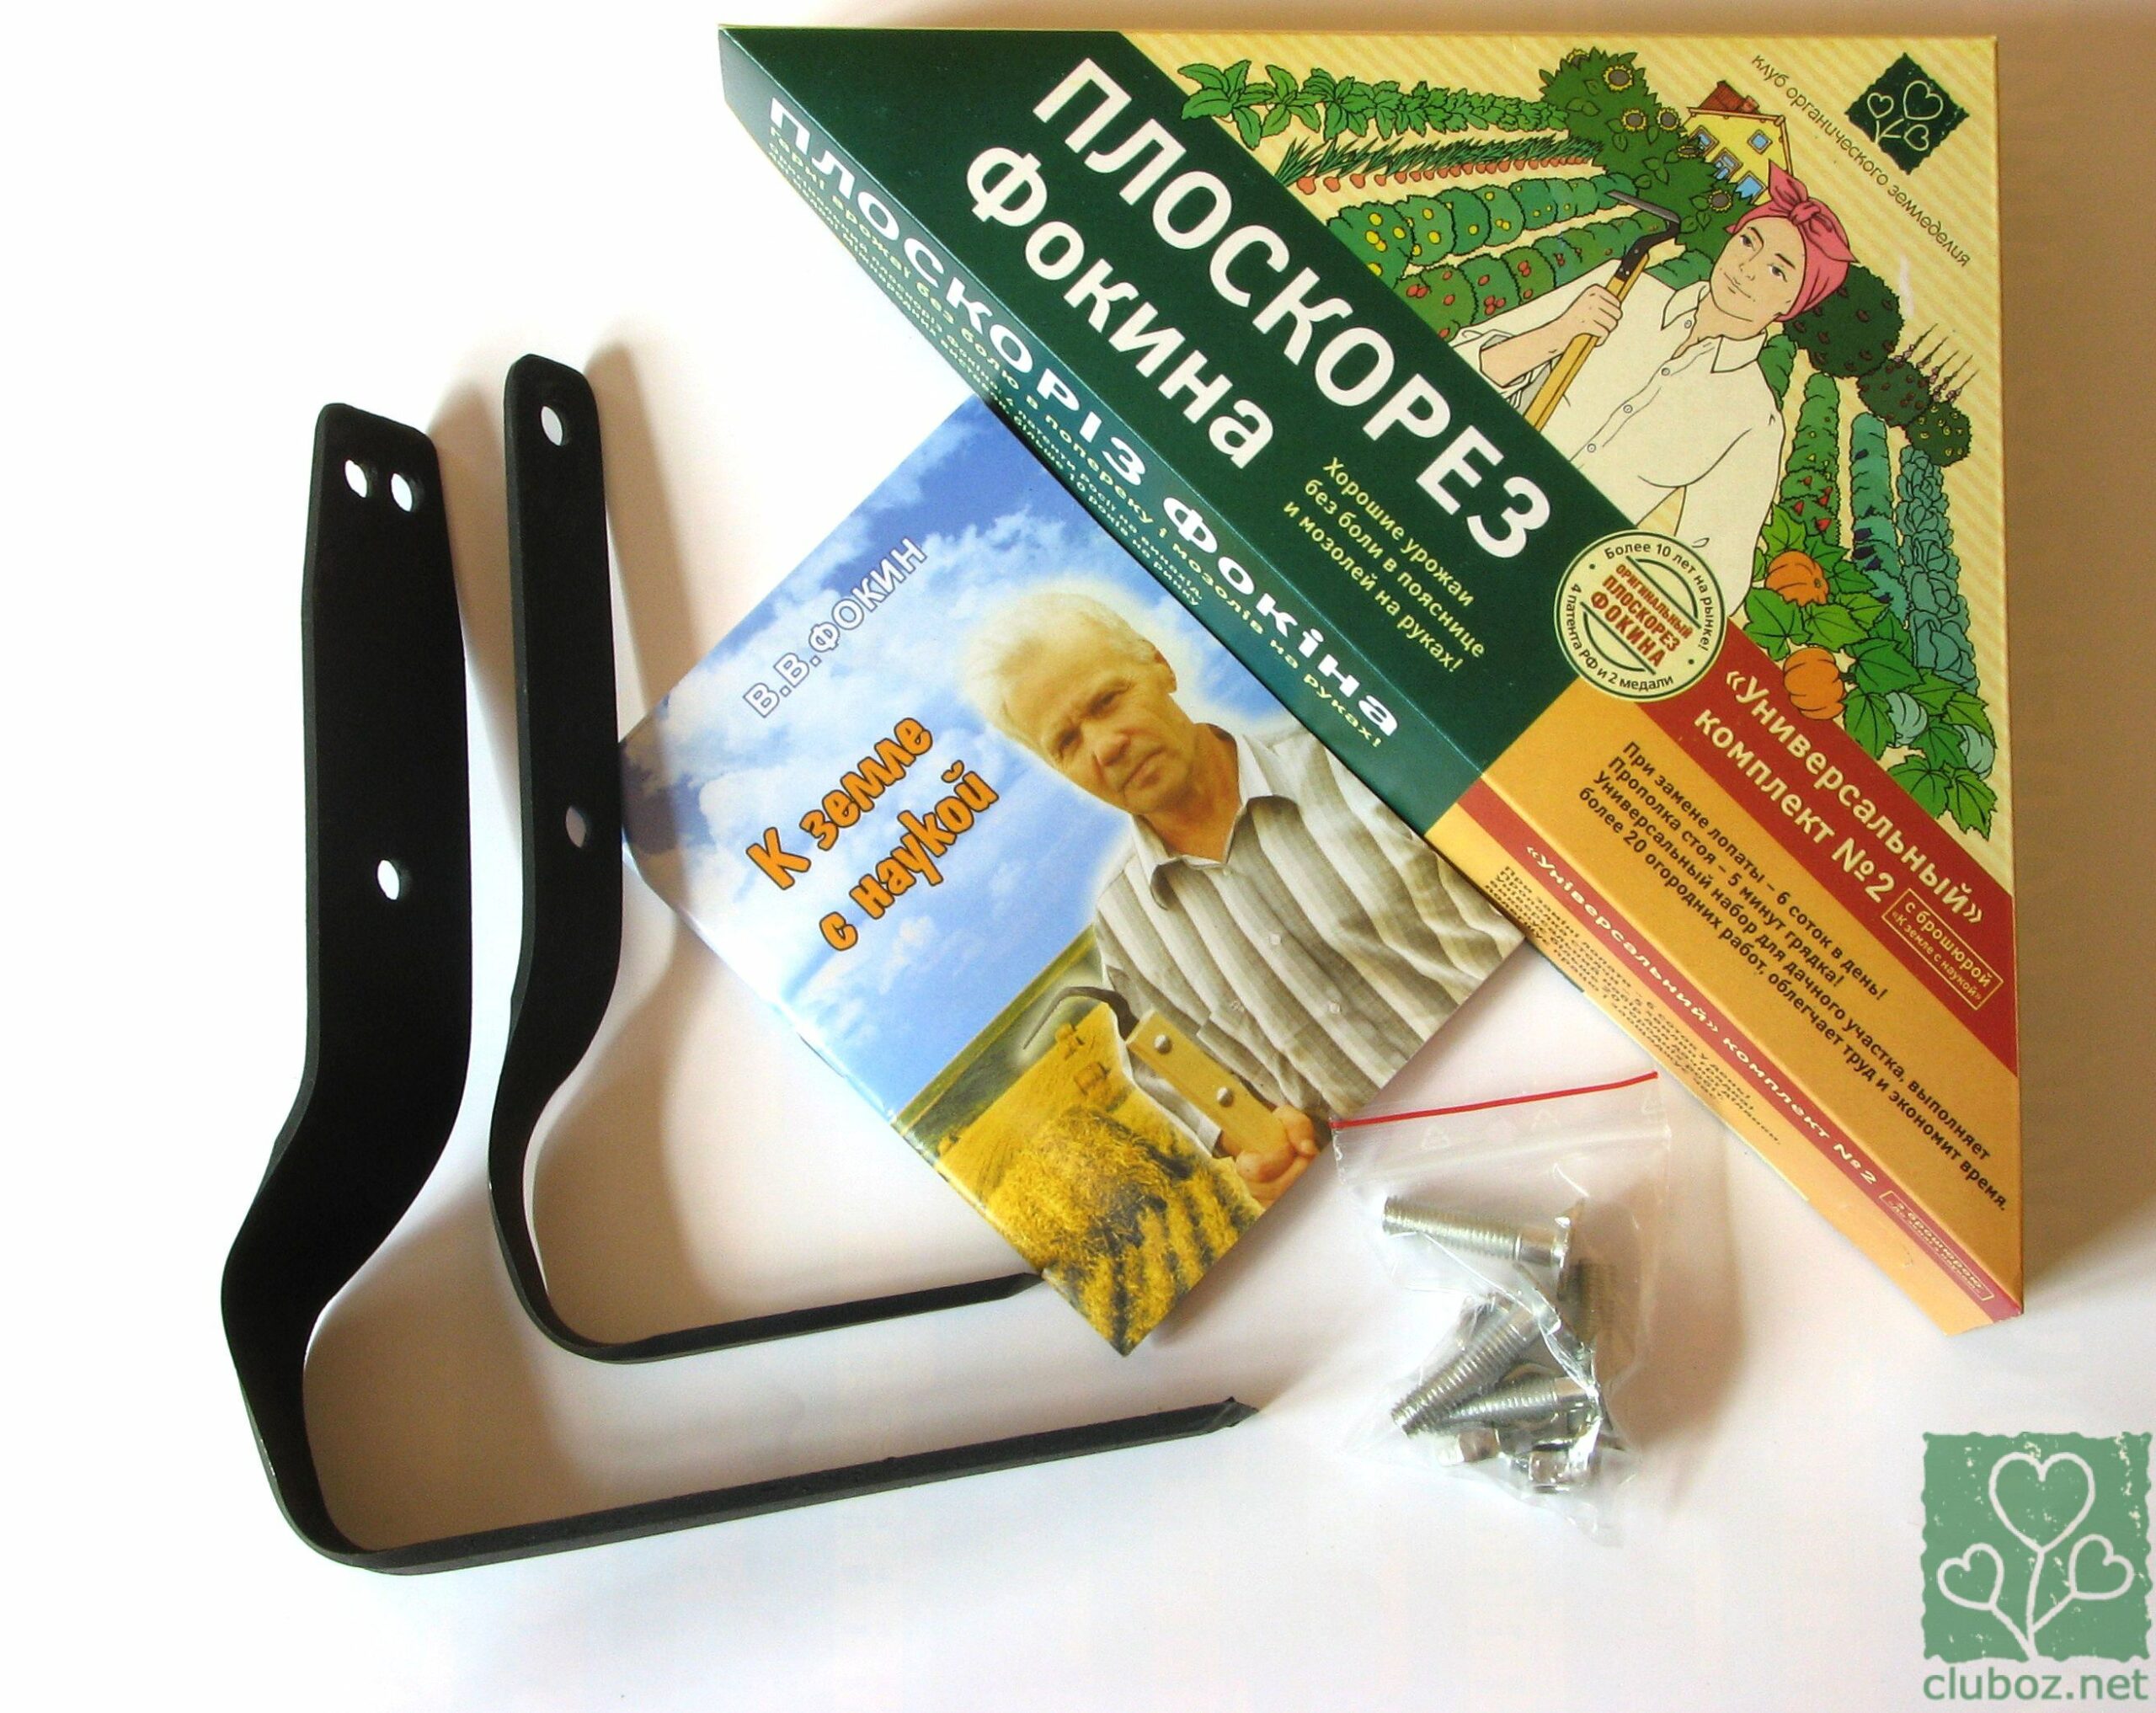
Do-it-yourself Fokina flat cutter
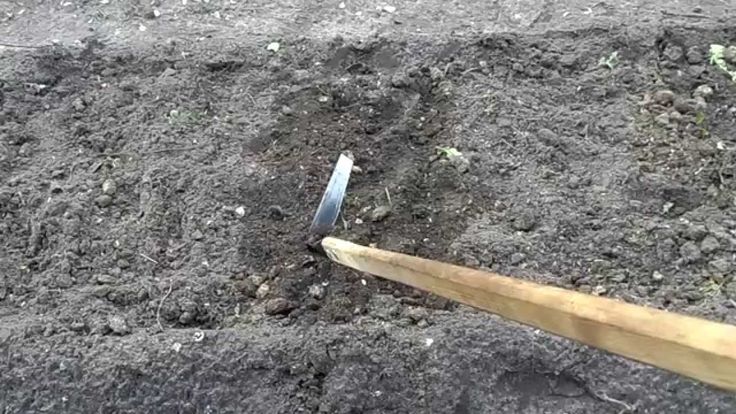
The Fokin flat cutter can be called a unique device: it simultaneously performs the functions of a shovel, a rake, a hoe, and a scythe. They alone can carry out most garden work. Its main advantage and, in fact, its purpose is a blade that plunges to a depth of 2–5 cm, which can cut or pull out weeds.
You can make this tool yourself. First you need to select the material and prepare everything necessary for the work. Then, based on the drawing, make a homemade product.
The content of the article
What is a flat cutter made of?
The material must be selected for the working part (metal) and the handle (wood):
- You need a strip with a width of 4–4.5 cm and a length of up to 40 cm. The material must have excellent wear resistance. It is better not to use simple iron: it will quickly become dull and bend. Either a steel angle that needs to be sawn lengthwise or a car spring 5–7 mm thick will do. The best choice is high-alloy steel, because this material is a “record holder” for durability, resistance to wear and corrosion.
- You can use pine for the handle. It is the most accessible, has a budget price, can be easily processed, but the downside is that it is short-lived, breaks quickly, and becomes covered with cracks. A good choice is birch. Its advantages are durable and affordable.The quality is higher than that of the previous species, the wood is easy to work with, but it requires longer sanding. Birch can be called the optimal choice. Ash is too expensive, although its performance qualities are excellent.
Homemade Fokina flat cutter: instructions and drawing
When manufacturing a universal tool, it is necessary to adhere to the diagram and sequence of steps as much as possible. This will ensure that the characteristics and ergonomics do not differ from the original.

You should prepare:
- electric drill;
- angle grinder;
- hammer;
- blowtorch;
- vice;
- sharpening machine and whetstone.
To harden and treat a future product to protect it from corrosion, you need machine oil. You will also need pliers and two keys - 10*12, sandpaper, fasteners. To process the cutting you will need a plane.
Making a workpiece
High-alloy steel, which is recommended to be used, is characterized by properties such as hardness and brittleness. Before working with it further, it is necessary to “let go” of the material. What is this process?
You should:
- Heat the base with a blowtorch. This is done evenly along the entire length until a burgundy color appears. It is important to prevent the appearance of an orange tint - this is overheating.
- Leave the workpiece to cool. It is better that such treatment is carried out in the summer or in a warm room - this way the cooling will be uniform.
- After complete cooling, you can begin manufacturing - cut off the required length with a grinder, place marks, checking the drawing, where the holes will be drilled, where you will need to bend.
Now it's time for deformation. This stage is very important, because the base must be of the required shape and with the required angle dimensions.To carry out such a manipulation, it should be fixed using a vice, then using a hammer and bending the metal according to the marks. To facilitate the process, you can heat the fold lines - this is done using a blowtorch. Bend angles in degrees:
- first - 95–105;
- second - 110–130;
- the third should be similar to the previous one;
- the latter is adjusted to the handle.
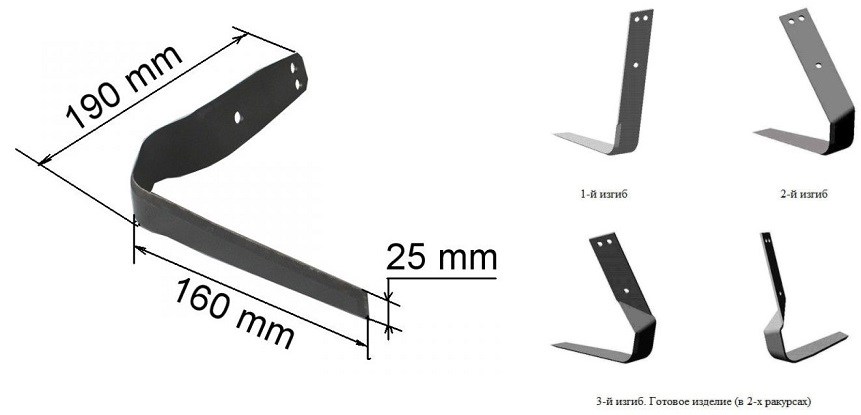
The sequence of the deformation process cannot be disrupted: then the fourth fold will not work.
In conclusion, what remains is:
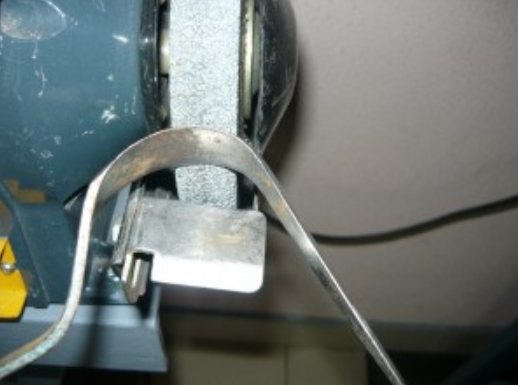
- Create the final shape exactly according to the dimensions indicated on the drawing. For this, a sharpening machine and an angle grinder are used.
- Sharpen. This is done on a machine, and additionally trimmed using a hand sharpener. Both edges should be sharp. Proper sharpening affects further efficiency of use.
- Temper. If you neglect this stage, the tool will become dull faster.
The hardening process looks like this:
- Oil is poured into the container - so much so that the entire base is immersed in it;
- with a blowtorch, uniform heating is carried out until the color is burgundy;
- then quickly (for 2-3 seconds) the workpiece is immersed in oil, removed and after 5 seconds. immerses again (these manipulations must be repeated until the liquid stops boiling at the moment of contact);
- the working part is hung up to cool.
The base should turn black (anti-corrosion protection). After this treatment, the metal becomes more durable.
Making a cutting
First of all, you need to choose the type of wood and decide on the blank for the handle - it should have the form of a rectangular strip - 4.5 cm wide, 2 cm thick.
Wooden part Fokin instrument differs from other devices for working on the site - shovels, hoes.Due to its rectangular shape, it does not slip or rotate in the palm of your hand. The device is more convenient to work with, and there will be no calluses.
You need to start by giving it a characteristic shape:
- The plane is adjusted so that a thin layer is removed. After this, it is used to process the edges along the entire length - with the exception of the part 15–20 cm from the bottom.
- The surface of the handle is treated with sandpaper.
- 15 cm from the bottom in the center, two lines are drawn parallel to each other with a step of 5 mm between them.
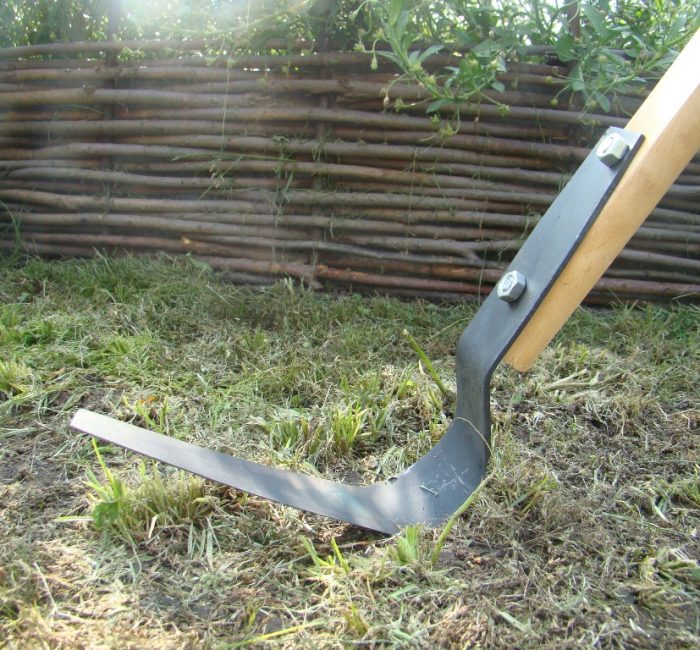
- The working part is applied to the bottom of the handle. It is necessary to align the holes made on the working part with the applied markings. Next, mark one of the holes on the last one.
- A hole is drilled—to do this, a block of wood is placed under the drill—and a bolt and nut are prepared.
- The working part is attached - it is necessary that some of the holes remaining on it align with the drawn line. For fixation, it is better to take large iron washers. When placed between the bolt and the handle, it will be possible to tighten the fasteners more tightly and protect the wood from destruction.
- We drill the handle through a hole located in the metal (working) part.
- Insert and tighten another fastener.
All - flat cutter made and can be used.
The handle of the assembled tool, if positioned vertically, should be 20 cm below the shoulder. It turns out that the dimensions of the handle are individual.