How to repair a plastic and galvanized watering can
Watering cans are used in many garden areas. It allows you to water quickly and efficiently. It happens that equipment becomes deformed and needs to be repaired. The patching process depends on the material from which the watering can is made. Let's take a closer look at this issue.
The content of the article
How to seal a plastic watering can
Before starting work, thoroughly prepare the surface. In order for the gluing to be high-quality, you need to choose a good glue. This will avoid cracks and breaks in the connection area.
First, the watering can is thoroughly washed and dried. There should be no moisture left on the surface. The gluing area is treated with sandpaper. This is required to obtain a rough structure that provides better adhesion.
After sanding, it is recommended to wash the gluing area again. This will remove small particles of plastic. Then the surface is dried.
At the end of the preparation, the watering can is degreased. Then the glue will penetrate deeper into the plastic. It is recommended to use ethyl alcohol as a degreaser. Apply a small amount of liquid to a cotton swab and wipe the gluing area with it.
It was noted that it is necessary to choose the right glue. Its composition should be similar to plastic. Suitable options include:
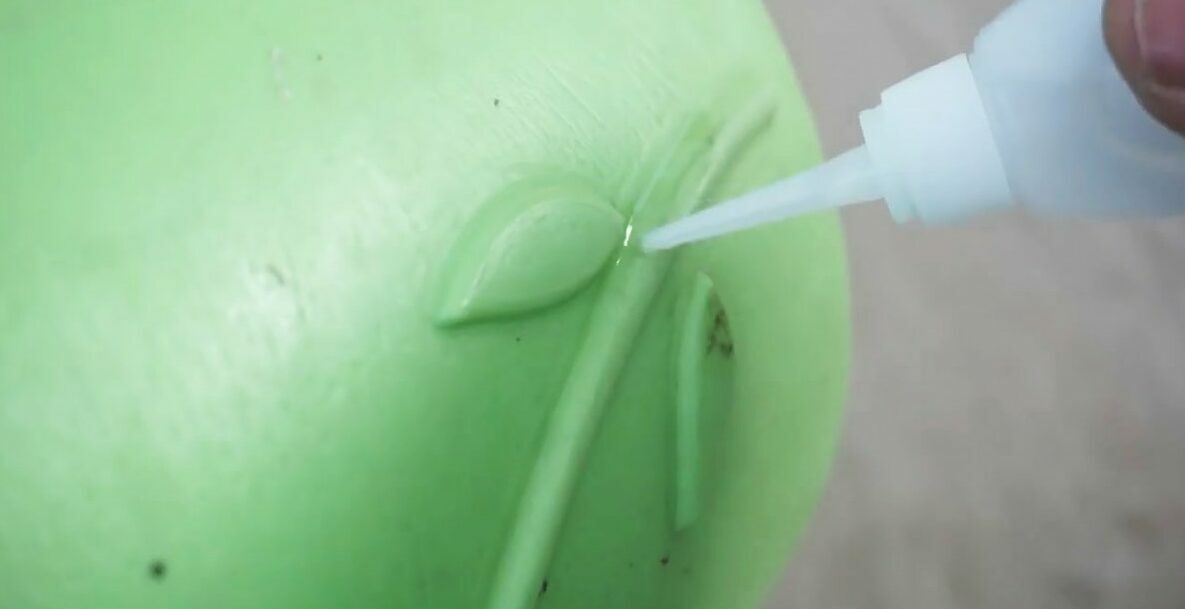
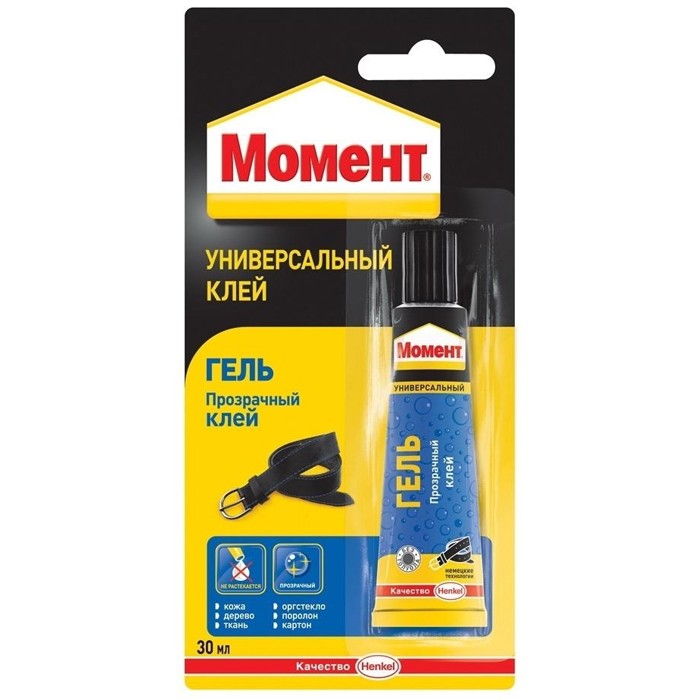
- Glue "Moment" in the form of a gel. It is applied to the desired area and firmly pressed against the fracture site, connecting the parts. It takes 20 minutes to dry.The helium texture makes working with the glue convenient. It does not spread and is applied locally.
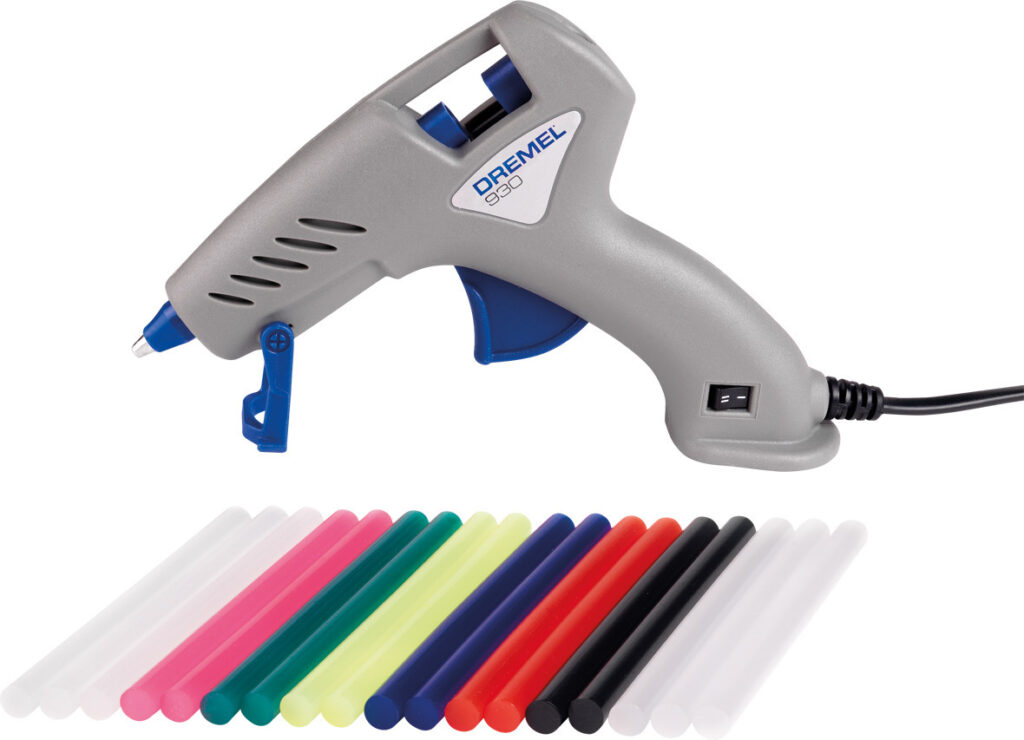
- Glue gun with hot silicone. The device must be connected to the network and wait until it warms up well. The silicone rod becomes liquid and gluing can begin. The composition hardens in 5 minutes. The advantage of this glue is elasticity and strength.
- Epoxy resin. This is a two-component glue, which is a tube in which 2 syringes are connected. At the same time, begin to squeeze out a small and equal amount of both products. Mix them together using a wooden stick. The composition is applied to the fracture site, then it is left for several minutes without bridging the gap. The drying time of such a product is about 12–18 hours, so it is better to secure the gluing area with rope or belts and leave it in this position for the specified time.
Repair of galvanized watering can
A galvanized watering can is repaired in a slightly different way. First, the damaged area is cleaned. Then flux is applied, the soldering iron is heated up and tinning is carried out. Then they start soldering with tin and finally treat the joint with gasoline.
Sandpaper is used for cleaning. The process is carried out mechanically - manually. If the area of deformation is heavily soiled, it can be removed with a solvent. The edges of the area are treated with flux in the form of a paste. The product is applied first to the brush and then to the watering can.
It is necessary to clean the soldering iron tip with sandpaper. Then the tool is connected to the mains and wait until it heats up. Start tinning the iron. Tin or alloy solder is used, and the edges of the watering can tear are processed. This allows them to be coated with a tin layer to protect them from corrosion.Finally, you need to solder the treated area.
Repairing a watering can, whether it is made of plastic or galvanized, is quite simple. In the first case, you just need to choose the right glue and follow the instructions.
If a galvanized watering can needs to be repaired, the process will be a little more complicated. A soldering iron must be used. But if you follow the recommendations, there will be no problems with eliminating defects.
If you can't fix it, you can replace it simple options at hand.