Insulating the ceiling with polystyrene foam in a private house: how to insulate it, how to fasten it
Polystyrene foam is often used to insulate the ceiling. The material is affordable, protects well from the cold and does not take up much space. Other pros and cons of this insulation, as well as installation work, are described in the presented material.
The content of the article
Pros and cons of foam plastic
Polystyrene foam for the ceiling is a common material for insulation, since it provides good thermal insulation and does not take up much space. For comparison, it can be noted that a layer of material 5 cm retains as much heat as other insulation of the same thickness:
- concrete 200 cm;
- brick 85 cm;
- mineral wool 9 cm;
- tree 18 cm.
Along with excellent protection from the cold, ceiling insulation with foam plastic provides a number of other advantages:
- convenience and ease of installation;
- light weight;
- complete security;
- additional sound insulation;
- does not take up much space, which is especially important for low-height ceilings;
- affordability;
- lasts at least 20 years;
- ecologically pure;
- does not absorb moisture.
However, polystyrene foam for ceilings has several disadvantages:
- flammable, releases toxic substances during a fire;
- does not allow moisture to pass through;
- may crumble;
- not resistant to solar radiation;
- may suffer from rodents, but this is not relevant for the ceiling.
Which polystyrene foam to choose
Before you figure out how to attach the foam, you should carefully select its size. One of the main parameters is thickness:
- 100 mm is suitable for treating an uninsulated room;
- 50 mm – optimal for the ceiling;
- 20-30 mm – also for the ceiling (if there is external roof insulation).
As for the dimensions, here you need to focus on attaching the penoplex to the ceiling. There are mainly 3 types of blocks:
- 0.5*1 m – suitable for typical small apartments;
- 1*1 m – for private houses;
- 2*1 m – when working with large areas.
Finally, there is a density indicator. It is related to what kind of room is planned to be insulated. If work is carried out on the ceiling from the inside, 15 kg/m3 is sufficient. For external treatment take 25 kg/m3.
Fastening technologies
The foam is attached in 2 ways - with glue and in the frame. In the first case, it is important to carefully prepare the surface, in the second - to make a frame and secure it. For work you will need the following tools and materials:
- umbrella dowels;
- mixer;
- spatulas for applying glue;
- adhesive composition;
- construction level;
- set of drills;
- knife with a sharp blade.
Glue mounting
Insulating the ceiling with foam plastic in a private house using adhesive technology involves the following steps:
- If the ceiling is flat, it is simply coated with adhesive or putty. You can also use regular tile adhesive.
- Glue is also applied to the foam itself, after which it is secured, moving from the corners to the center.
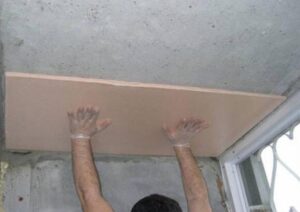
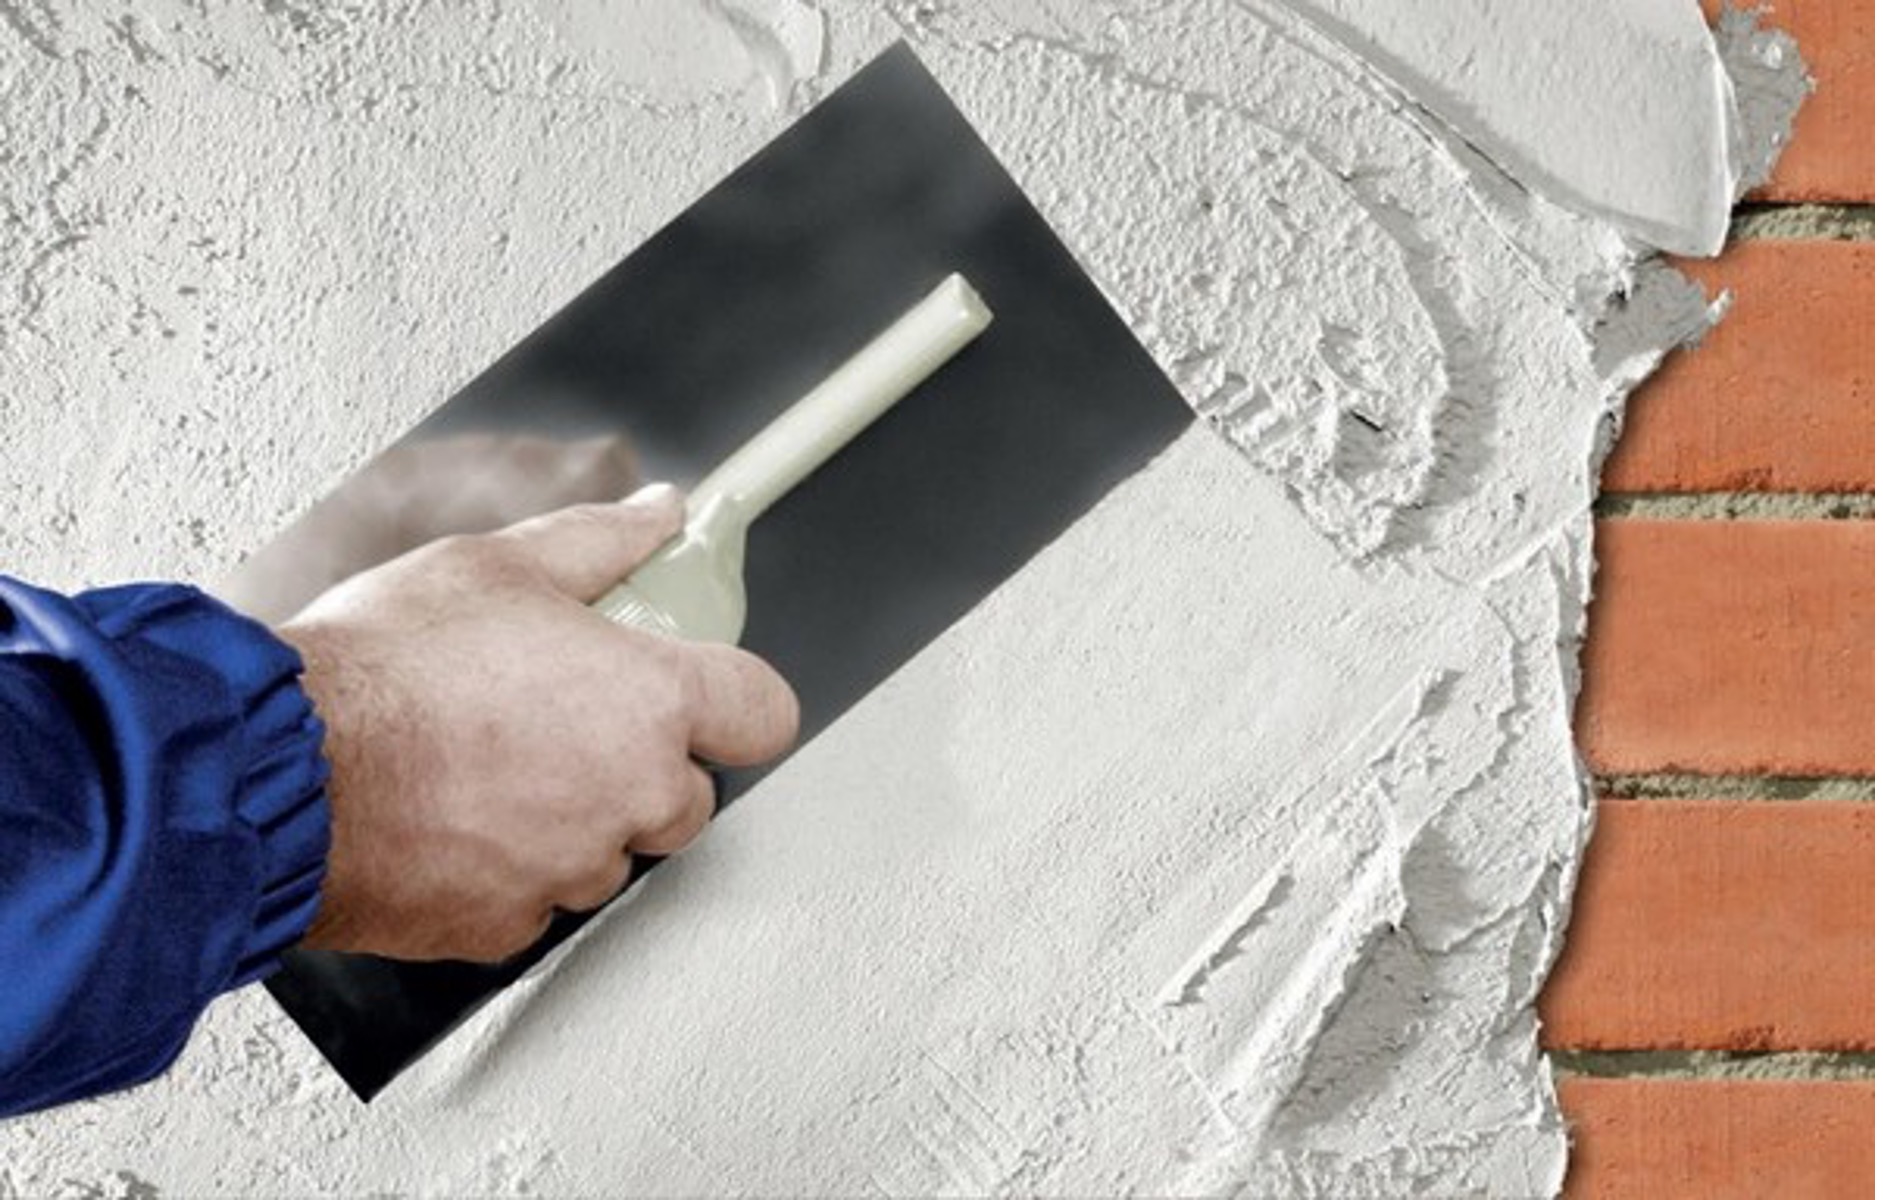
- If the surface is initially uneven, the foam ceiling may look unsightly. It is recommended to prepare the surface, clean it from dust, and then sand it.
Frame method
Another option for insulating a ceiling with foam plastic is to make a frame.The main stages are as follows:
- Clean the surface of old finish.
- If the unevenness is large, plaster and sand.
- Treat with a primer containing an antiseptic.
- After drying, make a wooden sheathing. Together with the slats, you can use a metal profile.
- Using pre-prepared markings, secure it to the surface using umbrella dowels and metal pins.
- Lay polystyrene foam and vapor barrier.
- Then carry out a finishing touch.
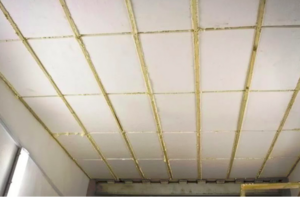
Insulating the ceiling with polystyrene foam is quite simple. This requires only available materials and tools, and you can work independently. Tiles can be simply glued onto flat surfaces. But frame structures are stronger and more durable. When designing, you need to carefully prepare the markings and assemble the grille, securing it to the ceiling.

