Installing drywall on the ceiling
In the modern world, the construction market offers many methods and a huge range of materials for finishing the ceiling. They all have their pros and cons, and it is sometimes very difficult to understand all the nuances. Often the choice is made based on practicality, personal aesthetics and budget. But there are situations when installing drywall (or gypsum board - an abbreviation for “plasterboard sheet”) on the ceiling becomes the only option for finishing the surface.
The content of the article
The advantage of a plasterboard ceiling
With certain restrictions on the use of this material, plasterboard construction is indispensable for:
- obvious serious defects in the ceiling: it is more economical to sheathe an uneven surface than to level it with plaster mortar, and even on such a surface;
- the need to hide eye-catching communications - ventilation ducts, ceilings, beams, cable bundles;
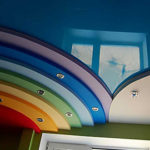
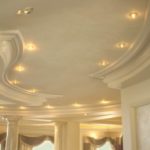
- embodiment of the design idea - the sheets are plastic and allow you to create elements of complex shape;
- sound insulation needs are an excellent solution, especially in apartments with high audibility;
- forming a flat ceiling under the tiles - moisture-resistant gypsum plasterboard with antiseptic additives will serve as an excellent basis for laying ceramic tiles even in bathrooms.
Tools and materials
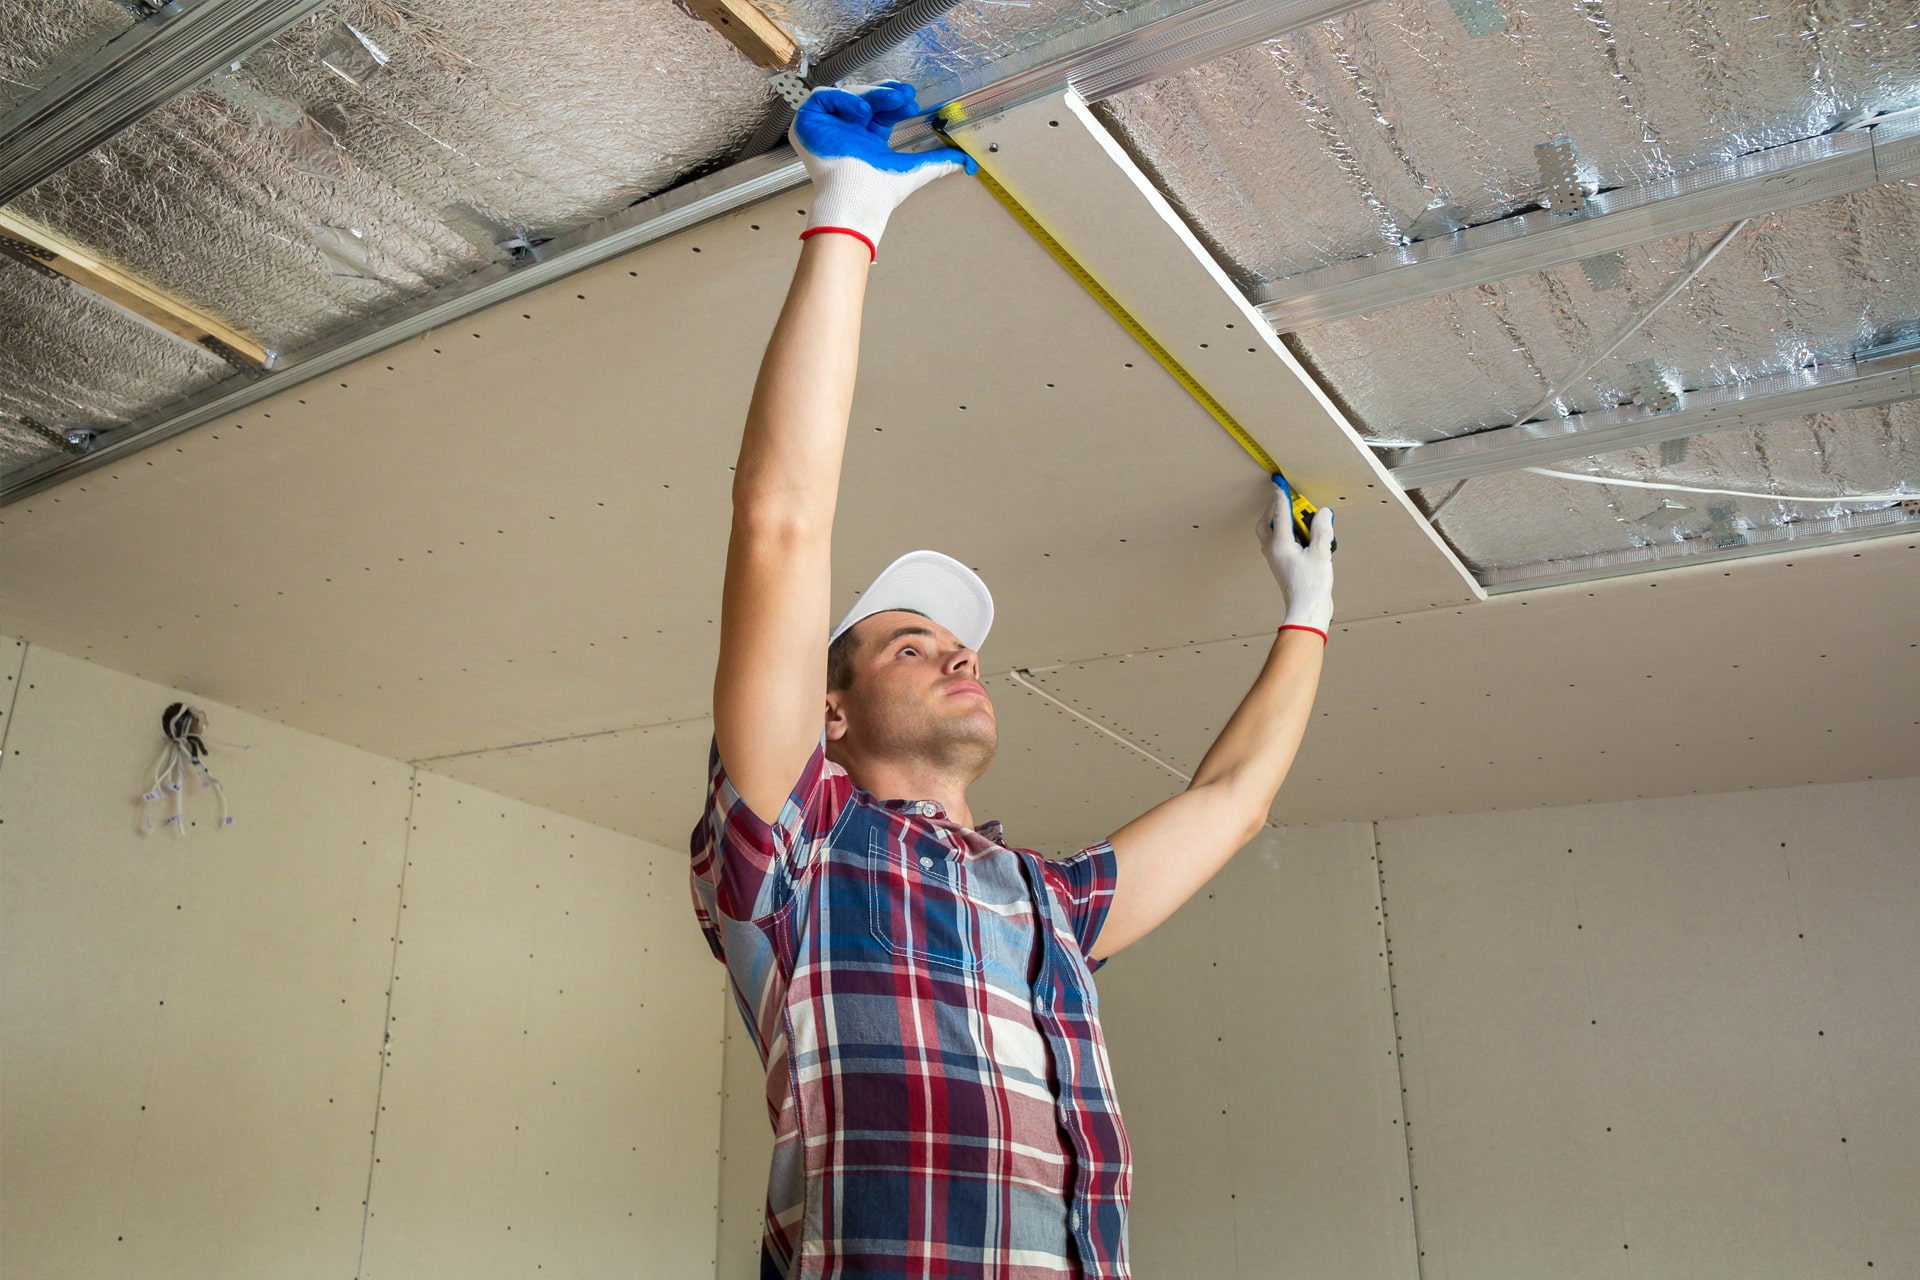
Work on covering the gypsum board ceiling begins after preparing the walls (putty/plaster). After this, measurements of the room are taken and the amount of materials is calculated. To save material consumption, decide how it is more profitable to lay the sheets: lengthwise or crosswise.
Materials you will need:
- GKL (recommended thickness of at least 12.5 mm, dimensions of a standard sheet - 2.5 × 1.2 m);
- Profile: guides - PPN 0.6mm, for sheathing - PP 0.6mm;
- Suspensions: anchor - allow adjustment of the finished metal structure in height, straight - their height is selected during the installation process;
- Sealing tape.
- Fastening and connecting elements: “crabs”, extensions, dowel-nails, self-tapping screws for drywall and with a press washer.
- Reinforcing mesh.
- Putty, primer.
- Protective equipment: glasses, gloves.
Tools:
- perforator;
- screwdriver;
- metal scissors;
- construction knife;
- level;
- spatula, construction float.
Installation
Before starting work, large cracks in the ceiling are first puttied, then the entire surface is treated with a primer and an antiseptic. Let's get to the fun part - installation.
Profile
The procedure is approximately this:
- We find the lowest section of the ceiling and set the height of the structure; add the height of the lamp to the result. Using a level, we draw a horizontal line corresponding to the perimeter of the ceiling along the walls at a given height.
- We attach the PPN along the line (the number of dowels on one piece must be at least three), and glue the sealing tape from the inside to the profile.
- We mark the ceiling for the profiles: the step width of the main PP should correspond to the width of the plasterboard sheet.
- We fasten the hangers along the supporting profiles with a step of 50 cm and a distance of 25 cm from the wall.
- We fix the longitudinal PP, taking into account the 10mm difference with the length of the room (prevention of gypsum board instability from humidity), and fix it with hangers.
- We install “crabs” on the main profile with a step of 50 cm and a distance of 10 cm from the wall.
- We form a lattice: we fix the transverse PP with “crabs” using self-tapping screws.
Installation of gypsum boards
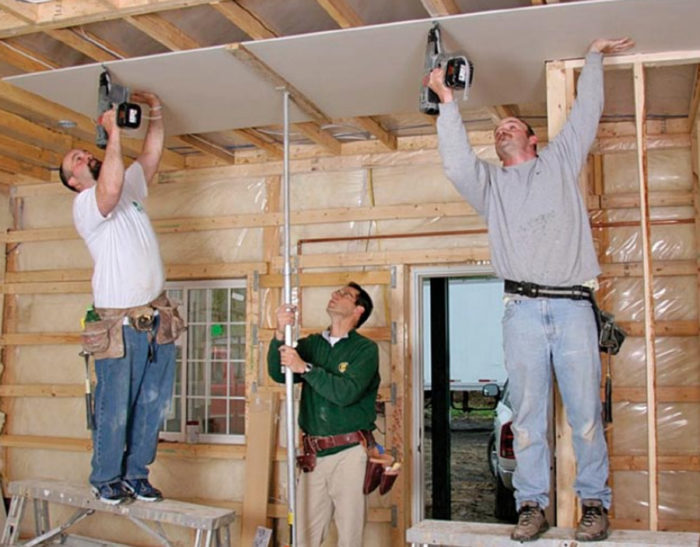
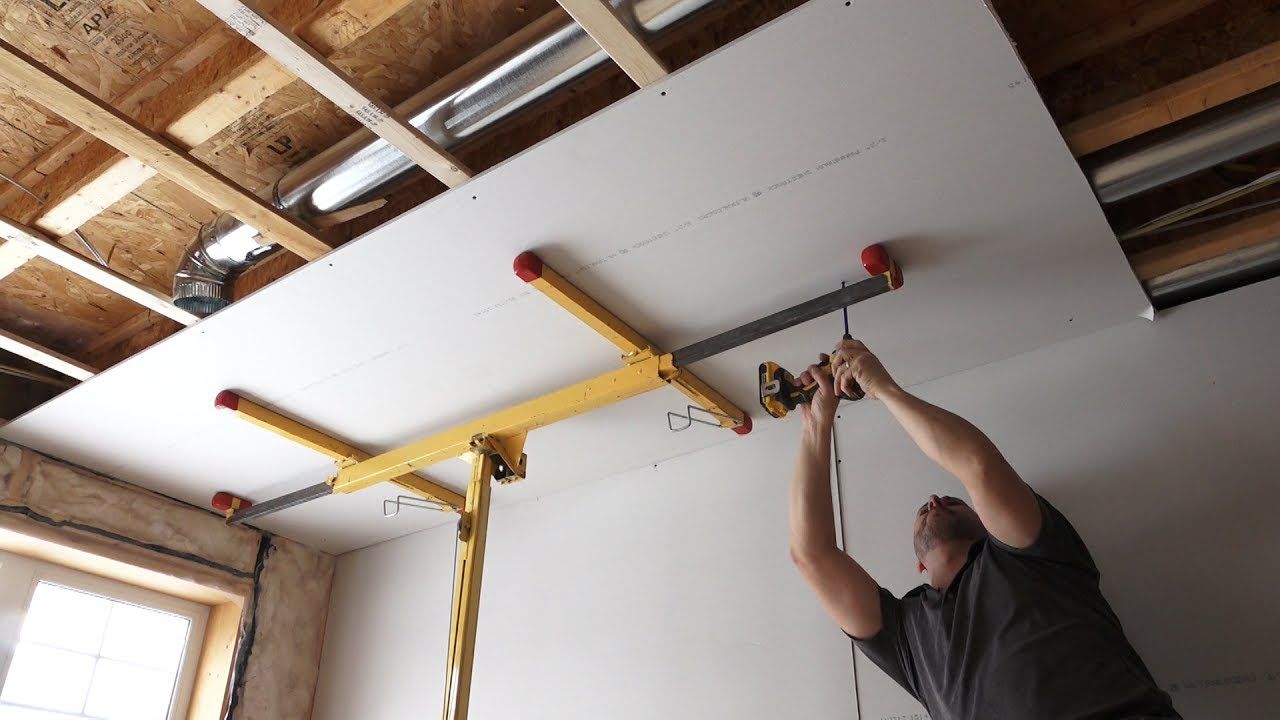
Attaching sheets is labor-intensive, you will need an assistant. Without it, no matter how hard you try, it will be very difficult. Drywall is attached to the frame using self-tapping screws with a pitch of approximately 15 cm around the entire perimeter and a distance of 5-10 mm from the wall. Pay special attention to the fact that the fastener heads must be recessed into the sheet at a right angle by 1 mm. The sheets are arranged like this: after laying the first row, move on to the second, but in the opposite direction (checkerboard order).
Preparing the surface for finishing
We are done with this difficult but very exciting task; we can prepare the ceiling for further finishing work:
- prime joints and seams;
- fill the cracks and screw heads with putty;
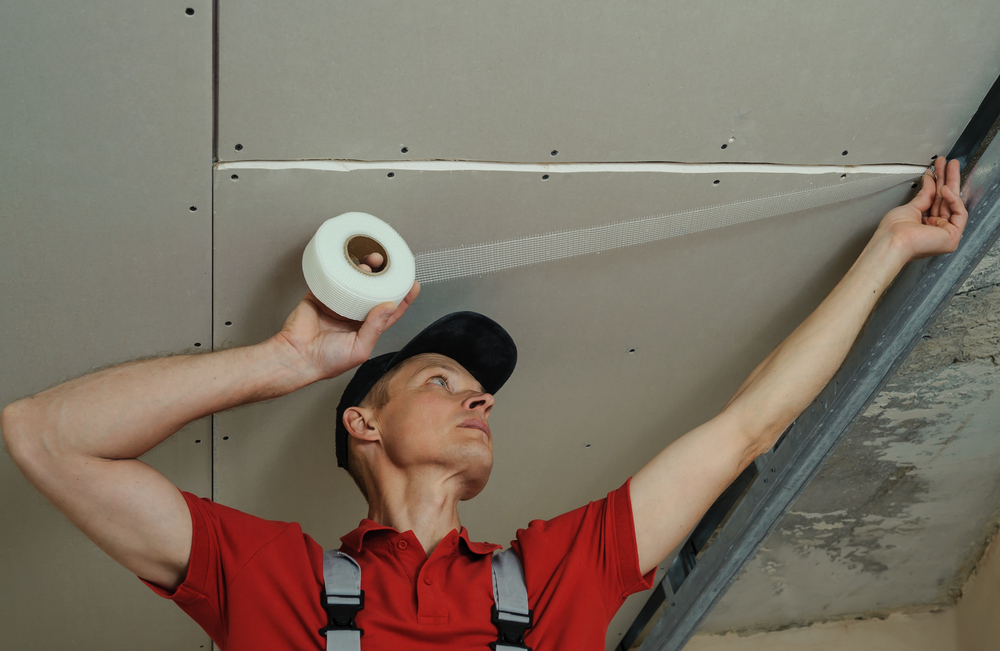
- we lay serpyanka (for those who don’t know, this is a kind of reinforcing mesh);
- putty again;
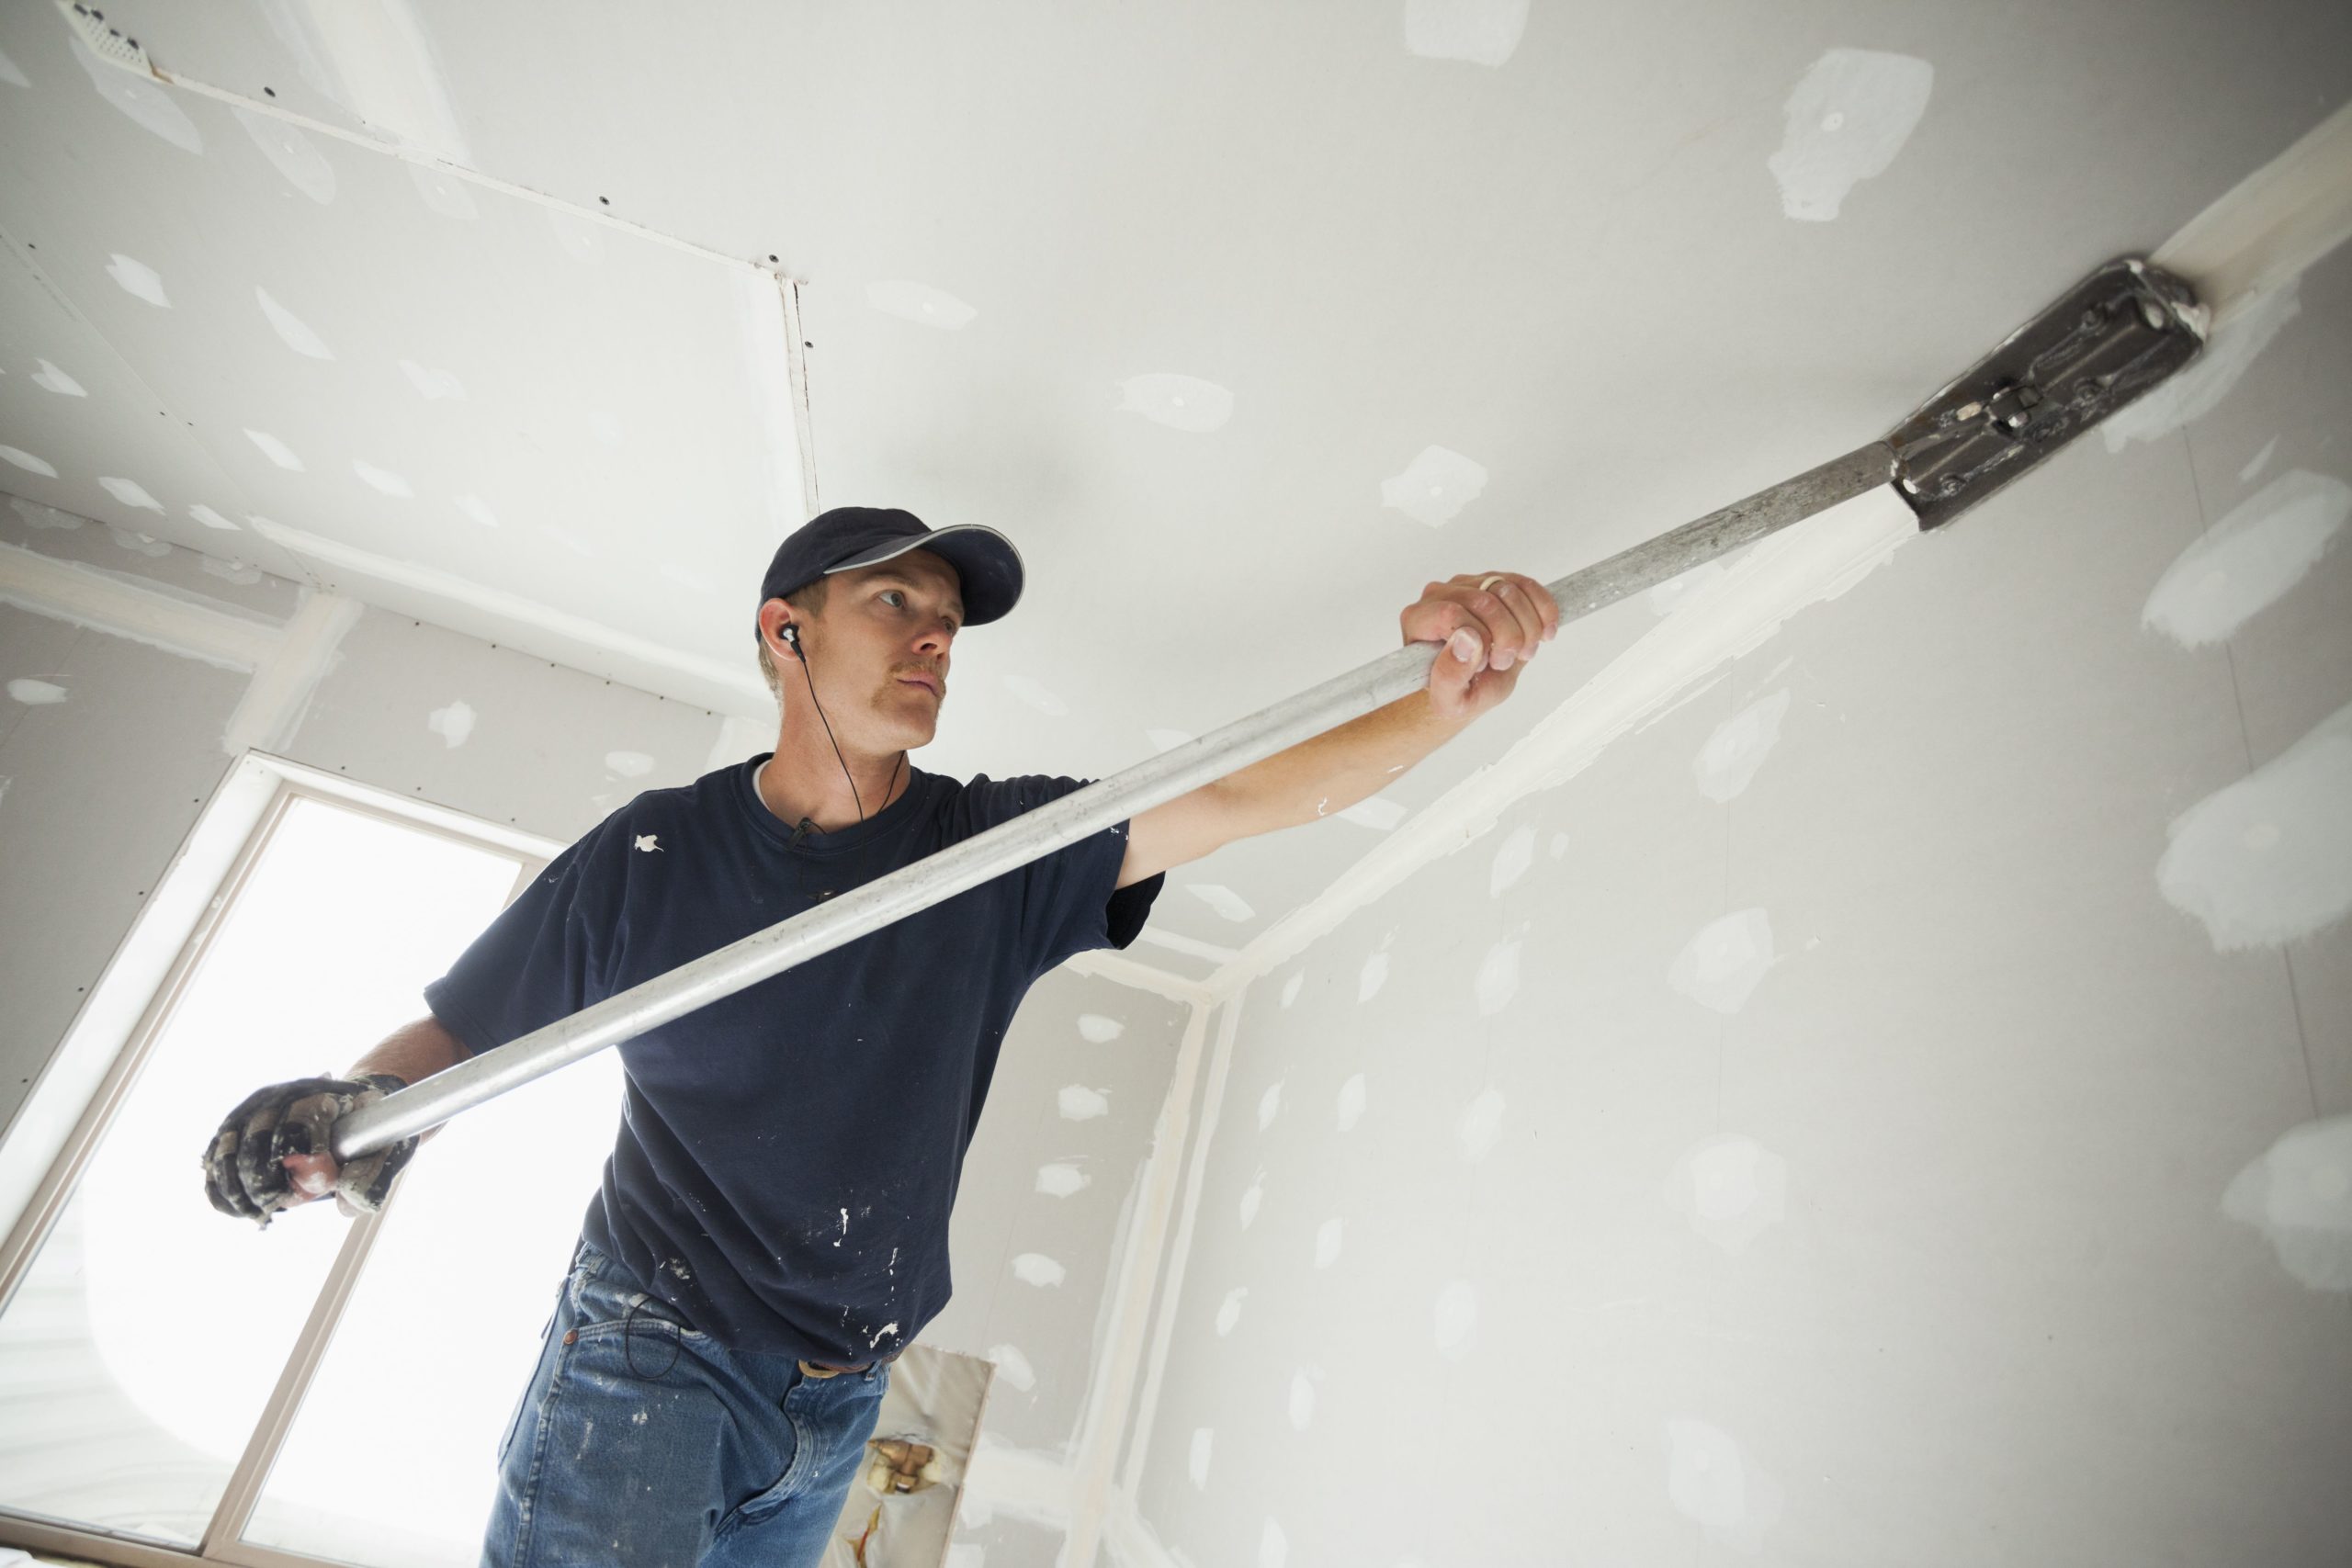
- After drying, smooth it with a float.
Additional components
When installing a plasterboard ceiling, additional work may be required.
Soundproofing
Mineral wool sheets are used to reduce noise levels. They are laid between the base and the ceiling at the stage of completing the installation of the metal sheathing. Laying is done tightly, without sagging parts into the cells. If the cavities are not filled with mineral wool, you will more than once remember with a kind, quiet word the neighbors above (if there are any).
Lighting
Electrical connections must be made at the planning stage. Upon completion of laying the drywall, holes for the lamps are made using a core drill.
Installation errors
Beginners can make annoying mistakes when working:
- non-compliance with the chess order - the joining seams will coincide;
- close location of the screws to the edge of the sheet - if the temperature changes, the gypsum will rupture;
- weak, strong, oblique fixation - a bulge will form under the putty or the plaster will crumble;
- incorrect cutting of sheets - they cut the top layer of drywall with a construction knife, and then simply break it, this is fraught with an uneven break;
- ignoring the front and back sides will complicate puttying.
Having mastered the basic technology of installing a plasterboard ceiling, you can begin more complex multi-level structures, and interesting, creative finishing and lighting will make your creation a masterpiece on a family scale.

