String beacons for screeding, pouring heated floors: how to install them yourself
Creating a perfectly level and durable floor requires careful preparation and precision. Especially when it comes to pouring heated floors. String beacons for floor screed are one of the most reliable ways to ensure perfectly flat surfaces. In this article we will look at how to correctly place beacons for pouring a floor. We will tell you all the secrets so that you can do this work yourself, guaranteeing high quality and durability of the coating.
The content of the article
Preparing the base
Before placing beacons for floor screed, it is important to carefully prepare the base. Preparing the base is a critical step before starting floor screed work. It requires special attention and accuracy. First of all, you need to make sure that the surface is clean, dry and free of any defects. It is important to remove cracks, chips or swelling. This ensures reliable adhesion of the screed to the base. This also prevents possible deformations in the future. To begin with, it is recommended to thoroughly clean the surface of dust, dirt and construction debris using a vacuum cleaner or broom.
The base should then be inspected for cracks or other damage. Small cracks can be repaired using special repair mixtures.And if serious defects in the base are detected, it may require deeper treatment or even replacement of individual sections. After all defects have been eliminated, the surface is treated with a primer; this not only improves the adhesion of the screed, but also prevents the absorption of moisture, which is especially important when laying heated floors. The primer should be applied in accordance with the manufacturer's instructions. It is important to ensure uniform coverage of the entire surface. Preparation of the base is the key to the durability and quality of the entire floor structure, so this stage should be treated with maximum responsibility.
Selection and installation of beacons
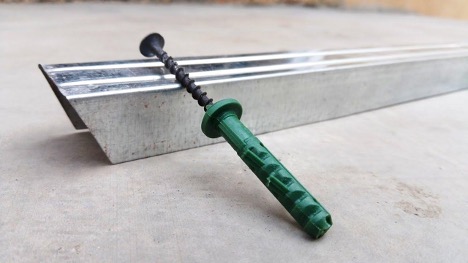
String beacons for floor screeds are strong threads or wires stretched between fixing elements. Here are the basic steps to install them:
- Determining the screed level. First you need to determine the desired level of the future floor. To do this, you can use a laser or water level.
- Installation of reference points. Support marks are installed on the walls of the room, which will serve as a guide for tensioning the strings.
- String tension. Strings are stretched between the support points, which will serve as beacons for applying the screed.
Installing beacons under the screed requires attention to detail and precision, since the final quality of the floor depends on their correct location.
Pouring a heated floor with beacons
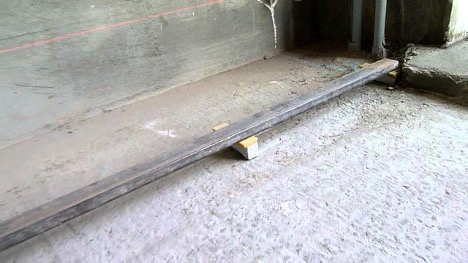
Pouring a heated floor with beacons begins with careful preparation and planning. First of all, it is necessary to set the beacons at the required level, which will correspond to the final floor height. This is done in order to ensure the most even base for pouring.It is important to take into account the thickness of the thermal insulation layer and heating elements so that the beacons are located at the optimal height. Using a laser or water level, you can achieve high accuracy in placing beacons, which is critical for the quality of the entire structure.
This is followed by laying thermal insulation and installing a heated floor system. The thermal insulation layer prevents downward heat loss, which increases the efficiency of the heated floor. After laying the thermal insulation, heating mats or cables are installed, which must be securely fixed to the base. It is important to ensure uniform distribution of heating elements over the entire floor area to avoid overheating of individual areas.
After installing the heated floor system, the screed itself is poured. The screed solution must be thoroughly mixed to a uniform consistency and poured between the beacons, forming an even coating. Using rules or long slats helps distribute the solution evenly, following the level set by the beacons. It is important to carefully smooth the surface of the screed, removing air bubbles and achieving the required smoothness and evenness. After pouring the screed, it must be given time to dry, which may take several days depending on the thickness of the layer and the conditions in the room.
Do-it-yourself screed for beacons
In order for the beacon screed to be done efficiently with your own hands, you must follow several rules:
- Use a high-quality solution that matches the type of floor and the requirements for it.
- Carefully leveling the solution along the beacons, using a rule or a long level will help achieve ideal evenness.
- After pouring the screed, it is necessary to give it enough time to dry, while avoiding drafts and sudden changes in temperature.
How to check the quality of a screed using beacons
To check the quality of the screed using beacons, you need to follow a few simple steps that will help you evaluate the evenness and strength of the resulting coating. The process involves using construction tools and knowing the key points to look for during the inspection.
- The most reliable way to check the evenness of the screed is to use a building level. It is necessary to apply it to the surface of the screed in different places, especially along the beacons. The level should show a uniform position along the entire length without significant deviations.
- Carefully inspect the surface of the screed for cracks, potholes or waves. A well-made screed should be smooth and uniform without visible defects.
- The strength of the screed can be checked by lightly tapping its surface. The sound should be solid and dull over the entire area with no signs of voids under the screed. Voids may indicate insufficient adhesion to the substrate.
- Using a tape measure or ruler, check whether the thickness of the screed matches the pre-planned parameters. It is important to make sure that the thickness of the screed is the same in all parts of the room.
- For a more accurate check of evenness, you can use a laser level. It will allow you to quickly determine the presence of deviations from the horizontal in large areas.
These simple methods will help you ensure the quality of the screed and avoid possible future problems associated with uneven floors or other defects.
Conclusion
How to install beacons for pouring a floor is not as complicated a process as it might seem at first glance. Maintaining precision and accuracy in work allows you to achieve optimal results. And this way you can guarantee the durability of the heated floor. Remember that how to install screed beacons is only the initial stage in preparing a high-quality foundation for floors, and its importance cannot be overestimated. Properly installed beacons will facilitate the pouring process and provide a perfectly even coating that will delight you for many years.


