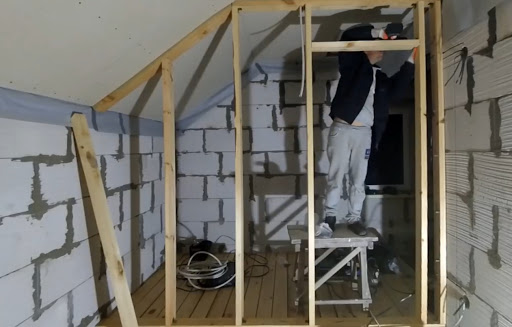
Attaching the partition to a sloping ceiling
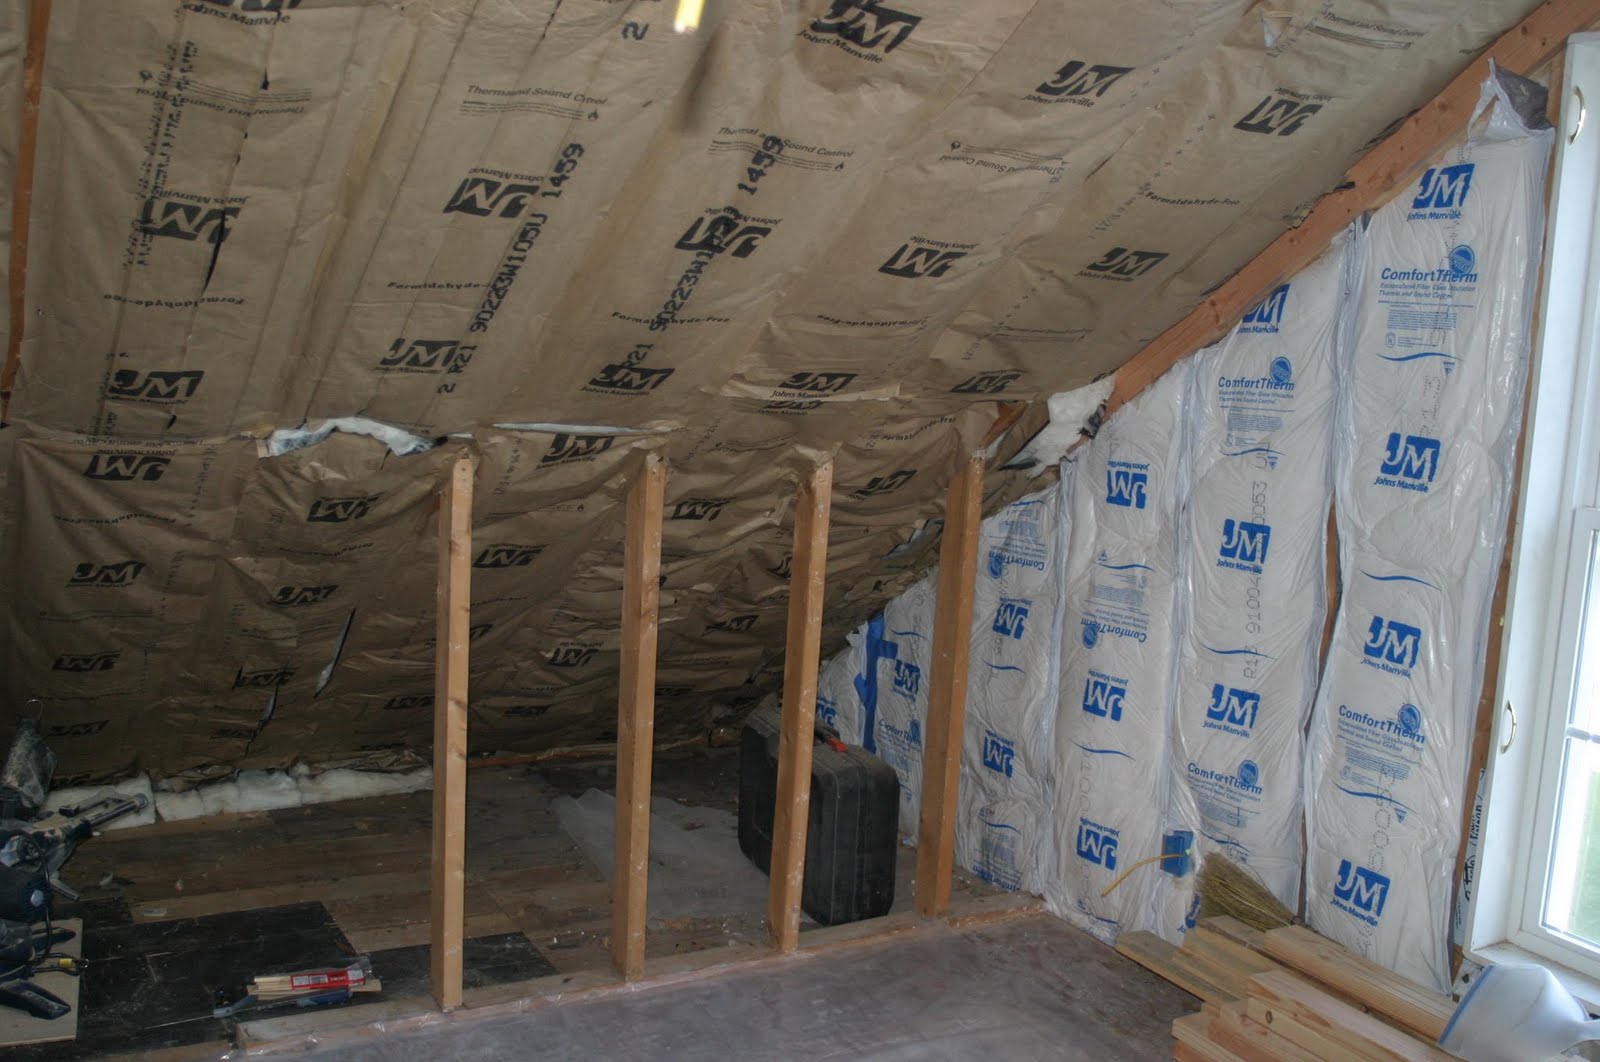
Owners of houses with an attic face the problem of finishing sloping ceilings. It is there, on the sloping roof planes, that difficulties arise. Finite the result depends on the quality of preparation surfaces. There is no single way to cover a sloping ceiling, but now we will look at the most common and convenient for further work with ceiling surfaces.
The content of the article
Installing drywall to a sloping ceiling
The process is labor-intensive and requires special care. Some knowledge of finishing methods is required to obtain a reliable and durable coating.
The sloping ceiling is the highlight of the entire room. A specialist has no right to spoil the appearance of a room with poor-quality fastening.
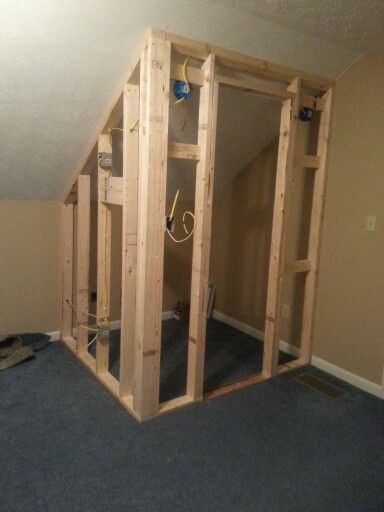
Installation of a rigid frame
First of all need markings. For this we use laser and water levels. As a last resort, use painter's cord.
- We mark the horizon line where the inclined planes will be leveled, for example under the ridge of the roof.
- First, we lay hidden communications (wiring, etc.) in this place.
- We beat off horizontal lines.
- Throughout the markings fix the hanging profile, then rack-mounted, orienting it along the stretched cords.
- If you plan to install a ceiling light, leave some free space. The easiest way is to cut it on an already installed profile.
- We apply markings for the guides.
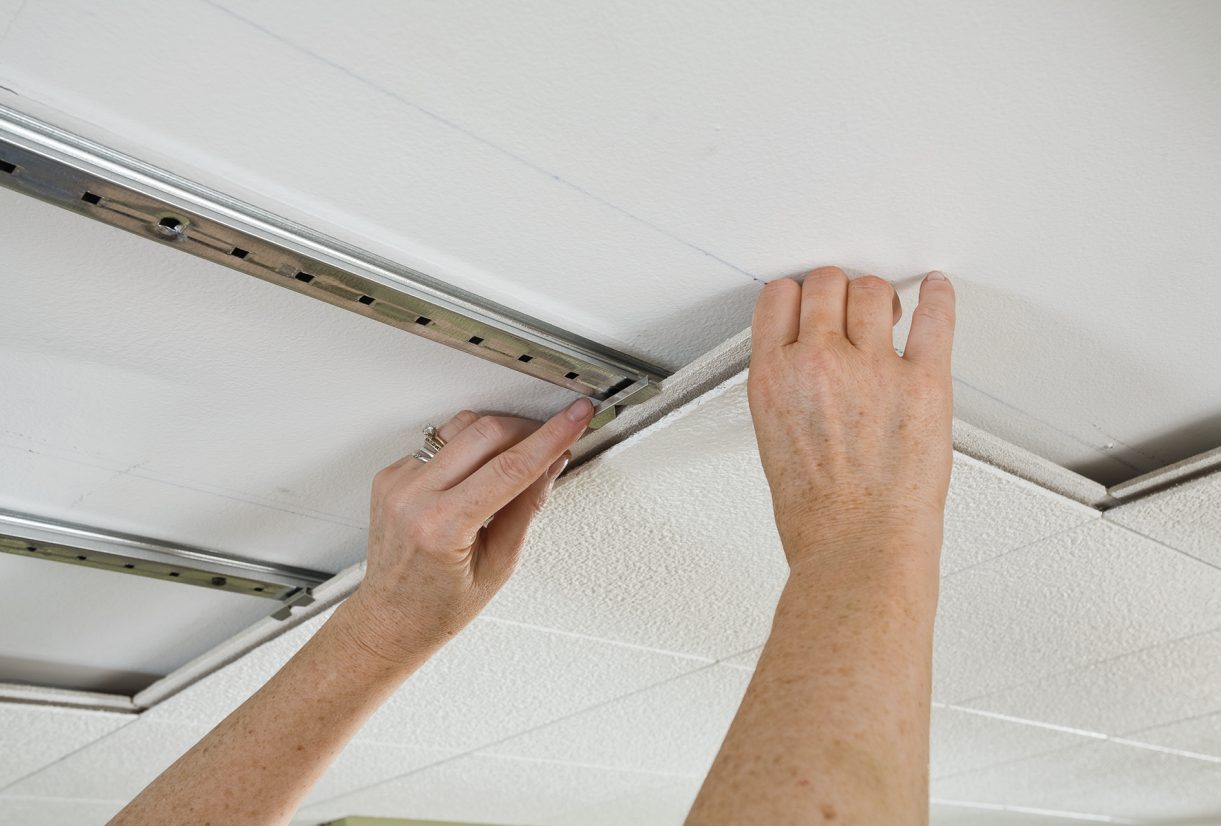
- We install the profile along the drawn lines, choosing a ceiling anchor dowel for fastening.
- After the horizontal profile is installed in the center, we begin installing the guides on the inclined surface.
- On a straight ceiling mark the line of mating of plasterboard sheets.
In this case, you need to remember the long rule. The plane is calculated taking into account the margin for the thickness of the CD profile.
- The marking is made in multiples of half the GC sheet; guides are set using these values (with this approach, the joints will fall on the center of the profile).
- Optimal distance - no more than 1 meter, to be more precise, with a sheet width of 120 cm and installing the profile in the center, we get figures of 60 cm.
- Guides are installed along the entire inclined surface. To increase the length, profile extensions are available for sale.
- We draw lines in the center with a marker as a guide for installing the sheets.
- We also apply markings for installing the transverse profile. Together they form a cellular lattice. His mounted using brackets - crabs.
There should be the same distance between the transverse and long profiles.
Installing hangers
They are necessary for high-quality fastening of ceiling guides to straight and inclined surfaces.
- The gap between them is no more than one meter.
- A cord is pulled between the first and last to align all profiles.
- Suspensions mounted on an inclined wall and ceiling guides, bending back the excess length.
- The crabs are placed in the designated places, the transverse section is secured in the guides and snapped into place with tabs.
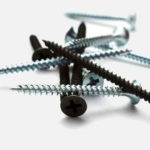
- After the final installation of all the sections, the crab flags are secured with self-tapping screws.
Fastening the brackets taking into account the formation of equilateral cells of 60*60 cm greatly increases the rigidity of the entire frame as a whole.
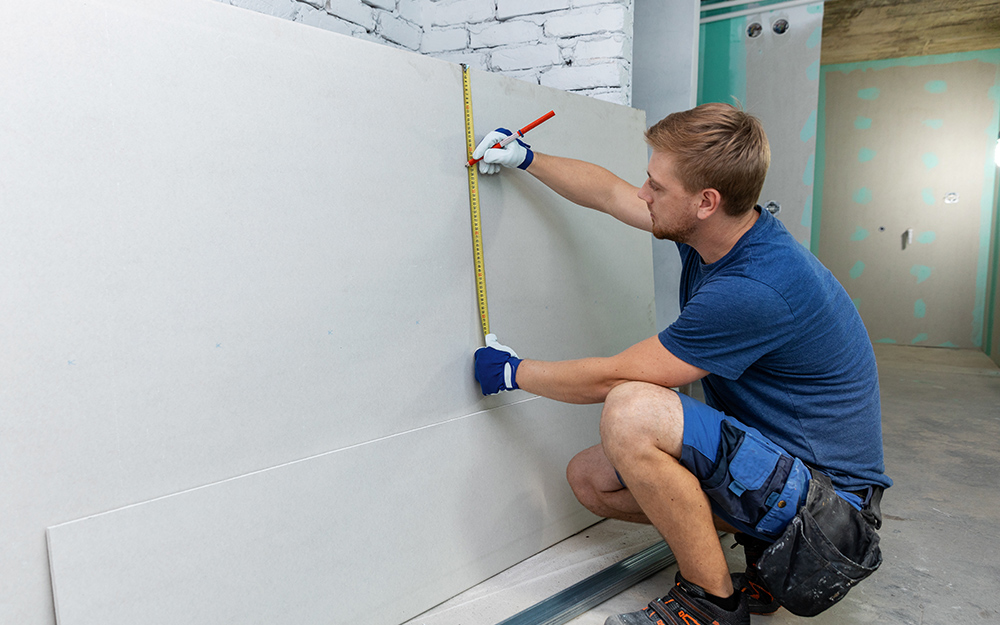
Drywall installation
The prepared sheets are attached from the inclined part, carefully aligning the edges with the lines drawn in the center of the guides. The distance between fasteners should not exceed two meters, ideally - 1.5 m. The screw caps are completely buried in the material, but not too deep so as not to violate the integrity of the gypsum board.
This is not at all necessary, but it makes the work much easier: mark the fasteners on the gypsum board.
After installing the sheets on the inclined surface, we proceed to the horizontal one. To make work easier, wooden stops are made that resemble a mop in design. With one end resting on the floor, the other - wide and flat - props up the sheet on the ceiling. Thus, it is possible Easy to do with two people (or even alone if the room is small). Attaching to the frame is similar to working with inclined areas.
Finishing the partition
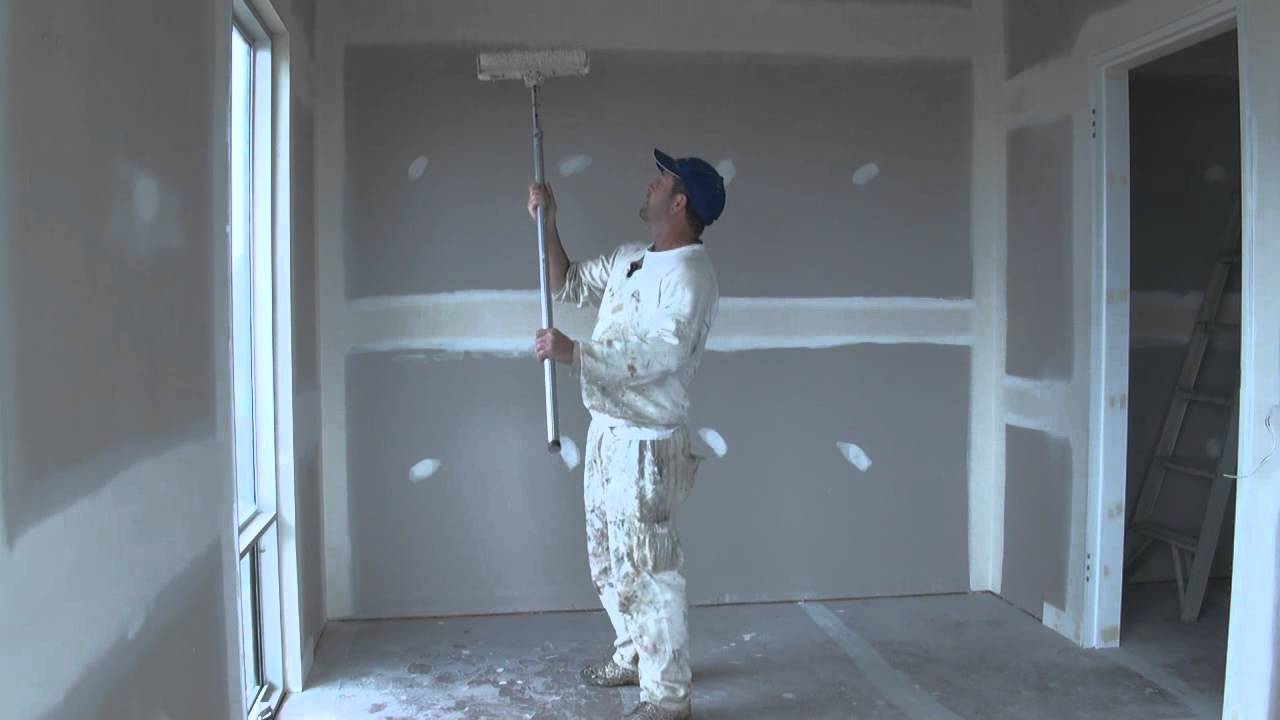
Finally, check that all the screw heads are screwed in completely, otherwise they will interfere with further finishing work. After that All that remains is putty, seam closing and decorative treatment. In turn, it may include:
- applying plaster;
- painting;
- wallpapering.
Now you know how to correctly attach a partition made of gypsum board sheets to a sloping ceiling. The process is not too complicated, but requires excellent concentration and accuracy.