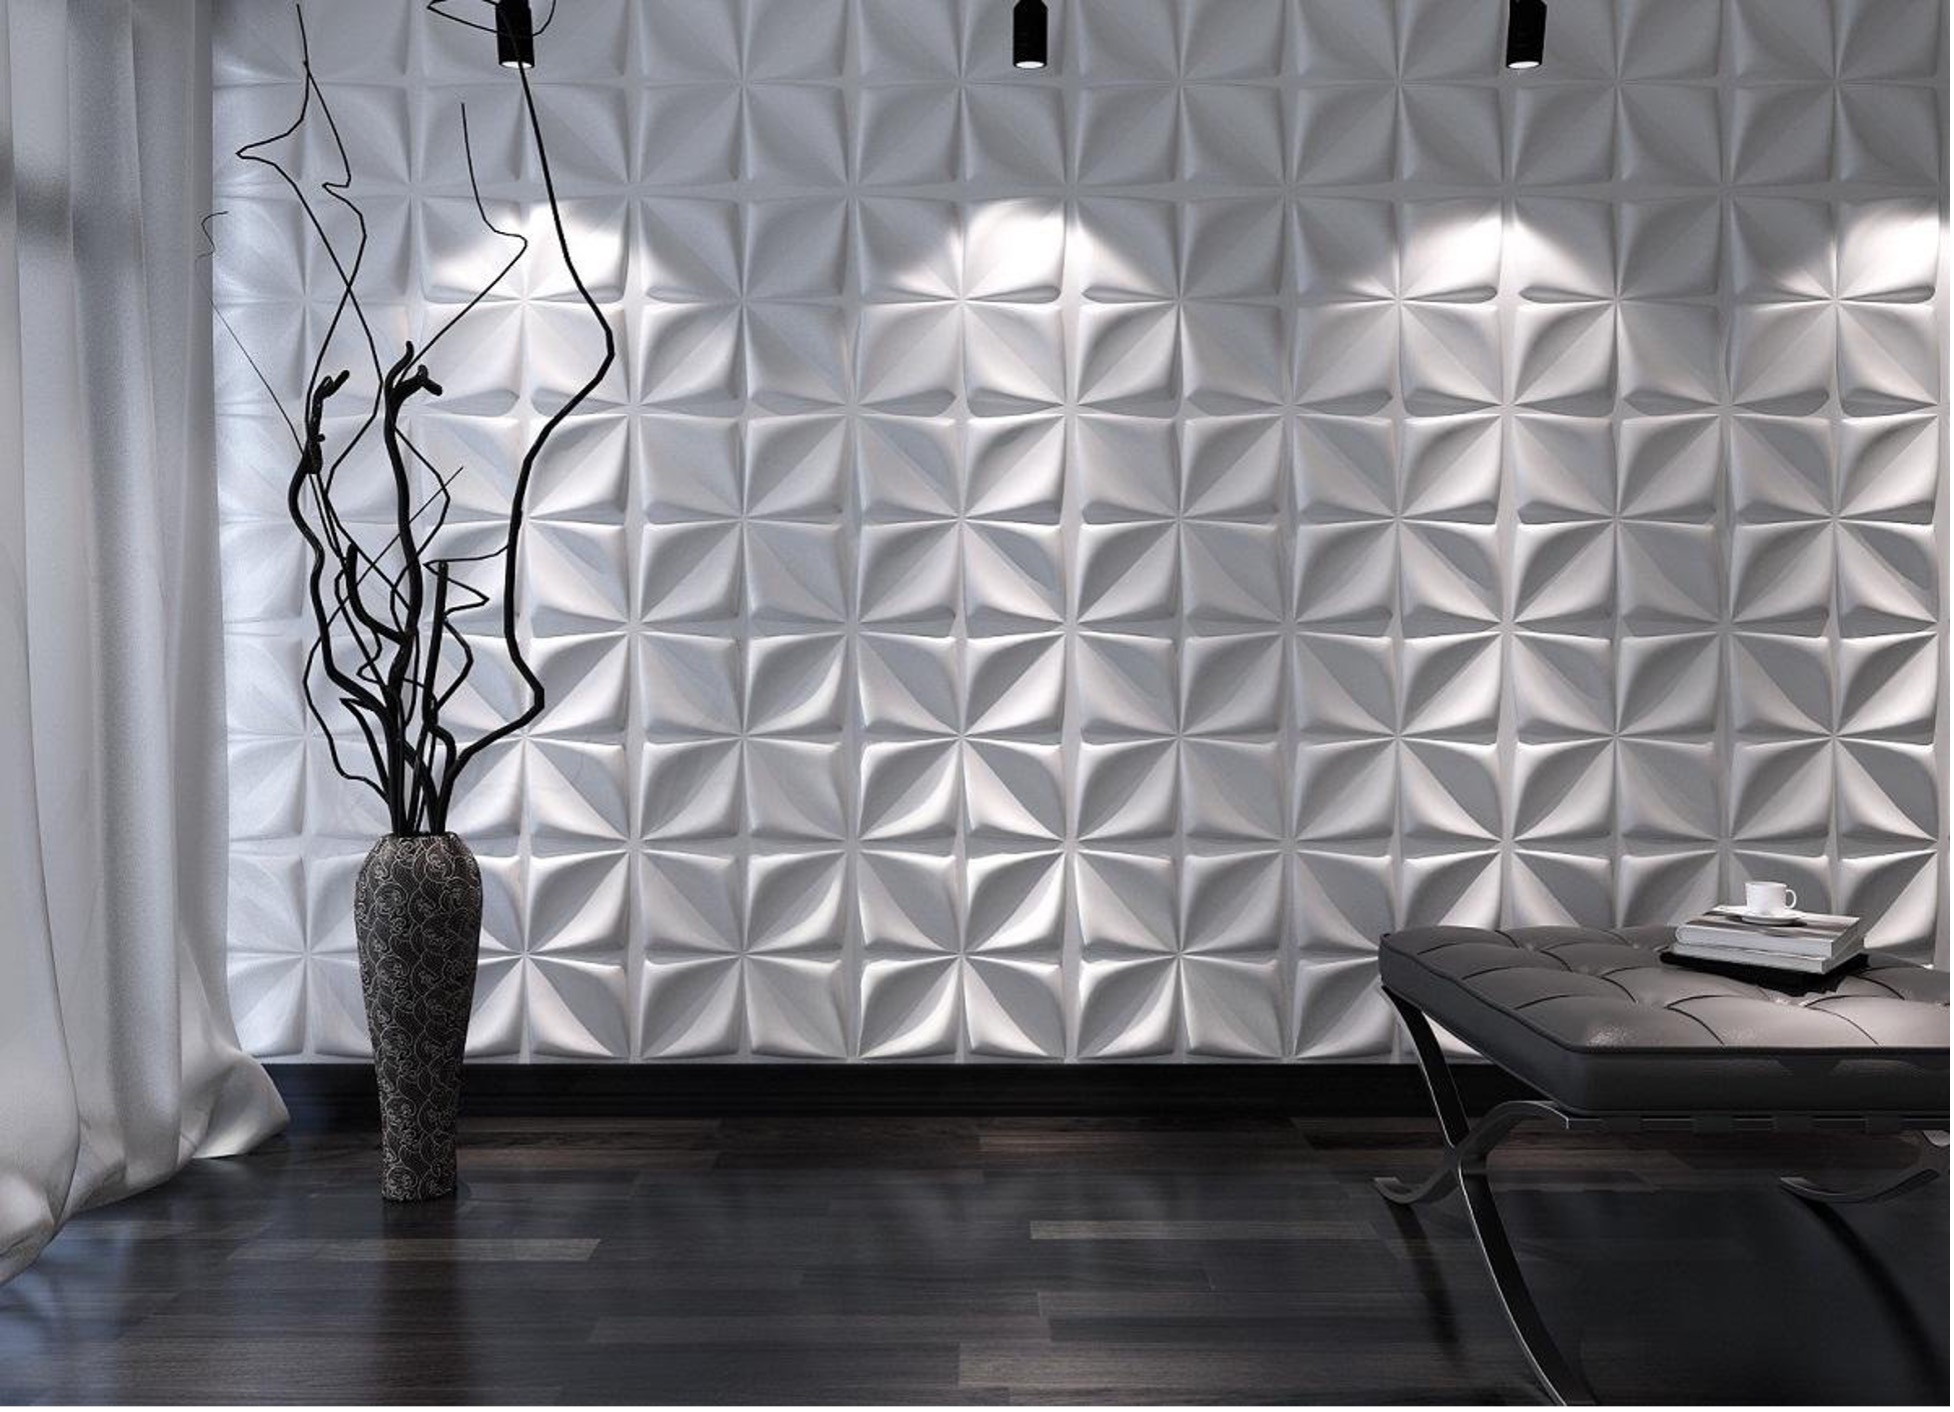
How to putty drywall for painting. Preparing plasterboard walls for painting
Puttying drywall is a mandatory step before painting, thanks to which you can get a perfectly flat surface. To achieve the desired result, you should select the appropriate composition, calculate its quantity and carefully perform each stage of the work. Instructions on how to putty drywall for painting, as well as practical advice from professionals, can be found in the material presented.
The content of the article
How to choose putty
Before starting work, it is necessary to select a suitable composition, since the quality of the finish largely depends on this. Plasterboard putty for painting comes in different types:
- dry - it is pre-soaked and then applied to the wall; this composition is used only in rooms with moderate humidity;
- the finished paste can be used immediately in your work, but you need to take into account that it does not tolerate low temperatures well, although this does not matter in residential premises.
When it is planned to prepare drywall for painting, the mixture is selected depending on the composition:
- Gypsum - it is easy to apply, does not shrink and dries quickly. Ideal for eliminating cracks, leveling surfaces, and sealing joints. Suitable only for rooms with low humidity.
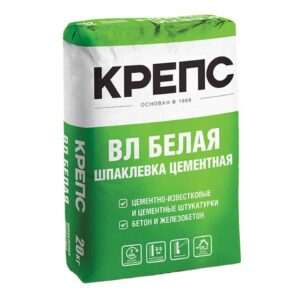
- Cement ones are suitable for any room, including bathrooms and kitchens. They are not afraid of moisture and are resistant to cracking. Easy to use - even a beginner will find it easy to figure out how to prepare the mixture and how to properly putty drywall for painting.
- Polymer ones are more expensive, but they are highly durable and suitable for all types of premises, including outdoor finishing.
Finally, depending on the purpose, the following mixtures are distinguished:
- starters are coarse-grained and, as the name suggests, are used for initial finishing, when it is necessary to prepare plasterboard walls for painting;
- finishing ones consist of a fine-grained fraction and are used only for applying the last layer, which will be the main one, for example, for painting;
- universal mixtures can be used to fill small cracks and holes, including preparing drywall for painting.
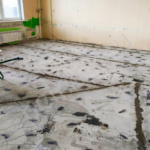
Preparing gypsum boards for puttying
Puttying drywall for painting begins with surface preparation, but first of all you need to calculate the amount of mixture. It directly depends on surface defects. As a basis, you can take the ideal option when the walls are generally smooth and well-primed. Then you will need to putty plasterboard walls for painting in the following quantities (per 1 m2):
- gypsum composition 1 kg;
- polymer 0.5 kg;
- cement 1.1 kg.
If there is no primer at all, then the consumption increases by 20-30%. In any case, it is better to take the mixture with a reserve for unforeseen cases.

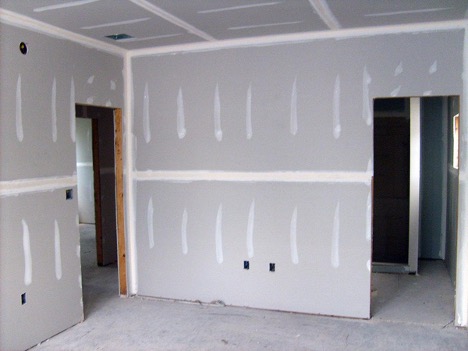
When it is clear what kind of drywall putty is required for painting with your own hands, and in what quantity to take it, you can begin the preparatory work:
- Fully tighten the screws, but without recessing them - if this happens, it is better to unscrew and screw in longer ones.
- If the paper begins to peel off in certain areas, it is cut off and the edge is sanded.
- The next step in the instructions on how to prepare plasterboard walls for painting involves working with joints. They need to be expanded using a well-sharpened knife. With its help, edges of 3-5 mm are cut off, and this is done at an acute angle of 45 degrees.
- Next, preparing the gypsum board for painting comes down to priming. For work it is better to use a deep penetration composition. There should be one layer and very thin - literally a fraction of a millimeter. You can use different compositions, but not alkyd ones, because they lead to delamination of the surface.
- Next, the primer is allowed to dry for 12-24 hours and the seams are sealed using fiberglass mesh. The procedure for preparing drywall for painting necessarily includes this stage. The mesh is glued in such a way that the joint is clearly in the middle.
- Internal corners should be treated with serpyanka, and external corners should be reinforced with metal or plastic corners. They are fixed with self-tapping screws or glue.
Puttying drywall
Next, you need to figure out how to putty drywall before painting the walls, i.e. start the main stage of work. To do this, first prepare the mixture, but only in small volumes to use within an hour (dried solutions have to be thrown away because they are unsuitable for use and cannot be diluted with water). The work is carried out in several stages.
Seam putty
First, gypsum board putty for painting involves sealing the seams.To do this, take 2 spatulas with a width of, for example, 10 and 15 cm and apply the composition directly to the seams. After this, distribute it over the entire surface for 30 cm. In this case, you need to ensure that the seam is completely closed and the layer is thin, without any raised parts.
Self-tapping putty
Further processing of drywall for painting involves coating the screws with a composition. Apply it crosswise - with two strokes across each other. Thanks to this, you can not only hide the caps, but also fill the recesses themselves. It is important to make sure that the caps are flush with the surface, do not stick out, but at the same time are not recessed into the sheet.
Corner finishing
At the next stage, plasterboard putty for painting is reduced to finishing the corners, and this stage is the most difficult. The corners have an uneven surface, and they have to be processed in several stages:
- Prepare the solution and apply it to one side of the corner.
- Carefully smooth out the mixture.
- Then apply to the other side and smooth out too.
- Allow to dry completely and evaluate evenness using a square.
- If necessary, apply a new portion of the solution using an angle spatula and allow it to dry again.
From these instructions it is clear how many times to putty drywall before painting. At a minimum, you need to make 2 layers, but if necessary, the corners are processed again and only after that the quality of the work is finally assessed.
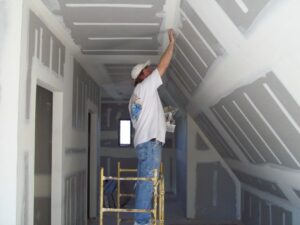
Puttying the surface
When the preparation of drywall for painting with your own hands is completed, you can proceed to the main stage - the actual surface treatment. The sequence of actions is as follows:
- Apply the first layer of a small thickness within 2 mm (with a universal or starting composition). To do this, use a wide spatula.
- Allow to dry and sand with coarse grit sandpaper, after which – fine-grained.
- Apply the second layer, spreading it with a spatula. In this case, you need to move in the direction from bottom to top.
- Apply the rule to the bottom and move it upward, pressing on the tool.
Finishing putty
The last stage is the finishing putty of the gypsum board walls for painting. This layer should be the thinnest - literally a fraction of a millimeter, within 1 mm. Apply with a narrow spatula using smooth movements, and after drying, treat with sandpaper.
As you can see, preparing drywall for painting is carried out in several stages. You need to be especially careful when applying the finishing putty so that it turns out as thin as possible. In this case, upon completion of the work, the surface is primed, and only after drying can the painting itself begin.