Decorative box for heating pipes: how to make it yourself
A decorative box for heating pipes allows you to hide all communications and also provides more efficient heat retention. The structure is made of plywood, plasterboard, metal or wooden sheets. How to make it yourself is described step by step below.
The content of the article
Materials and tools
Boxes for heating pipes must be made only from moisture-resistant materials. The most commonly used are:
- plasterboard sheets;
- plastic panels;
- special types of panels.
A decorative box made of moisture-resistant materials can be purchased ready-made or assembled yourself. This is not difficult to do, since sheets of plasterboard or the same plywood are quite easy to cut into the necessary fragments, and then decorate them to match the overall design of the room. No special equipment is required for installation. Only the following tools and materials are needed:
- metal profiles;
- wooden beam;
- dowels and screws;
- screwdriver;
- perforator;
- brush;
- wood antiseptic;
- knife;
- scissors for working with metal;
- Laser level;
- construction tape;
- square
The remaining materials are chosen depending on what kind of structure is planned to be made. It can be a metal pipe box, wooden, plastic, but more often - plasterboard.
Step-by-step instruction
The box for heating pipes is installed with your own hands in several stages - first, the pipes are prepared, thermal insulation is installed, then measurements are taken, lines are determined by level and the material is cut, and then assembly begins.
The main stages are:
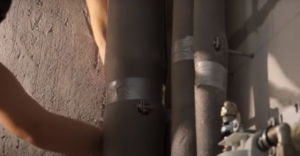
- Using construction tape, thermal insulation material, for example, thermal insulation with or without foil, is fixed to the pipes.
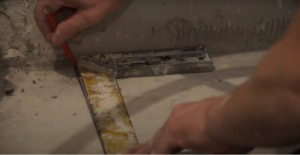
- Mark the floor with a laser level and draw straight lines using a square.
- Likewise – verticals on the wall.
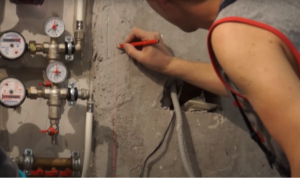
- Determine the height of the ceiling and install a metal guide.
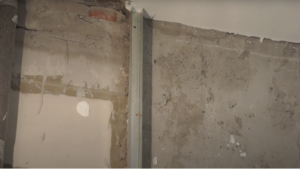
- A pipe box made of laminate or other materials is mounted on a frame, the basis of which is a metal profile. Therefore, you will need to install parallel guides in the same way.
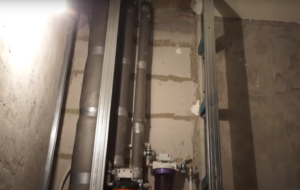
- Treat the timber with neomid or other antiseptic.
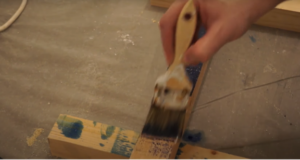
- The timber is sawn and inserted into a metal guide to strengthen the frame.
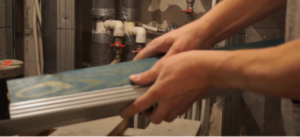
- The result should be a design like this. Unlike a ready-made box for closing pipes, it can be built in any room, taking into account the height of the ceiling, the width of the opening and other dimensions.
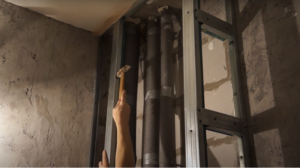
- Cross members are placed every 50-60 cm to make the frame rigid.
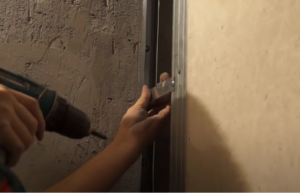
- Next, they make a mortgage for the water socket from a wooden beam.
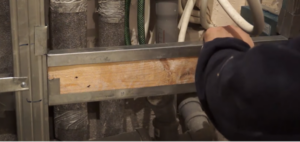
- Install the front panel.
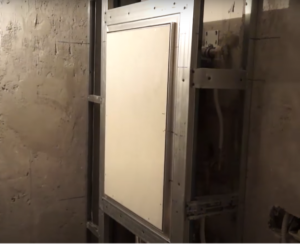
- The ends are covered with plywood. If you make a metal box for pipes, the technology is similar, but then stainless steel sheets are used.
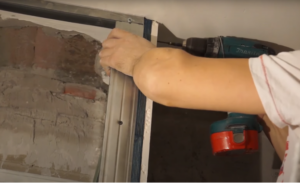
- The finished side looks like this.
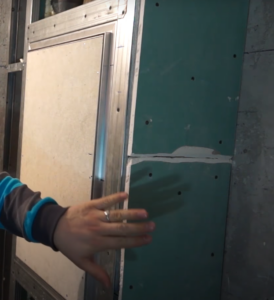
- The floor box for heating pipes must be covered with plasterboard. The sheets are cut, the edges are sanded and a hole is first made for the water socket.
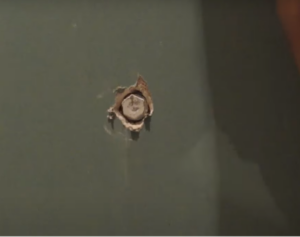
- Both the top and bottom of the sheet should have a cutout, as shown in the photo.
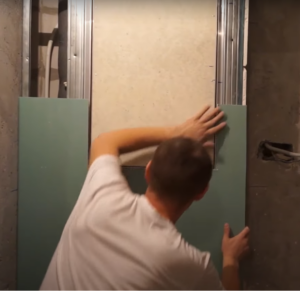
- The collapsible box is fixed with self-tapping screws at intervals of 20-30 cm.
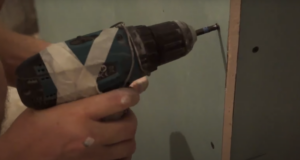
- The result is a design like this.
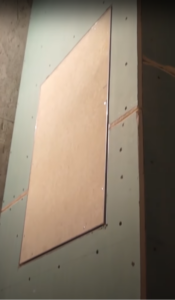
Next, you can install the shelves and doors, and then begin priming and finishing. Moisture-resistant drywall can be coated with any paint, for example, acrylic, so that the box fits well into the overall interior.


