Do-it-yourself decorative plasterboard arch: how to make, description
DIY plasterboard arch comes in different types. Most often this is a classic design, although it is possible to make a flatter arc, or even a semi-arch. The main types of models, methods of bending drywall and step-by-step installation instructions are described in this article.
The content of the article
How to choose the type of arch
When figuring out how to make an arch from plasterboard, you can consider several types of structures.
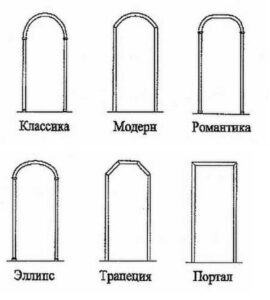
Among them, the classic version is most often chosen. Essentially, it is a regular semicircle. Its diameter exactly matches the width of the opening, so it turns out to be a real arch. Usually it looks quite beautiful with high ceilings of about 280-330 cm. Another condition is that the corridor must be long enough and spacious.
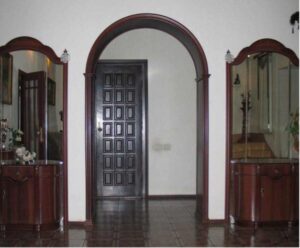
Another way to make a plasterboard arch with your own hands is a model in the “modern” style. Essentially, it is a long arc with a fairly large radius. The result is a maximum of a quarter of a circle, not half of it. Looks good in a spacious, wide room. Can be considered as an alternative to a balcony door.
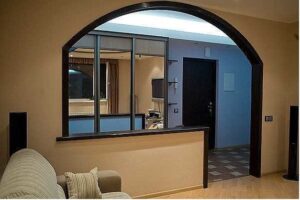
You can also learn how to make an arch from a profile. This design is durable and fits well with any model, for example, in the “Romantic” style. This is a peculiar type that bears little resemblance to the classic arch.The upper part is a continuation of the ceiling, and only the corners have characteristic roundings.
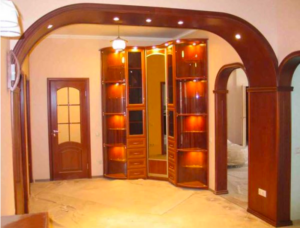
You can also make a plasterboard arch with your own hands, like an ellipse. It has curvature throughout the upper part. At the same time, it looks sloping and is more shaped like an ellipse than a circle. Well suited for ceilings of a standard height of 250 cm. It also looks appropriate in spacious rooms.
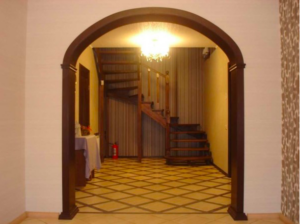
If we are making a plasterboard arch that is as different as possible from the classic versions, we can consider a trapezoid model. This is the most original type, which is suitable only for elaborate designs, for example, in the techno style.
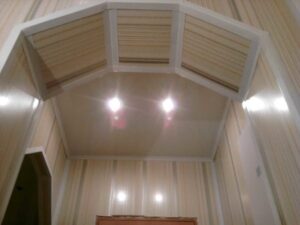
The doorway can also be decorated in an antique style, leaving right angles and constructing false columns. In fact, this is not an arch or even a semi-arch with your own hands. But it also looks quite beautiful, especially in a classic interior. Since the columns are quite “heavy”, such a structure is best built in a spacious apartment.
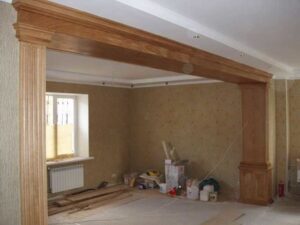
There is also an interesting option - a do-it-yourself plasterboard semi-arch. It is suitable for both state rooms and small rooms. This model has many advantages:
- zones the space well;
- looks original and more modern compared to classic arches;
- Can be used as a small shelving unit if you make shelves.
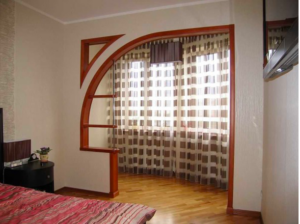
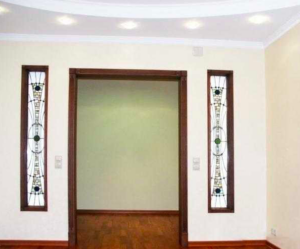
Finally, it is worth mentioning another way to make a semi-arch or a classic arch. To visually enlarge the space and provide a more attractive view, additional portals can be made next to the main opening.
Arch made of metal profile
Making a plasterboard arch can be done in several ways. If we take the simplest option as a basis, the step-by-step instructions will be as follows:
- Prepare the surface - clean it from plaster and dust.
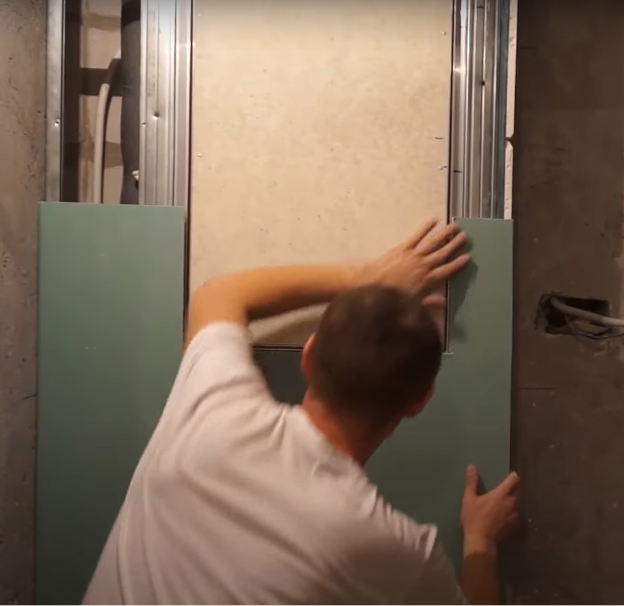
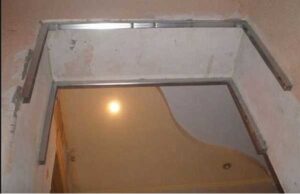
- The frame is made of a metal profile, as shown in the photo.
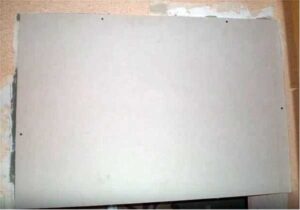
- A rectangular fragment corresponding to the dimensions of the arch is cut out of drywall. They retreat from the edge by the thickness of the sheet (usually 12.5 mm). It is also recommended to add 2 mm in case of using putty, so that in the future the surface will be perfectly smooth. Screw the sheet with self-tapping screws.
- The next step in the instructions on how to make an arch from plasterboard involves drawing a semicircle or arc. To do this, determine the middle of the opening, mark it on the sheet, and insert a nail into the hole.
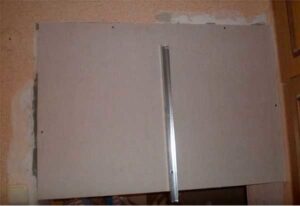
- The result is a compass with which you can draw a circle. If necessary, the mounting height is increased or decreased to obtain a larger or smaller radius.
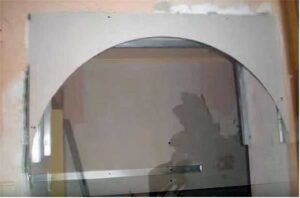
- The sheet is cut exactly along the contour. It is best to use a file for working with drywall, and if you don’t have one, a metal file with small teeth will do. You can also work with an electric jigsaw, but then a lot of dust will come out. Uneven cuts are sanded using sandpaper. Place the part against the wall and secure it with self-tapping screws.
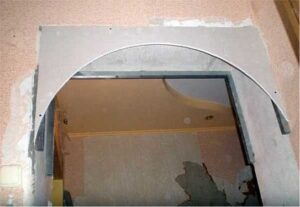
- On the reverse side, install exactly the same sheet with a semicircle. Here it is important to understand how to make an arch from a profile and drywall. It is necessary that both halves exactly match each other in height. Therefore, they place a whole sheet, and then transfer the circle pattern from it to the finished half. The fact is that openings are often asymmetrical, so if you just draw 2 arcs, the design may not be very accurate.
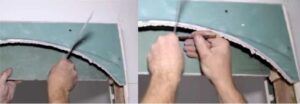
- Remove the line, cut out the second part and place it parallel to the first. At this stage, you can already roughly see what kind of plaster arch you will get with your own hands.
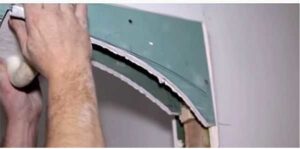
- Now you need to accurately measure the length of the arc and cut out the corresponding fragment of the metal profile. Notches are made at intervals of 4 cm and the tape is attached to the arch on both sides.
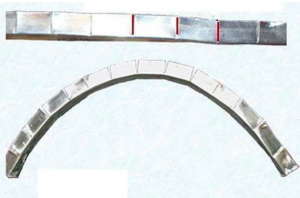
- They are fixed with self-tapping screws, supported by a wooden beam (don’t use your fingers - it’s easy to cut yourself). At the same time, the profile is given the shape of the future arch.
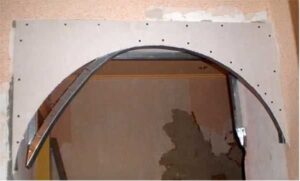
- Screw it in with self-tapping screws.
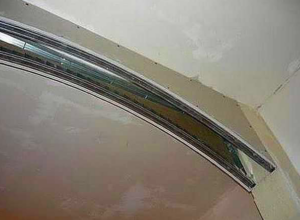
- The second part is installed in the same way, and then the jumpers are attached. They should be 1-1.5 cm shorter in length compared to the distance between the 2 arcs. This is one of the critical stages of the instructions on how to make half-arches from plasterboard.
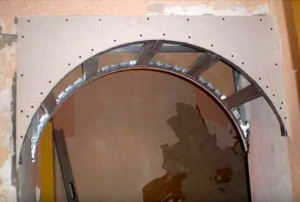
- Where the jumpers fit the arch profile, the “petals” are removed and secured with self-tapping screws.
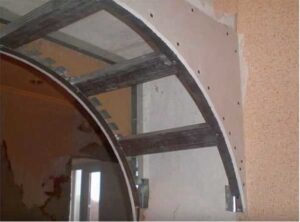
- Now all that remains is to cut out a rectangular piece of drywall and bend it in an arc - the result is a finished arch. The ways in which you can bend a sheet are described in the next section.
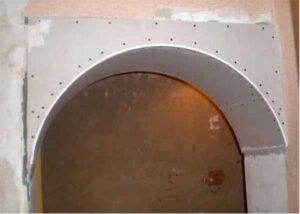
How to bend a sheet of drywall
First of all, you need to choose a suitable material with a thickness of 6 mm, because it is the easiest to bend. But even standard drywall can also be bent into an even arc. There are two ways to do this.
Using a needle roller
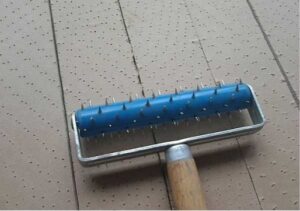
In the first case, it is necessary to use a special needle roller. Cut out the desired fragment and roll it several times with a roller with sufficient force. Then wet the surface and leave for several hours. After this, they are bent and screwed with self-tapping screws to the finished structure.
Using notches
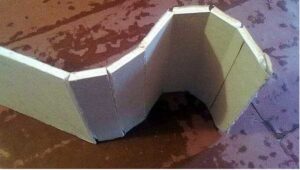
You can also make notches on a sheet of drywall with a knife at intervals of 5 cm. The paper is partially cut to a shallow depth (not all the way), after which the sheet is carefully broken and twisted.
Arch made of wooden blocks
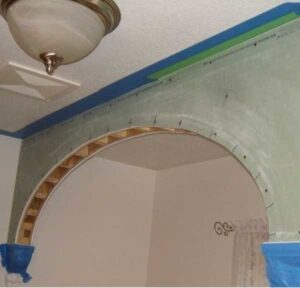
If the opening gap (thickness) is very small, then installing a metal profile is impractical, and often simply impossible. Then they use another technology - using wooden blocks. The procedure is as follows:
- First, in the same way as in the previous instructions, cut out the first wall, transfer the dimensions from it to the second and cut out a similar contour.
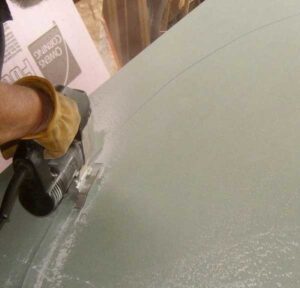
- Install both parts and screw them with self-tapping screws. Measure the thickness of the gap and cut the bars, placing them every 7-10 cm.
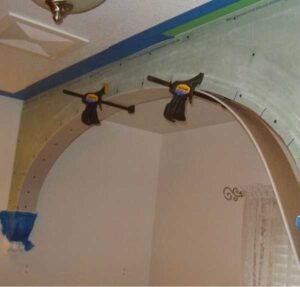
- Cut a strip of drywall and bend it using one of the methods described above. Place in place and temporarily secure with clamps.
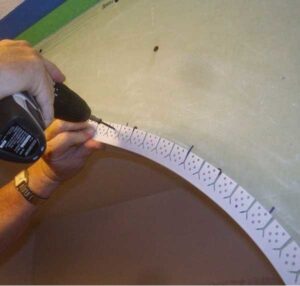
- Using a special perforated corner, unevenness is eliminated (it is attached along the arc).
- Putty the surface.
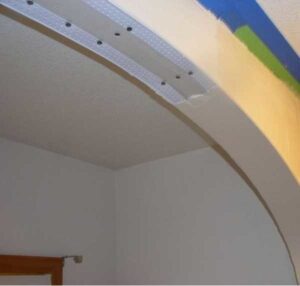
- The result is a design like this.
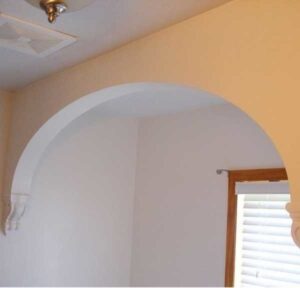
Thus, you can make an arch with your own hands. This is a simple design, but assembly requires care. A particularly important stage is transferring dimensions from one half to the other, as well as bending the sheet. For everything to go well, it is better to use drywall of minimal thickness.


