Laying heated floors under tiles
You can truly appreciate the positive properties of heated floors only by observing all the nuances and sequence of installation stages. It is important to familiarize yourself in advance with all the operating details of each option, as well as study the sequence of actions for laying a heated floor under the tiles.
The content of the article
Which type of underfloor heating to choose for tiles?
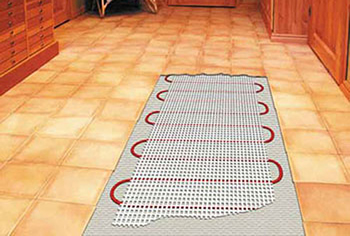
The most popular among all models of heated floors under tiles are thermoelectric mats or heating cables.
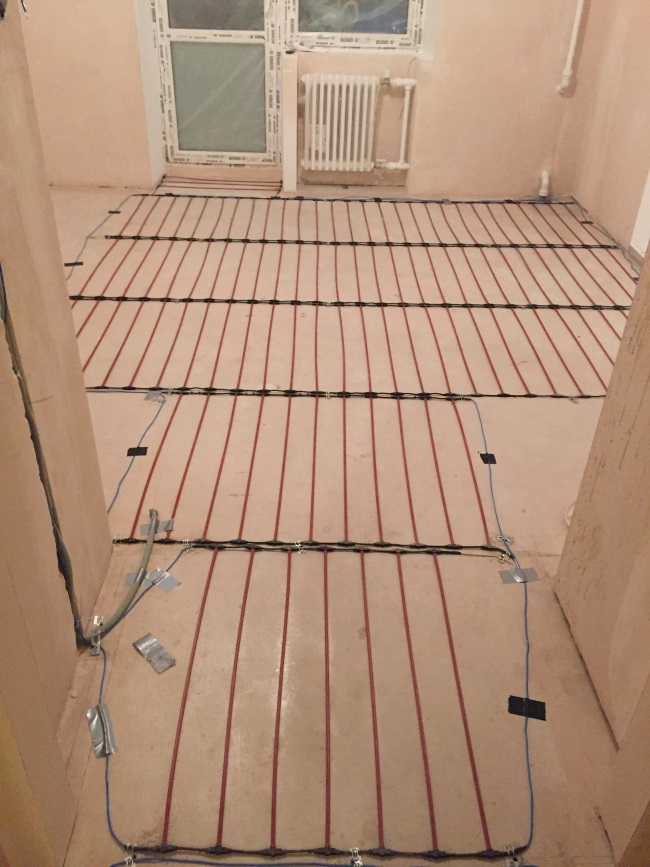
The popularity of electrical cables is explained by the affordable cost of materials. But installing such a coating is difficult; the work requires certain experience and knowledge. Installation of an electrical cable involves applying a thick layer of screed mortar, which negatively affects the height of the ceilings in the room. Choosing an electric cable as a heated floor is a smart choice for those who want to install heating at minimal cost.
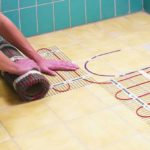
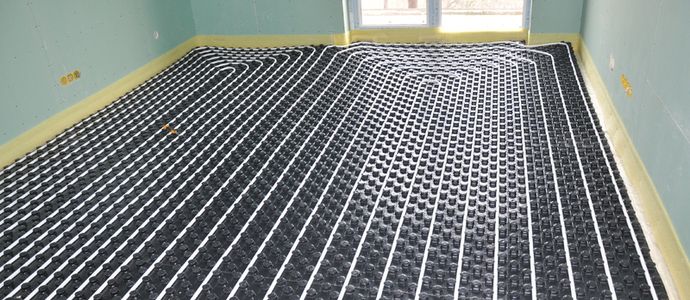
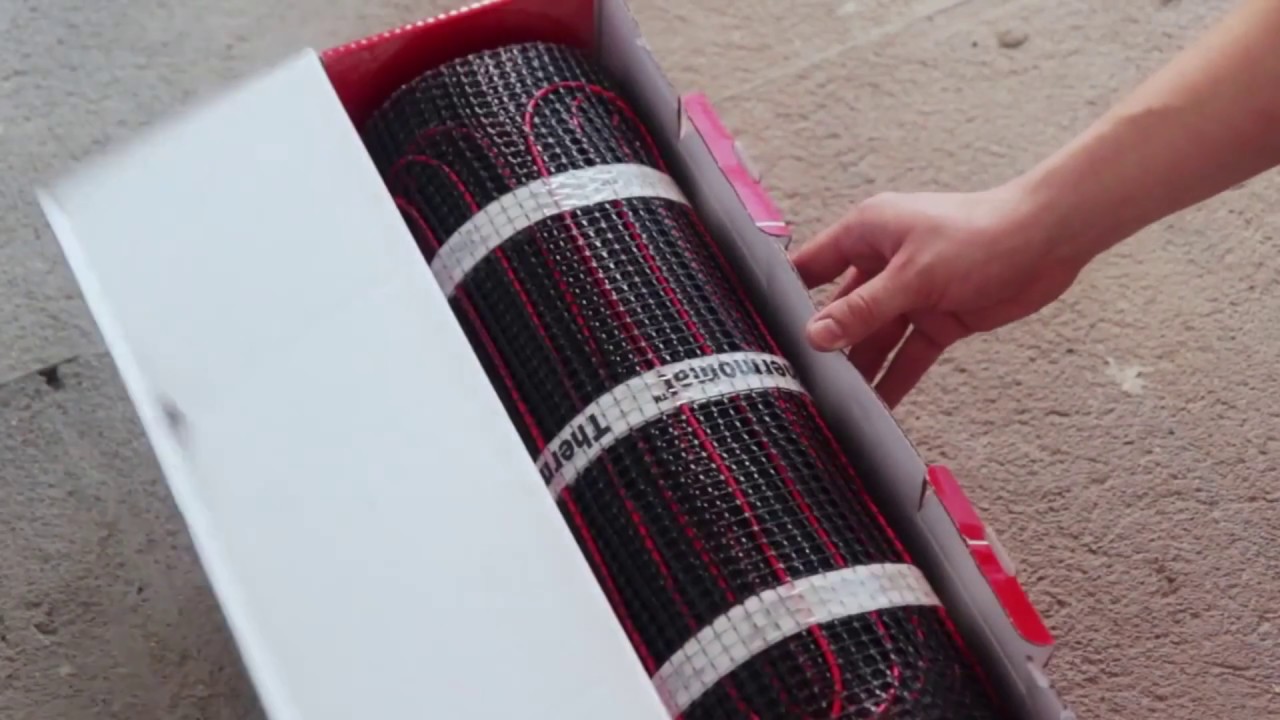
The most practical way is heating mats. In this case, the heating function in the room is provided by cables fixed on a fiberglass substrate. Installing thermomats is very simple. It is enough to calculate the required area of the roll, lay out the finished mat, connect it to the temperature controller and fill it with tile adhesive solution.The heating cable is already fixed on the mesh in turns with the same pitch.
Separately, it is worth considering infrared film floors. For tiled surfaces this is not the best option. Infrared rays heat the tiles directly without transferring heat to the external environment. The film floor has a low moisture resistance, which is completely unacceptable when installing a heating system under a ceramic coating in the bathroom.
Laying heated floors under tiles
In order for the installation process to go as quickly as possible, it is worth studying the main points of installation in advance, selecting tools, and also checking the condition of the electrical networks at home.
Attention! The installation of heating elements explains the increased load on electrical wiring. You can prevent the risks of malfunctioning of the heated floor if you check the condition of the electrical network in advance, fix problems if necessary, and increase the power.
Materials and tools
When choosing thermomats for arranging a heating system under tiles, we purchase in advance:
- A set of thermomats (heating mat, thermostat, temperature sensors, operating instructions).
- Thermal insulating material penofol. This is a sheet of polyethylene foam and foil on a self-adhesive base. It is laid on a concrete surface before the heating mats are fixed. The goal is to minimize heat loss.
- Tools: tape measure, construction blade, notched trowel, cross-shaped spacers for laying decorative tiles, tile adhesive mixture and ready-made grout compound, pliers and screwdriver, construction level.
- Floor tiles.
Measurements and drawings
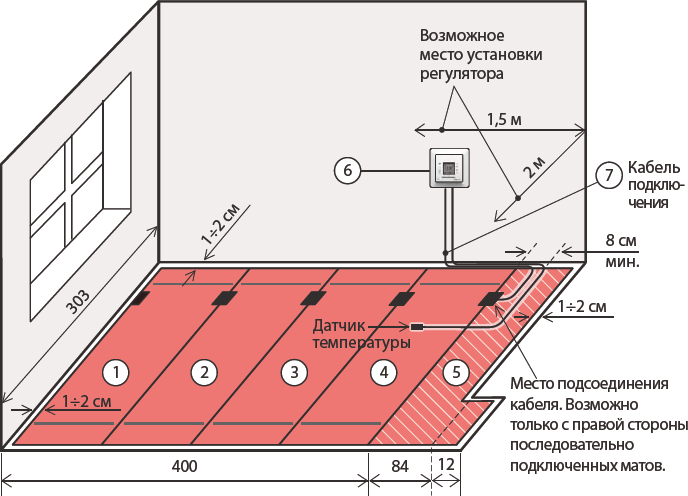
An important point from the list of actions for arranging a heated floor under tiles is the development of a schematic image with marks for laying wires or thermostats.
When developing a scheme, it is important to remember certain recommendations:
- the distance from the wall to the thermomats is ten centimeters;
- Heating elements are not installed at points where heavy objects are located (lack of heat transfer leads to normal operation of the entire system).
After the plan has been outlined, the required volume of materials is calculated.
When making calculations, take into account the following points:
- climate of residence (in regions with a cold climate, more powerful systems are chosen);
- if an electric heated floor is used as the main source of heating, the power of the system increases several times from the calculated one;
- the presence and quality of insulation of walls, floors and ceilings is taken into account;
- an indicator of the area and height of the room that needs to be heated.
There are certain parameters for the power of a heated floor system: for heated rooms, 150-180 W per square meter, and for unheated rooms, the power indicator corresponds to 250 W per square meter.
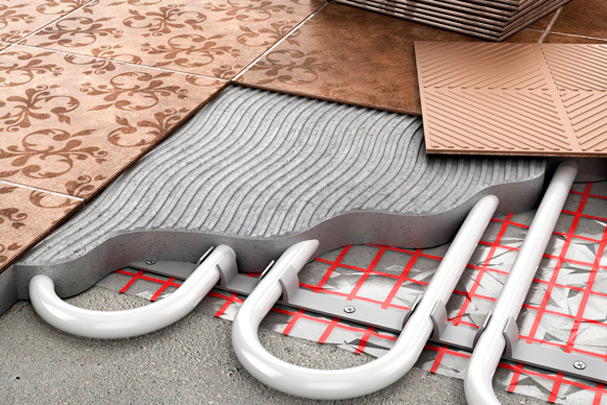
Laying heated floors under tiles step by step
You can fully appreciate all the benefits of using a heated floor if you follow a clear sequence of actions:
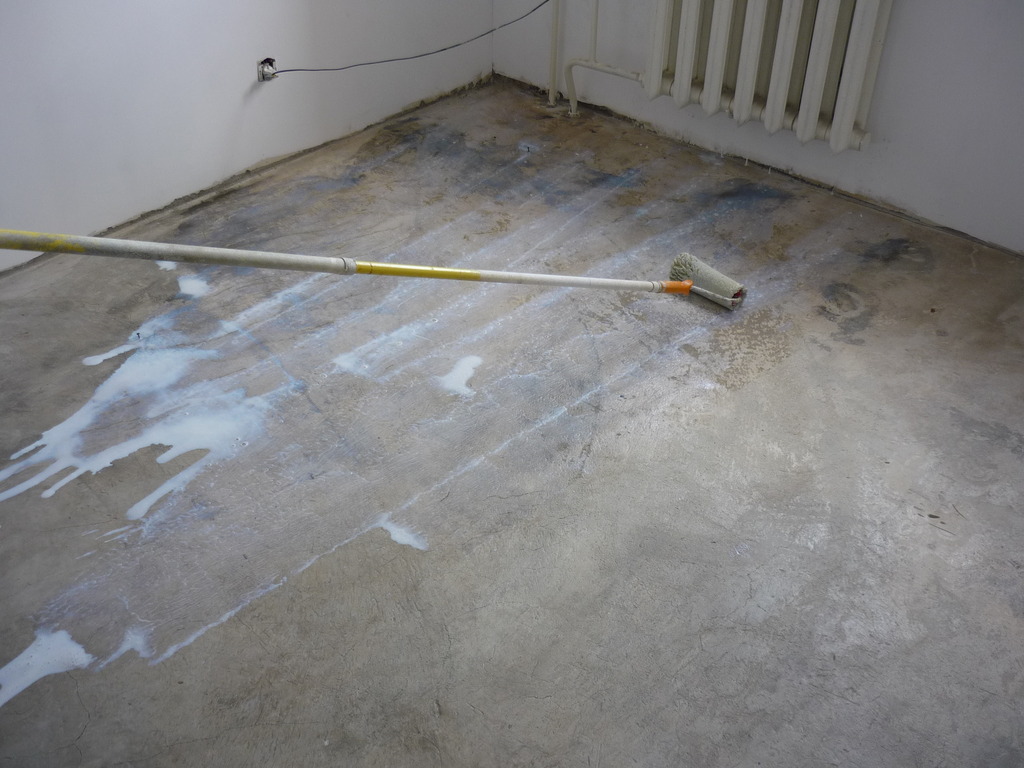
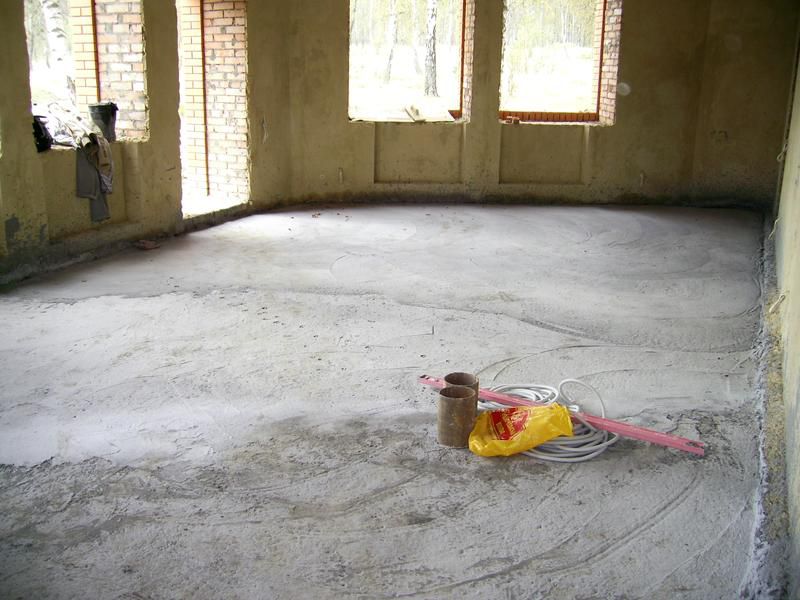
Preparatory stage
Work begins with dismantling the old decorative covering and removing the garbage. As soon as the surface is cleaned, it is carefully inspected for defects and cracks. A quick-drying self-leveling mixture will help you quickly get a perfectly level base.
Important! Ignoring the preparatory work stage can cause problems with the operation of the heated floor. The slightest bend in the cable and the heating system is broken. The problem can only be eliminated by dismantling the already laid surface.
Carrying out thermal insulation
Laying penofol on the prepared surface will help increase the operating efficiency of a heated floor and reduce heat loss. This is a roll material with a self-adhesive backing. It is enough to unfold the canvas to the required area, press it well and seal the seams with foil tape.
Attention! In order to increase thermal insulation, penofol is laid with some overlap on the walls.
The heat-insulating layer is glued along the perimeter with damper tape. The final layer that needs to be laid is a metal mesh (prevents direct contact of foam foam with the heating elements).

Installing a temperature sensor and thermostat
It is these two elements that help control the heated floor. The thermostat is installed near the outlet. The temperature sensor is fixed in the floor and connected to the thermostat through a corrugation. It is this that protects the sensor and allows access to the device when repairs are required.
Attention! The sensor is installed strictly in the middle between two turns of the heating cable.
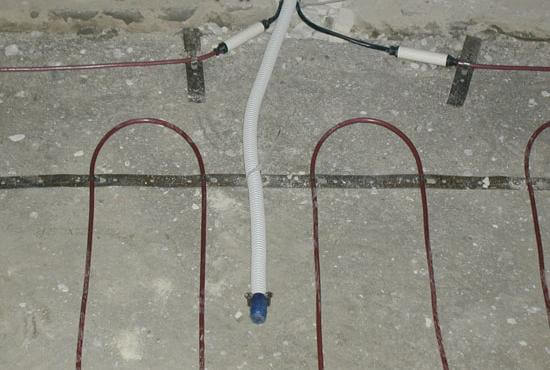
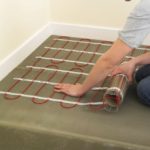
Laying thermomats
According to a previously drawn up pattern, the canvases are rolled out, cut into pieces corresponding to the heated area. The mats are secured using mounting tape specially designed for such work. Next, the mats are connected to a temperature sensor in accordance with the diagram provided by the manufacturer.
Attention! The end of the corrugation is carefully insulated.Ignoring this recommendation greatly increases the risk of sensor malfunction due to tile adhesive getting into it.
After connecting all the parts, check the functionality of the system.
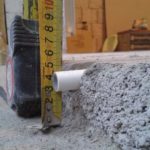
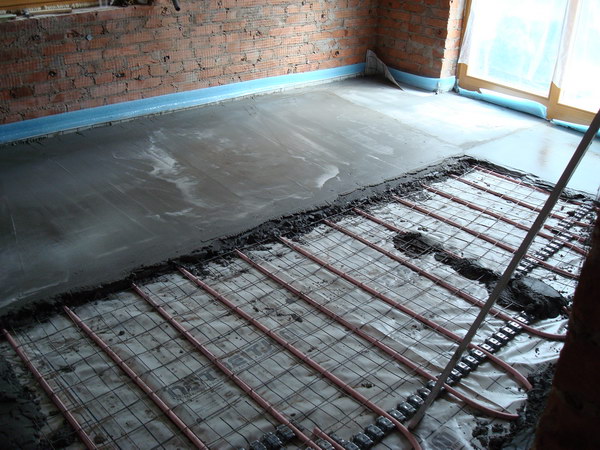
Filling the screed
The layer of mortar covering the heated floor does not exceed five centimeters. During this period, it is prohibited to turn on the heating system.
Laying decorative tiles
The adhesive solution is chosen to be special and can withstand high temperatures. When laying tiles, place whole elements in the center and edged ones along the walls. The seams between decorative tiles are rubbed with a special compound.
Before installing an electric, water or other type of floor with your own hands, you need to carefully study all the rules. By strictly following the sequence of actions for laying a heated floor under the tiles, the work will go quickly and will delight you with its quality.