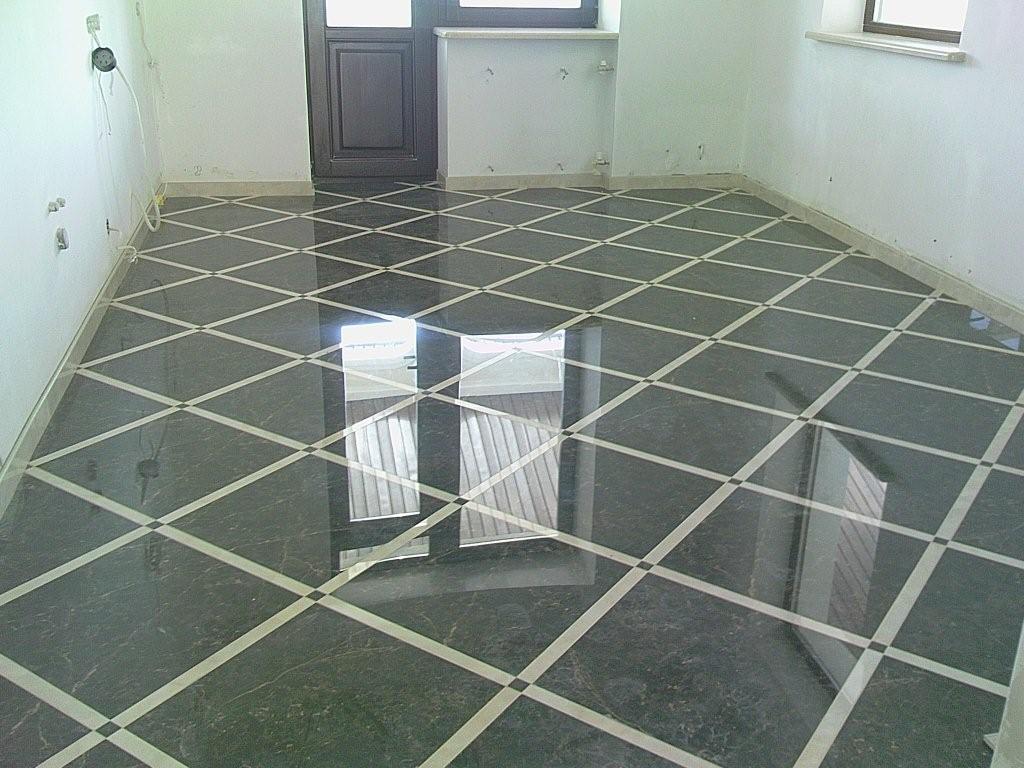
Laying tiles diagonally on the floor
 Finishing with tiles or porcelain stoneware is a popular option for finishing the floor in a room. There are several installation options. For example, diagonally. Many people hesitate to use this method, considering it complicated. But, knowing all the nuances of installation and following the required rules, you can lay the tiles yourself in an original way.
The content of the article
How to calculate the number of tiles to lay on the floor diagonally
The required quantity is calculated as during normal installation:
- you need to measure the total area of the room;
- if you do not need to lay out a drawing, then the resulting value must be divided by the area of one product - when laying out a drawing, you should know the size of each element;
- approximately 20% must be added to the resulting figure - this is a reserve for trimmings and damage incurred during the work;
- since the diagonal version requires more material, another 15% must be added to the result, rounded up;
- the number is divided by the number of tiles in the package - the final number of packages required for the job is obtained.
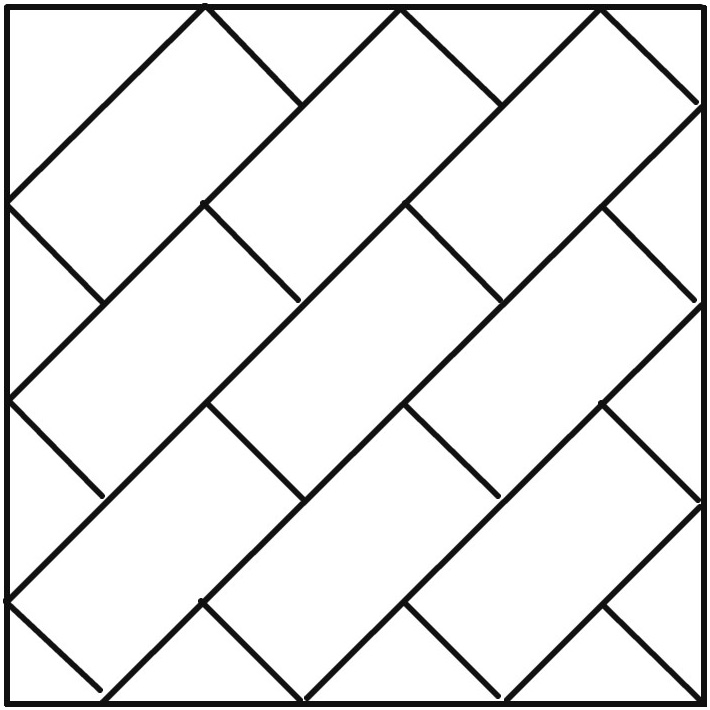
ATTENTION! If possible, you need to buy several pieces of tiles separately for stock.
Marking and preparing the surface for installation
In order for the installation to be carried out correctly and the result to be neat, it is necessary to make markings. This is done as follows:
- using two strings, you should determine the center of the room - the ropes need to be stretched from one corner to another;
- the rope must be pulled through a certain center, this should be done perpendicular to the walls - this will determine the angles according to which the tiles will be located.
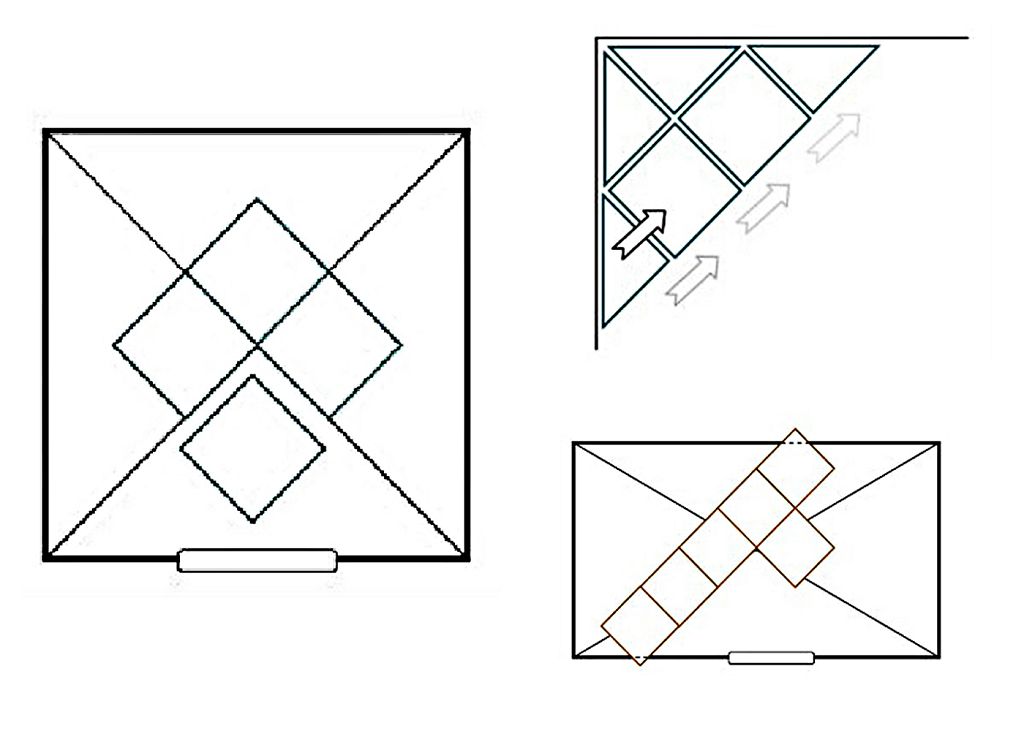
ATTENTION! To check the correctness of the markings, you need to lay out the tiles and evaluate the result. If everything is done correctly, you can begin preparing the base.
The tiles are laid out on a flat surface. Therefore, it is necessary to eliminate unevenness and defects, as well as remove dirt and dust. Then degrease and prime.
If a screed is not used, then you can use the mixture for a self-leveling self-leveling floor. The dry composition must be diluted with water according to the instructions indicated on its packaging.
The resulting solution is applied to the base and evenly distributed over the entire area of the room using a roller. Then you should leave the floor until the mixture dries completely. If everything was done correctly, you will get a smooth surface.
Technique for laying tiles on the floor diagonally
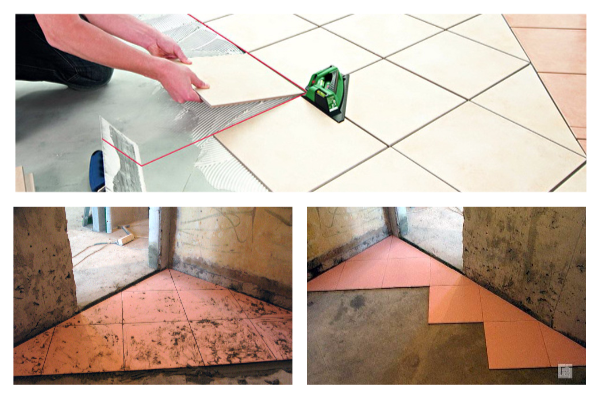
Laying the flooring can be done in two ways: from the center or from the corner.
Angular method
This option is used for installation in rooms with a small area, and also if tiles of the same color are used. It's quite labor intensive. The process should begin from the corner that is viewed first when entering the room. When using this installation method, you need to check that the tile is located exactly perpendicular to the corner.To achieve a more accurate result, sometimes you have to move the tile a little.
From the center
The method is especially convenient when installing tiles in a square-shaped room. The first step is to lay out a rhombus in the center of the room. After which all intact elements are laid out. The cut tiles along the walls are placed last.
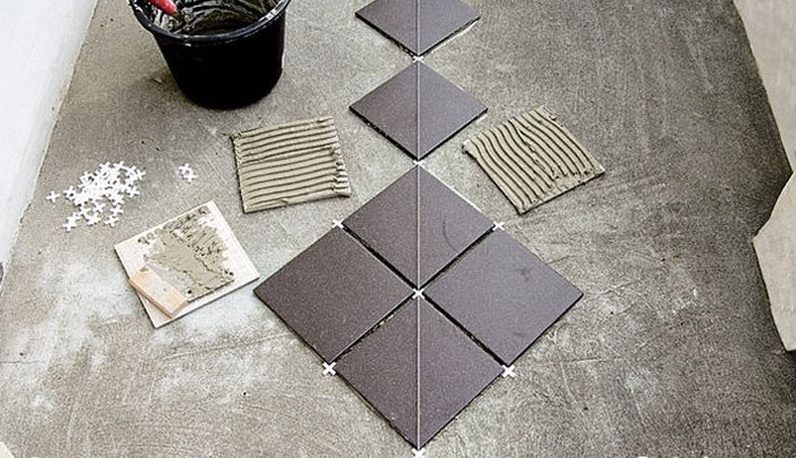
ATTENTION! It is advisable to first prepare a diagram according to which the work will be carried out by printing or drawing it on a sheet of paper. This will greatly simplify the process.
Stages of work:
- after the method has been chosen, it is advisable to lay the tiles on the floor - if the result is satisfactory, you can proceed to installation;
- apply adhesive to the tiles - if the room is large, then it is allowed to apply the solution to the floor so that it is enough for about 4 elements;
- using a level, it is necessary to level the tiles and press them tightly to the base - all laid out tiles must be parallel to one line, it is advisable to check the evenness of the laid elements every few rows;
- to avoid the appearance of voids, the tiles must be moved from side to side;
- the width of the seams should be adjusted with crosses, which must be installed after each laid element;
- installation of scraps against the wall is carried out after all the whole tiles have been laid - you need to start from the outermost corner;
- the last stage is applying grout;
- All excess glue and grout must be removed and the tiles must be left until the mortar and grout are completely dry.
Pros and cons of laying diagonally
Before starting installation work, you need to consider the pros and cons.
The advantages are:
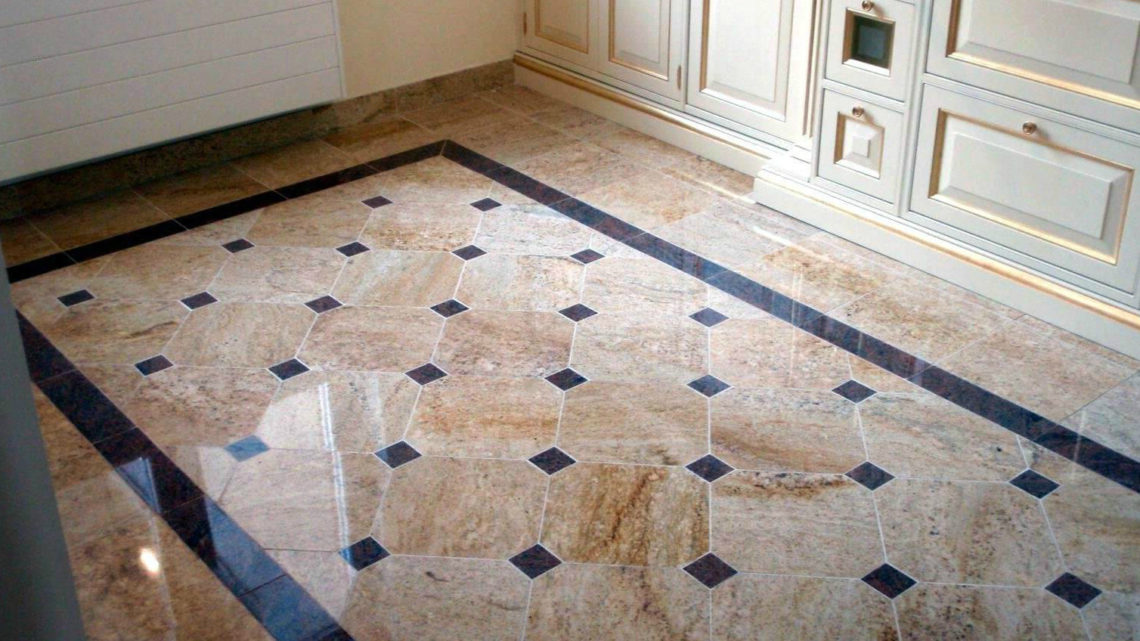
- Originality. Installation in a diagonal manner is used extremely rarely, because the room will look unusual.The method allows you to make different patterns and use several colors.
- Saving. If the job is done correctly, you can save a lot on materials. It is worth adding that this is possible if the work is performed by an experienced craftsman.
- Expansion of space. Diagonal layout visually expands the space.
The disadvantages include:
- this is a rather labor-intensive and painstaking process and can take a lot of time for an inexperienced person;
- It is difficult for a beginner to achieve perfect execution the first time, so expenses on building materials may increase.
Although this is quite a difficult process, even a beginner can do it. By following the recommendations and using high-quality materials, you can get an original and unusual floor.


