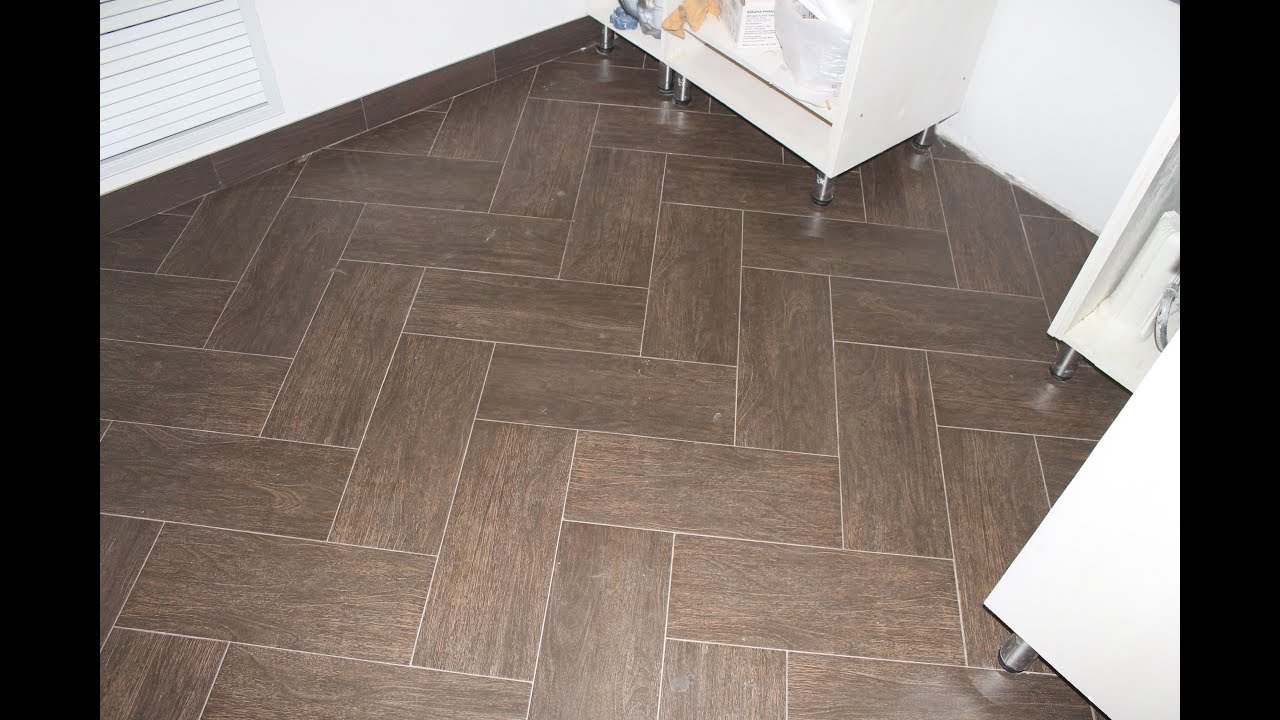
Laying tiles on the floor in a herringbone pattern
Ceramic tiles are widely used for room decoration. Previously, the main location for such material was the bathroom. Now there are many options for laying porcelain stoneware, suitable for almost every room. In this article we will look in more detail at the option of laying tiles in a herringbone pattern.
The content of the article
Rules for laying tiles on the floor in a herringbone pattern
This installation method is usually chosen for rectangular-shaped ceramic coatings imitating a wood pattern. In this option, the finished result will look whiter and aesthetically pleasing. This installation method is suitable for rooms where it is necessary to expand the space and smooth out uneven corners.
Advice! In order to expand the room as much as possible, choose narrow tiles. Of course, it will take enough time to install it. But the result will exceed all expectations. Also, in order, on the contrary, to narrow the space, or simply to fill a large area with such a pattern, choose a larger material.
Designers also often use two contrasting shades of material. This technique can enliven even a gray-black interior and will look very bright and stylish.
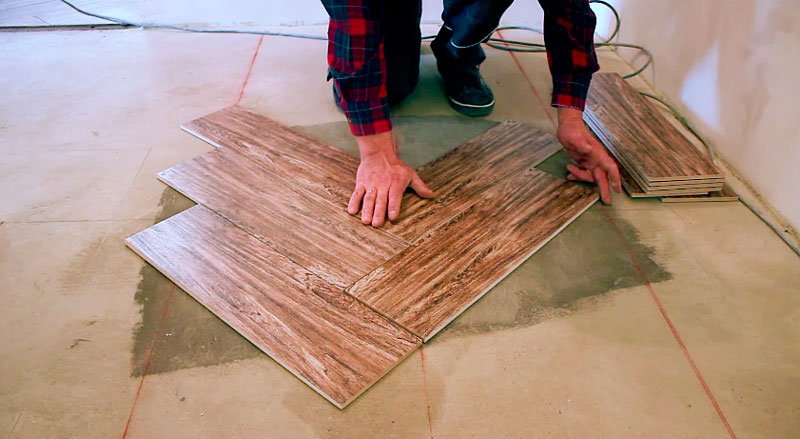
The installation rules themselves are very simple. The tiles are joined from the narrow side to the wider side, thus creating 90 degree angles.Next, we will look at the installation technique step by step. The same technique will be used for laying a contrasting look, only instead of one fragment, two fragments are joined at once with the narrow side.
What difficulties may arise
The main difficulty in installing tiles in this way is measuring right angles and laying the material in such a way that the seams do not come apart. In order to avoid mistakes, you need to make preliminary markings. With its help, you will not only be able to imagine how the herringbone pattern will look in your room, but also protect yourself from unnecessary adjustments of the tiles to size, and you will also be able to avoid too narrow pieces near the walls.
How to choose tiles for herringbone installation
As noted above, only rectangular tiles are suitable for such a pattern. Try to choose the width of porcelain tiles based on the area of your room. Use only high quality materials. Try not to use tiles of monochromatic glossy colors, such as ordinary tiles or marble, for installation in this way; the pattern turns out ugly and greatly distorts the space.
Important! When going to the store, you should correctly calculate the required number of tiles. If you have chosen a herringbone pattern for your room, then keep in mind that you will need to take 10% more material for adjustment.
Laying tiles on the floor in a herringbone pattern: step by step
The entire installation process consists of three large stages:
- Preliminary floor marking, calculations and error correction;
- Laying the tiles themselves;
- Grouting joints.
Floor marking
Marking must be done from the center of the room. Find the center and draw a line across the room. Next, we calculate at what distance from each other the tiles should lie. To do this, divide its length by 1.414.The last number is a generally accepted constant. It allows you to find out at what distance the next piece will lie. The resulting number is the same distance. Next, we retreat as many centimeters as possible and draw a second line. The material on the other side will lie at a slightly greater distance, because diagonal seams are slightly wider. With this layout, first of all, you need to pay attention to how the fragment lies in the corner of the room. If a narrow trim is needed there, move the material towards the wall to avoid this problem.
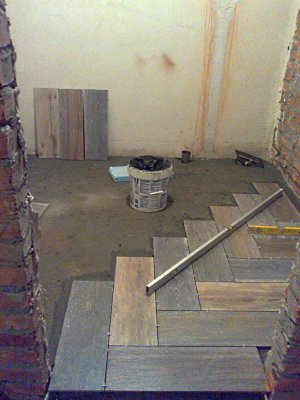
Laying tiles
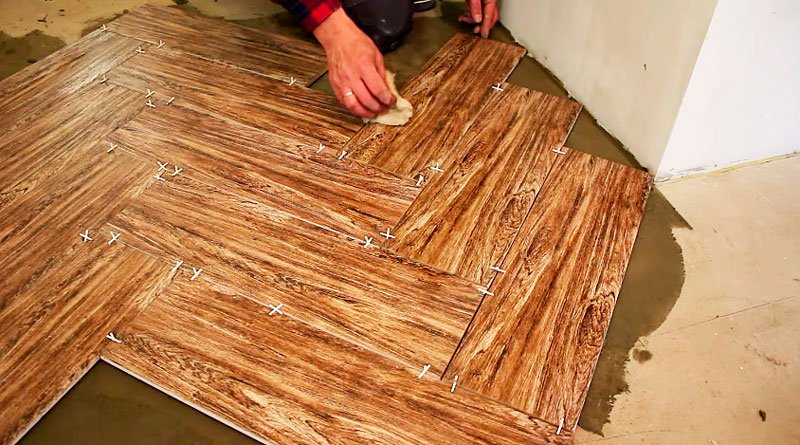
First, evaluate your work surface. Is there dust and dirt there? Is the surface well primed? Are there any cracks in the screed and is the surface flat for laying? Only after this can the material be placed. Apply glue, depending on the drawn markings, to the base, then remove it almost completely with a spatula. Using a notched trowel, apply the adhesive to the tile itself and remove any excess. Place the tiles in the desired area. Thus, you need to put 3 fragments. Then we move to the next lane. The entire installation of porcelain tiles takes place in rows. Do not forget to insert crosses so that the distance between the seams is the same.
Grouting joints
In order to rub the seams on the floor, you need to use a rubber float instead of a spatula. It is most convenient to wipe over large areas. Spread the mixture over the grater and rub the seams. Once the grout has set, remove the stains with a damp cloth.
Advice! For the floor, it is best not to use light shades of grout; firstly, they look very contrasting. Secondly, they quickly rub and become dirty. It is best to choose grout that matches the color of the material.
So, as you can see, laying material in this way is not a very complicated process, you just have to understand the details and try it in practice.