Repair of heated floors under tiles
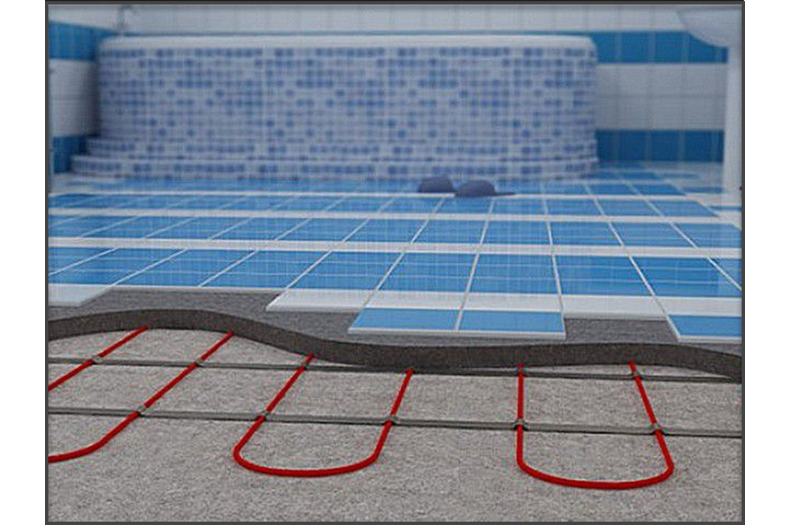
An autonomous floor heating system is an excellent solution for comfort and coziness in a living space. Warm floors are one of the most effective and convenient methods of heating; they are the most practical and durable of all heating systems. But even such reliable heating sometimes malfunctions and breaks down.
The content of the article
Causes of damage
At the most inopportune moment, the heating stopped working, it is necessary to find the causes of the failure. A positive feature of a heated floor is the ability not only to independently insulate and install a tile covering, but also to eliminate the cause of technical problems. It could be:
- damage to the thermostat;
- temperature sensor damage;
- heating cable break.
To eliminate these problems, you first need to find the cause of the failure, and then the location of the damage.
How to find the damaged area
When turned on, the electric heated floor does not show signs of life; it is necessary to check the functionality of the electrical heating elements. To do this, resistance is measured with a multimeter - a measuring device that includes several functions: voltmeter, ohmmeter, ammeter.
If the difference between the actual and nominal resistance is more than 5%, it is necessary to carry out diagnostics, find the location of the damage, and carry out repair work
ATTENTION.Remember that the work is performed under voltage, be sure to follow safety precautions.
We carry out diagnostics
If you turn on the thermostat and no heat appears, you need to do the following:
- Release the thermostat from the distribution box - remove the top panel, unscrew the fastening screws.
- Using the device, check whether there is voltage at the terminals; if 220V is present, everything is in order with the thermostat; if there is no voltage, change the device.
Checking the heated floor sensor
Before performing further work, turn off the power to the thermostat and stop the voltage supply to the sensor. Use a device to measure the resistance, depending on the manufacturer, it can be from 6.8 kOhm +/- 20% - 40 kOhm +/- 20%. If the device shows 0 or 1, the sensor is faulty and requires replacement.
IMPORTANT. When purchasing a sensor, the brand must be the same as that of the thermostat. Different manufacturers may not work.
If the reason was in the sensor, when replacing it, heat will appear, otherwise, we look for the reason further.
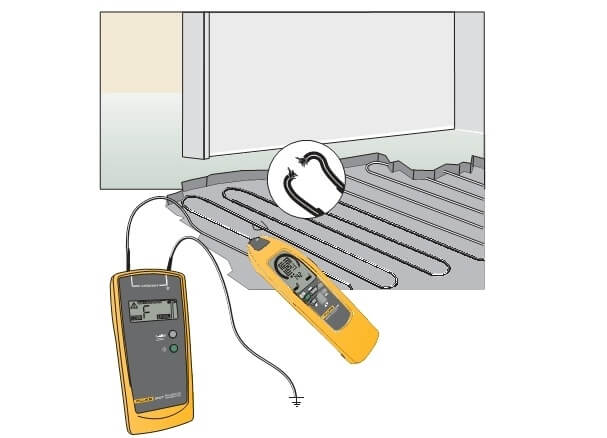
Identifying damage
The next stage is to directly search for a break in the floor; for this, special devices are used to search for hidden wires in the wall, in our case in the floor. The device will immediately respond to a break in the electrical circuit; this is where the damage occurs; the error is +/- 1–2 cm.
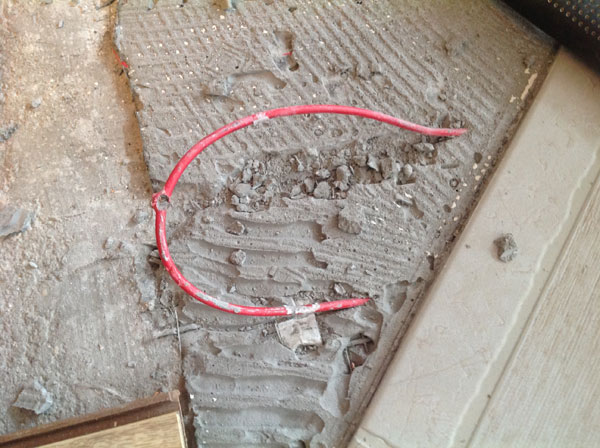
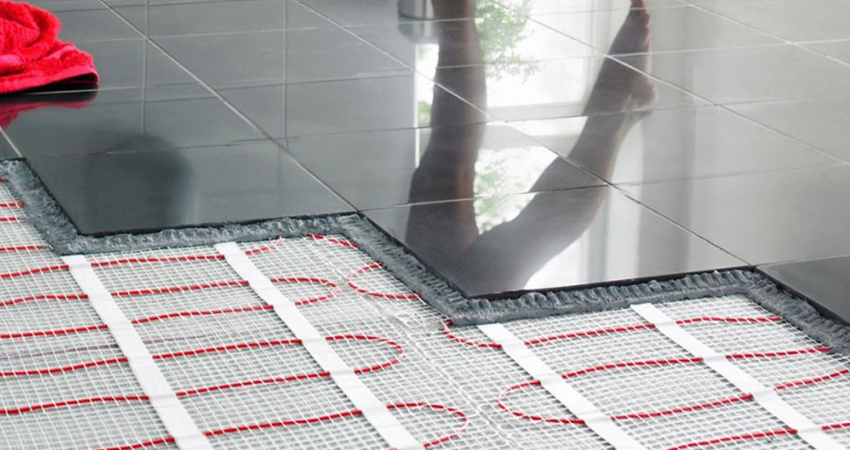
Floor repair under tiles
The location of the damage has been determined. The tiles are carefully removed and damaged cables are cleaned. The main thing is to connect the wires correctly: current-carrying is connected to current-carrying, resistive to resistive, shielding separately.
At the junction, a heat-shrinkable tube is placed, heated with a hairdryer for greater tightness, and clamped with clamps.Check the functionality of the heated floor, if it gets warm, everything is in order. The tiles are installed in their original place, but it is not advisable to connect the floor right away; let the glue dry.