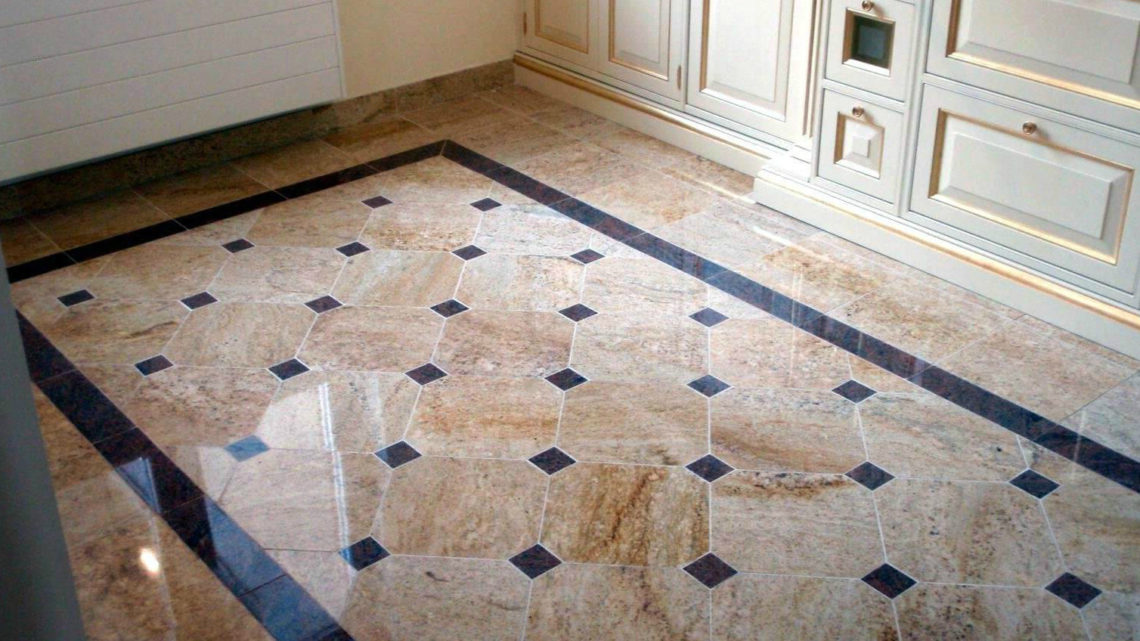
Is it possible to lay tiles on a self-leveling floor?
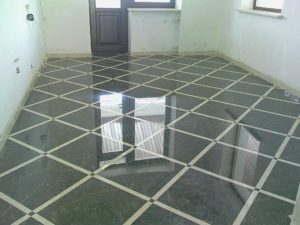 The choice of flooring is made based on the conditions in which it will be used. For heavy loads and high humidity, the optimal material is tile. If the entire technological process is followed correctly when laying the tile covering, the surface will be durable and strong. Correctly selected colors can also improve the interior of the room.
The content of the article
Requirements for the base under the tiles
The quality of tiling work depends on the base on which it will be carried out. It should be smooth, clean, without cracks, crevices or holes.
Therefore, before carrying out facing work, the base must be prepared. The surface is leveled using solutions based on sand-cement mixtures or polymer materials.
First, the entire area must be thoroughly cleaned and primed in 2-3 layers to improve adhesion.
REFERENCE! The use of epoxy or polyurethane primer mixtures also gives the surface waterproofing properties.
Leveling of sand-cement mortars is carried out according to previously installed level beacons. Solutions made from polymeric materials have the property of self-leveling.
Self-leveling floor and its compliance with the requirements for the base
The disadvantage of cement screed is the fact that in order to comply with the required strength 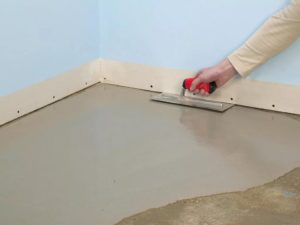 characteristics, its thickness should be at least 3 cm. Therefore, recently self-leveling bases, which are made from the indicated mixtures, have become widely used.
REFERENCE! The polymer mixture allows you to create a coating layer from 3 mm to 80 mm.
This base meets all the requirements needed for tiles.
The solution is prepared in accordance with the instructions on the package.
- The dry mixture is gradually added to the container with the required amount of water.
- Using the whisk attachment on the puncher, the solution is thoroughly mixed until it reaches the consistency of sour cream.
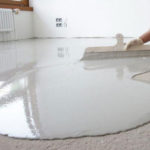
- After this, the material is poured evenly onto the surface starting from the corner opposite the entrance.
- To distribute the solution over the surface and remove air bubbles, roll it with a special roller with spikes.
- Final drying occurs within 24 hours.
As a result of all the work, the master is presented with a flat and monolithic base, ready for the next stages of work.
Laying tiles on a self-leveling floor
Before laying, it is necessary to determine the method that will be used for this work, and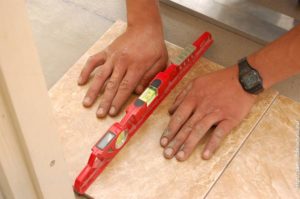 mark the base.
When installing tile products in a row along the wall opposite the entrance, a line is drawn at a distance equal to the size of the tile plus 5 mm. The tile covering will be leveled using it.
IMPORTANT! The base must be primed for better adhesion of materials.
- When covering a self-leveling surface, it is recommended to prepare a special polyurethane-based adhesive. It is applied to the tile and leveled with a comb spatula. The height of the ridges should be about 6 mm.
- The tile product is installed in accordance with the markings and pressed.
- Using a small level, check the horizontal installation and, if necessary, correct it with blows of a rubber hammer.
- The next product is installed along the markings next to the first. The glue between them is removed and special plastic crosses are inserted to form a gap between the two elements.
- The installation of this tile is checked not only for horizontalness, but also relative to the first one. To do this, the level must be placed on two products at once, and if necessary, they are adjusted. In the future, such verification is carried out constantly using a large level.
- If the last tile in a row does not fit entirely, it is cut using a tile cutter or grinder with a diamond wheel.
- After installing all the products and the glue has completely dried, the plastic crosses are removed.
- The gap between the tiles is filled with grout. To hide the gap along the walls, install plinths.
The self-leveling option is more expensive than cement screed, but this is compensated by the reduction in the time of facing work and the quality of the coating.

