How to properly remove tiles without breaking them
When faced with the need for repairs, the question often arises of dismantling various coatings. The most problematic in this regard is tile. If you don’t need to preserve the cladding, then there will be no problems; you just chop it off with a hammer drill. But how to remove the tile if you decide to reuse it? The tiles can later be used for cladding a summer house, workshop, etc.
The content of the article
Important points before removing tiles
Problems with cement compositions on which the cladding is laid are, as a rule, beyond the capabilities of even specialists, so it is undesirable to take on this work without skills. If the tile is laid with glue, you can try to remove it with minimal damage, but you need to prepare for the fact that splits are inevitable and often they amount to about 50%.
To determine whether this work needs to be done at all, you can do a simple experiment. For which you will need a spatula and a small mallet. Walk around the entire perimeter and gently tap each tile. If there are a lot of voids, you can start working, but if the tiles are holding up well, then you shouldn’t waste time on this.
What you need to remove tiles
The tools you will need are:
- bit;
- perforator;
- hammer;
- durable spatula;
- screwdriver;
- scraper;
- container for warm water, rags;
- Bulgarian;
- hardened wire with a cross section of 4-5 mm;
- electric drill.
Reference! You also need to take care of security measures. Use rubber gloves, a gauze bandage, and safety glasses.
Preparatory work
If you need to completely dismantle the tiles intact, which is often simply impossible to do, then you first need to prepare the walls. The better this work is carried out, the easier it is to cope with the task, and the number of whole tiles will increase significantly:
- Along the perimeter of the room, the joints between the tiles are thoroughly moistened with water. The easiest way to do this is with a sponge, soaking it in a soapy water solution.
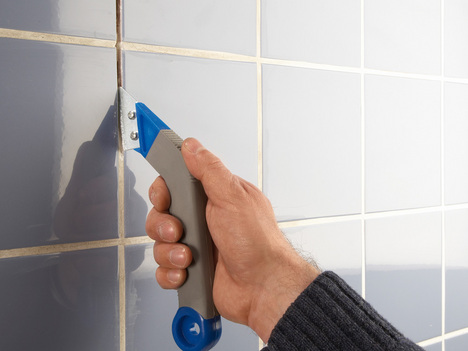
- Use a chisel, spatula or screwdriver to remove the grout.
- It is advisable to additionally clean the edges of the joints with a brush attachment for an electric drill. If there is no attachment, you can simply wipe them with a wet, soapy sponge.
Reference! When the preparation is completed, let the tile “rest” a little; the moistened adhesive will swell a little, in this case the work is much easier to carry out.
Removing tiles without breaking them: step-by-step instructions
It is necessary to work with a chisel and a hammer. This is long, difficult and labor-intensive, but if you want to maintain the integrity of the tile, this is the only option. The stages of work are as follows:
- if the row at the top, side or bottom is not open, then you will need to sacrifice some tiles to gain access. Most often this will not be necessary, but if suddenly the cladding is on the entire surface of the room, then use a hammer to break the tiles at the top;
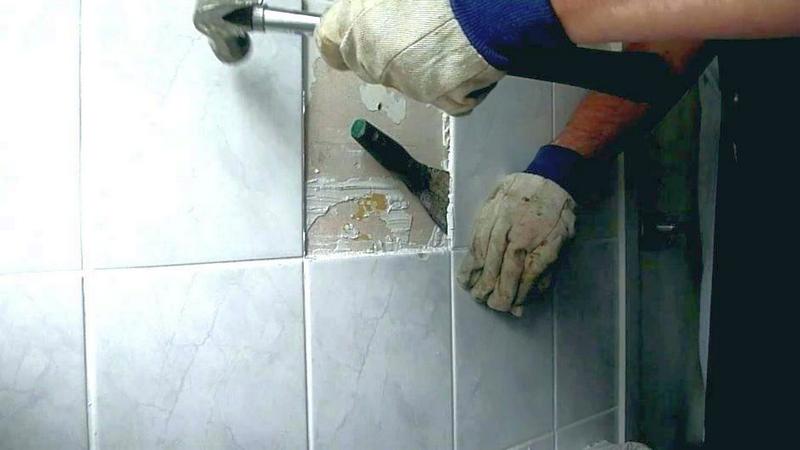
- When access to the tile has appeared, you need to drive the chisel between the layer of mortar and tile, and carefully tap on it. If 4-5 blows were made and the tile is securely in place, with a high degree of probability it will crack from further blows. Try to pry the tile from another part.If it doesn’t give in again, you need to come to terms with it; you can’t remove it whole, and you need to break it. If the coating moves away from the wall, then you need to be especially careful when it has moved away by 2/3, at this moment you must make every effort to keep the corners intact. You need to pry up the tiles from all sides;
- the tiles are dismantled starting from the top;
- move down from row to row. This reduces the possibility of the coating collapsing and causing injury;
- You can remove old cement or glue from the wall using a hammer drill.
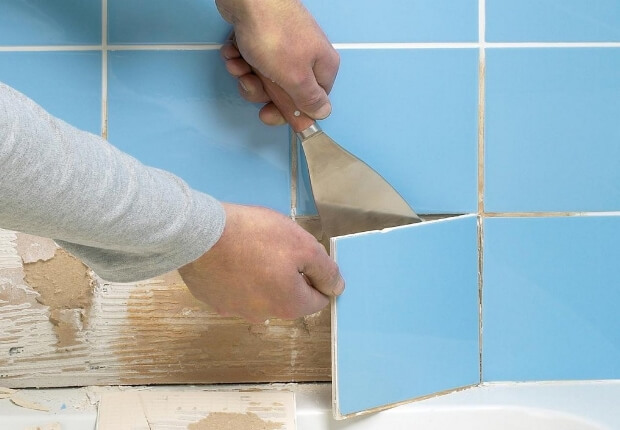
Removing tiles is a long and labor-intensive job. The most important thing is that no one can guarantee the integrity of the tiles. Therefore, you need to be prepared for anything and hope for a positive outcome.


